
With the release of VCF 5.2.1 I wanted to get my lab upgraded. The release blog can be found here and the release notes are here
Please note that some of the components within the VCF will still need additional upgrading. Please read the release notes for additional details.
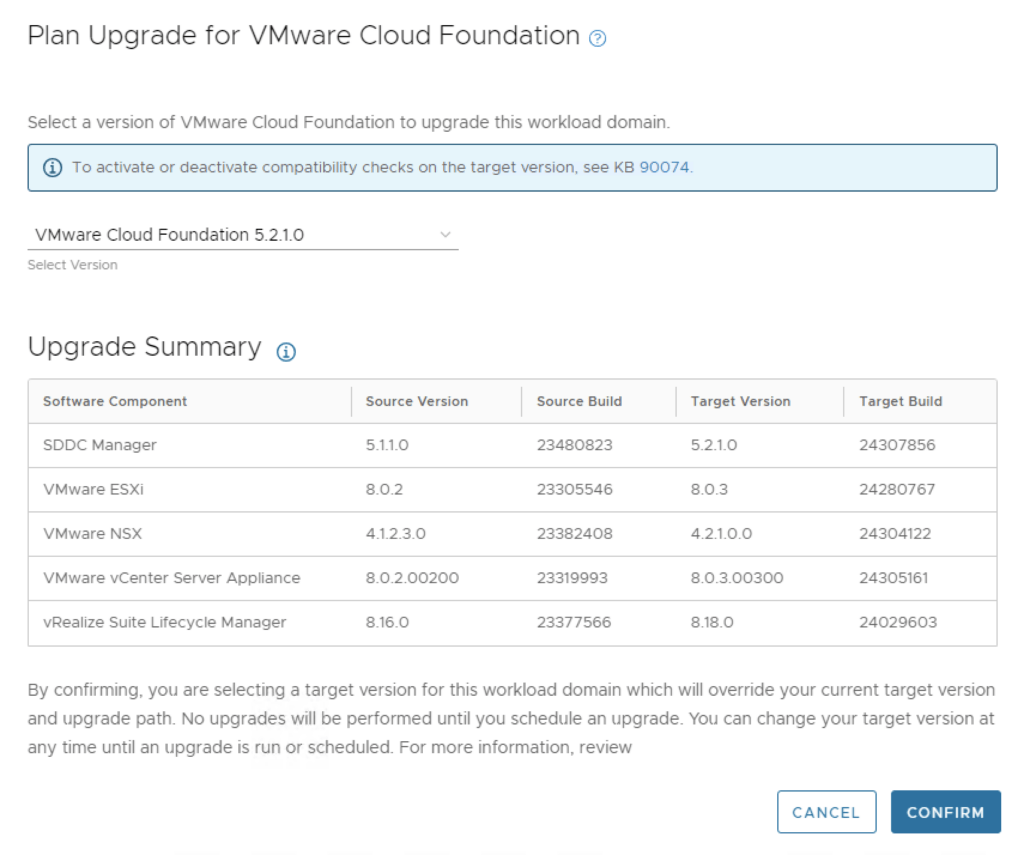
We can start by going to Inventory -> Workload Domains -> Select the domain -> Updates -> Plan Upgrade. Select VMware Cloud Foundation 5.2.1.0 -> Confirm
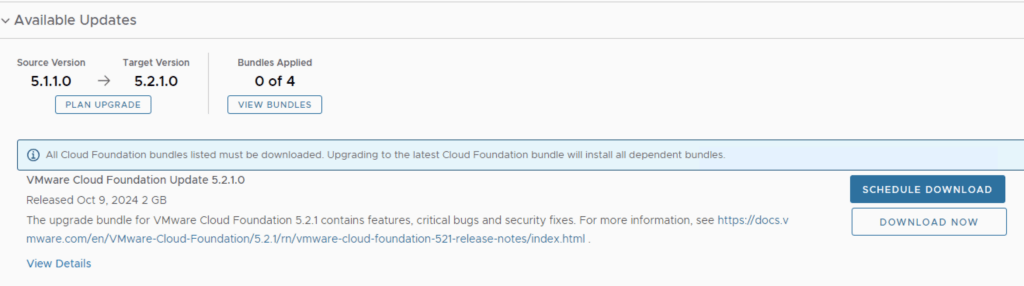
After we wait a couple of minutes we can click on Download Now to download the new update bundle.
If you do not see the newest releases go to Administration -> Online Depot and add a VMware Customer Connect account that has access to perform downloads.
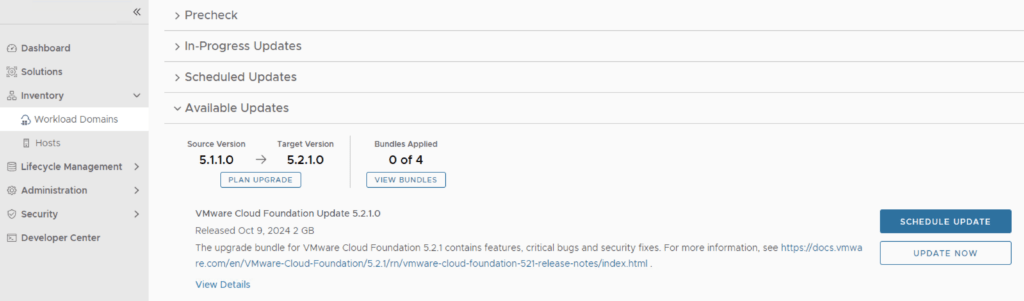
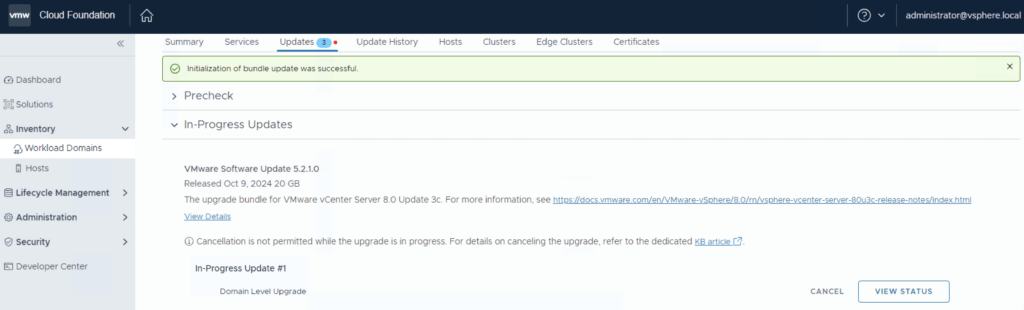
The next step is to upgrade VCF by going to Inventory -> Workload Domains -> Select the workload domain -> Updates -> Update Now
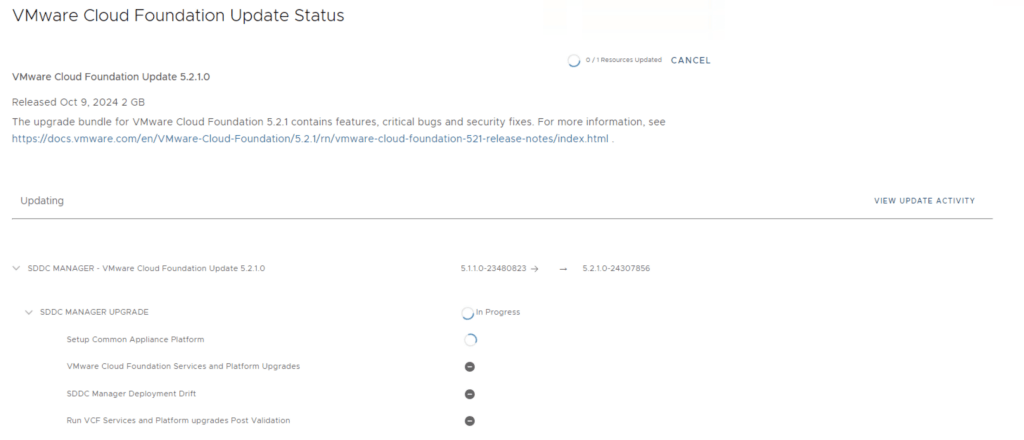
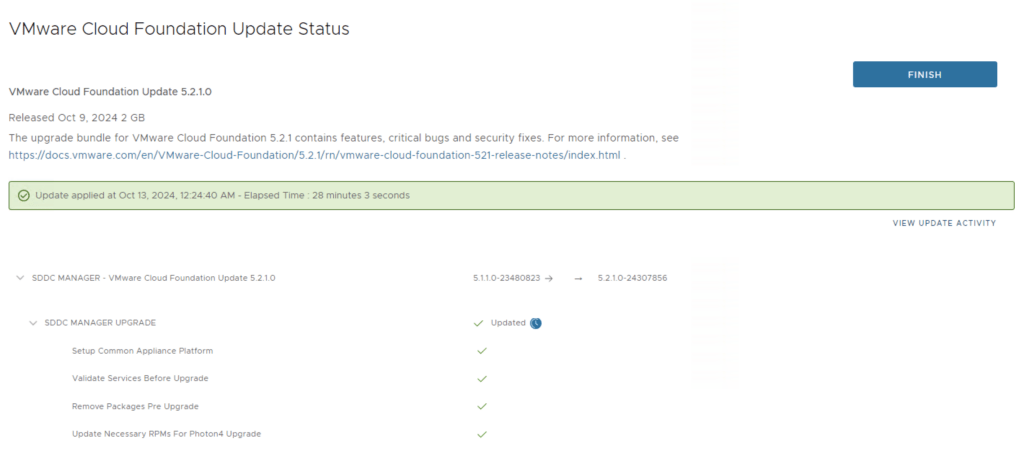
Next we are taken to the Upgrade page where we can follow the upgrade for each one of the components
Once the upgrade is complete we can click Finish to be returned back to the main screen
Because we are changing the SDDC-Manager versions I would strongly recommend to clear cache and log back in before going forward.
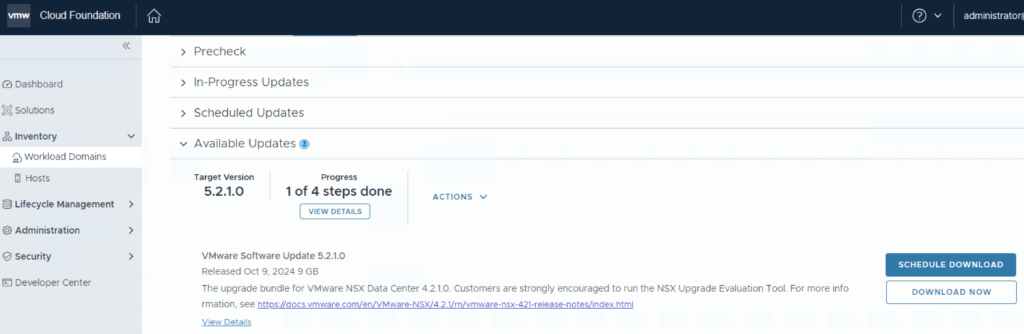
Next step is to upgrade NSX-T installation to NSX-T 4.2.1.0. The release notes can be found here.
We can also download it directly from the workload domain by going to Inventory -> Workload Domains -> Select the domain -> Updates -> Download now
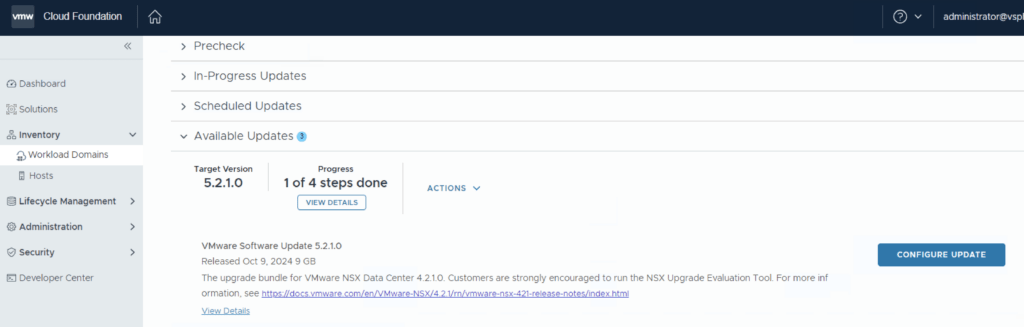
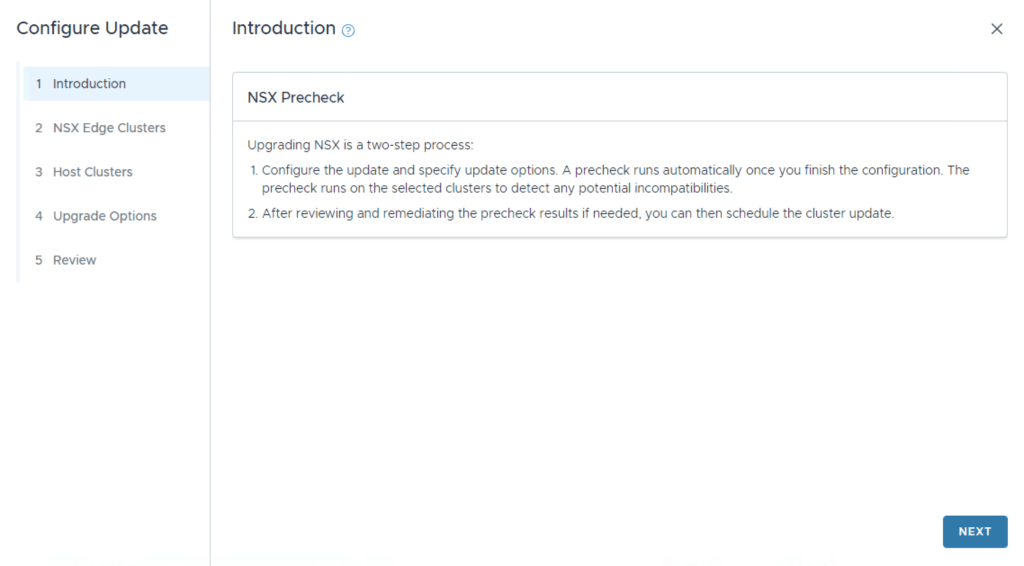
Once the download is complete we can proceed with updating the NSX components by clicking on the Configure Update button.
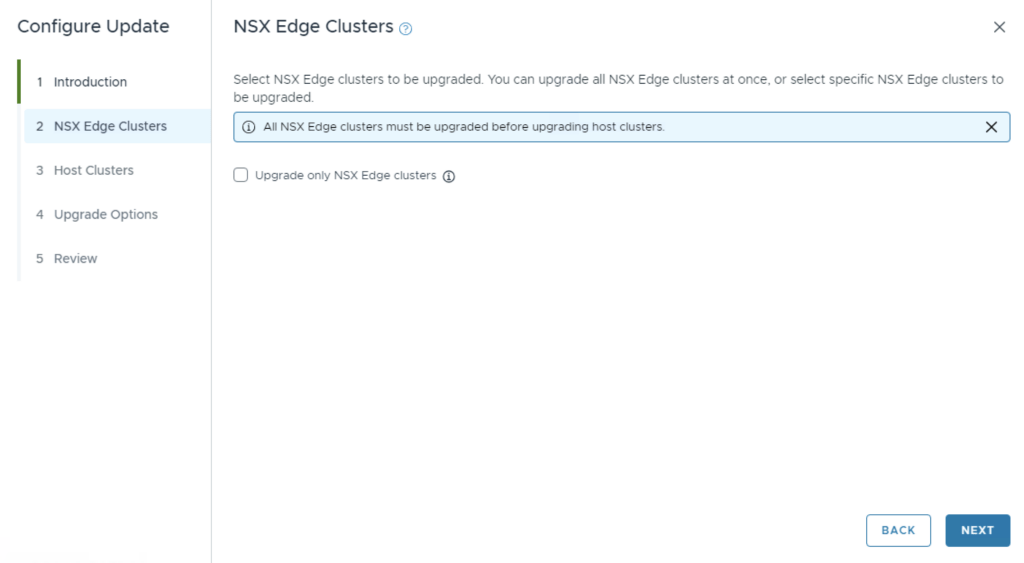
Click next
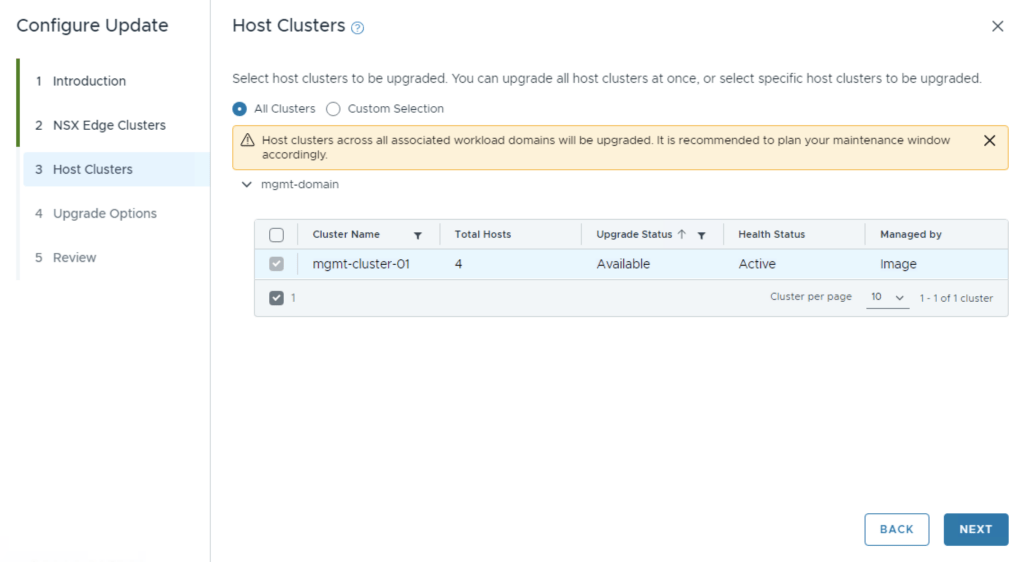
Make the proper selection and click next
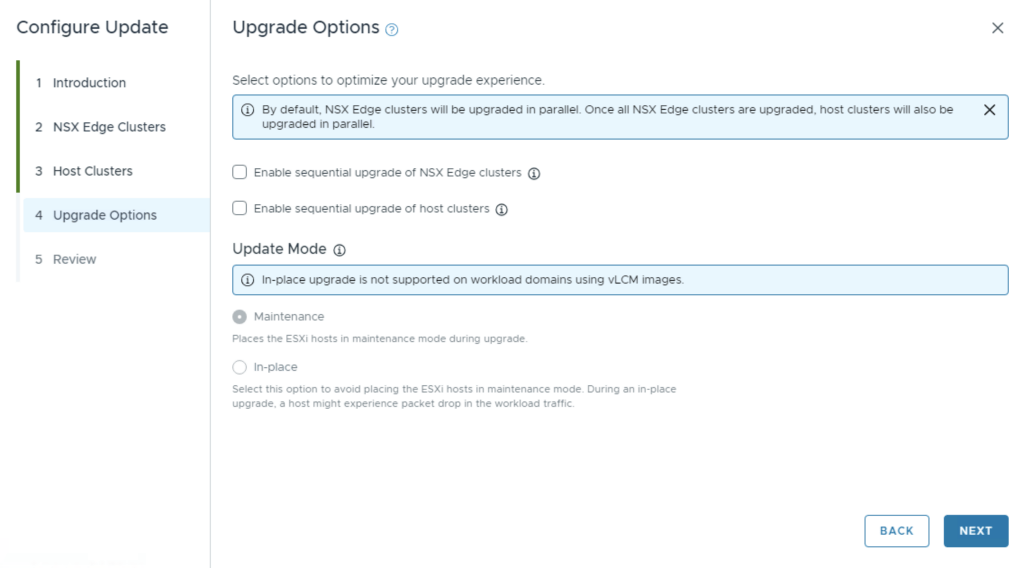
Make the proper selection and click next
Make the proper selection and click next
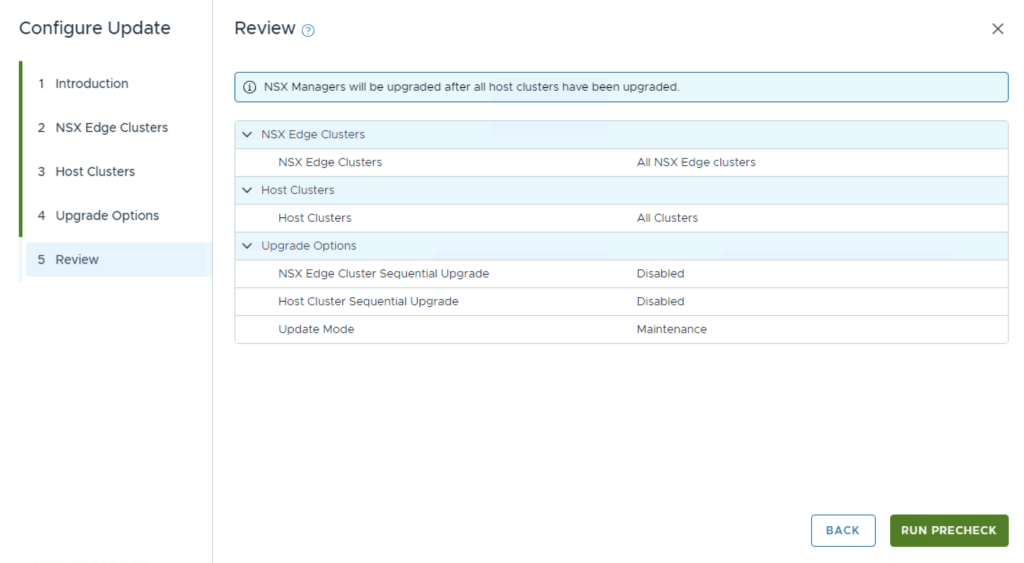
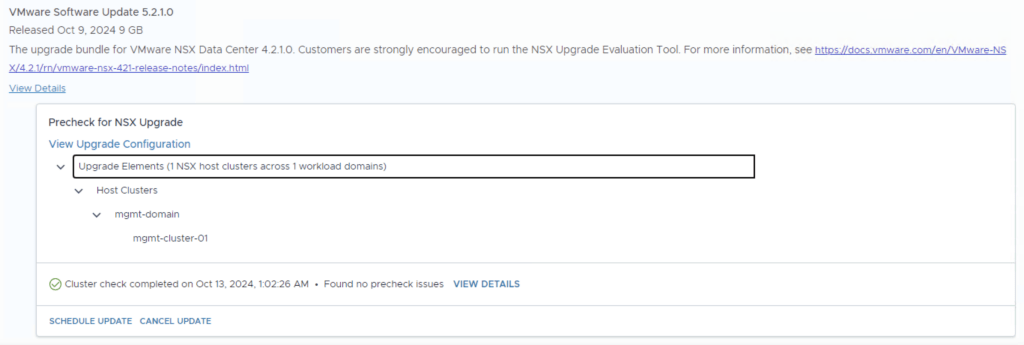
Review the options and click on Run Precheck
Once the Precheck is completed, we can click on Schedule update.
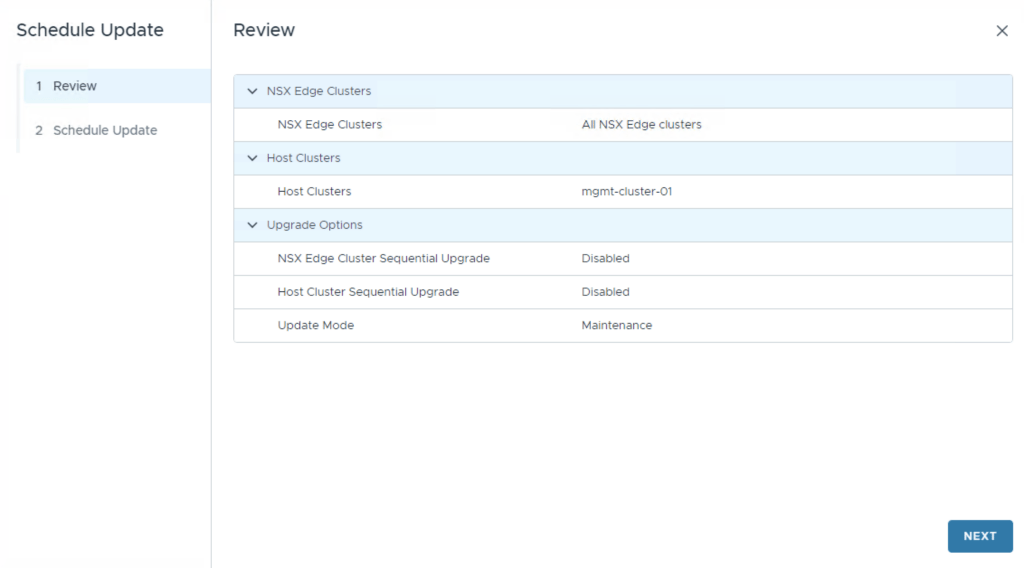
Click Next
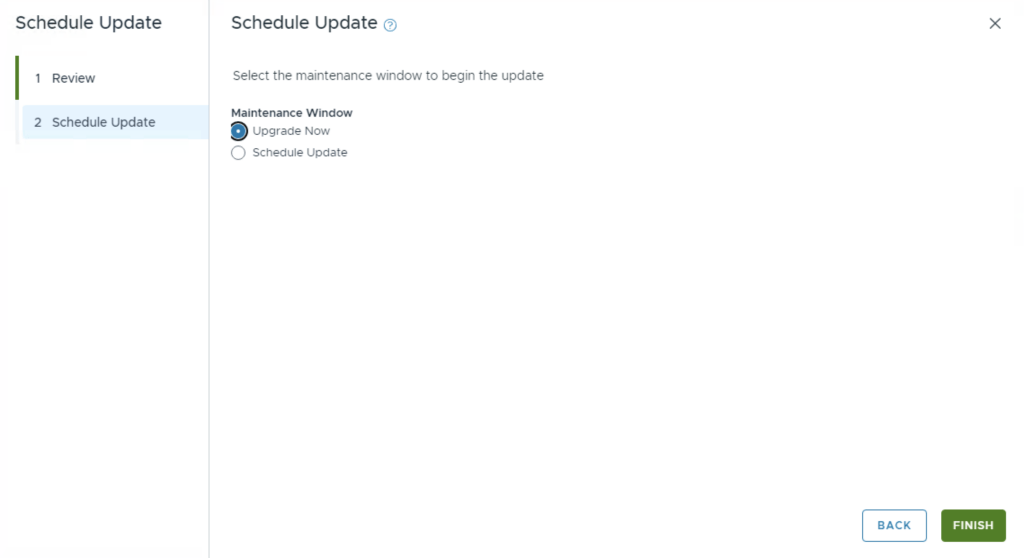
Schedule the upgrade and click Finish
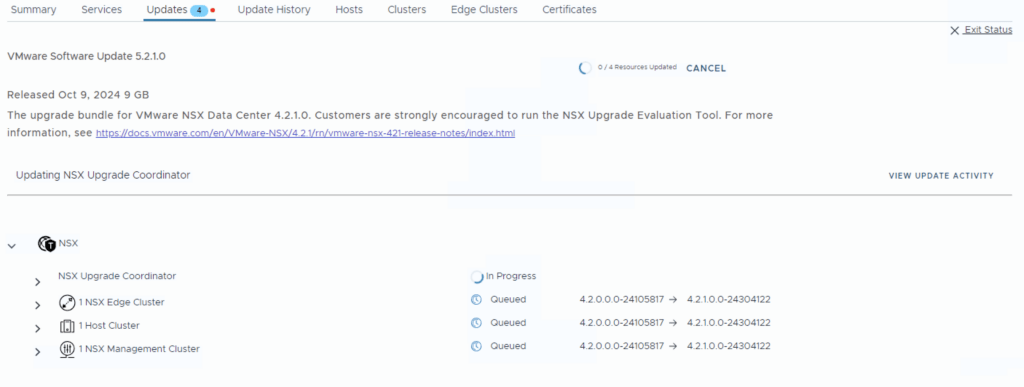
Once the upgrade has started, a few minutes later we can click on view status in order to see the upgrade steps
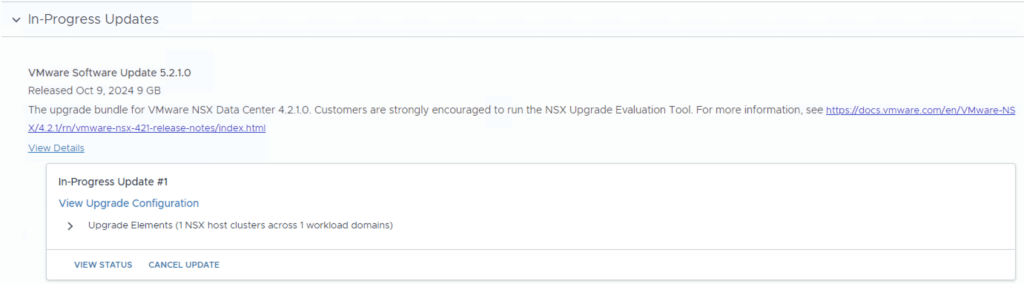
We can view the details of the upgrade
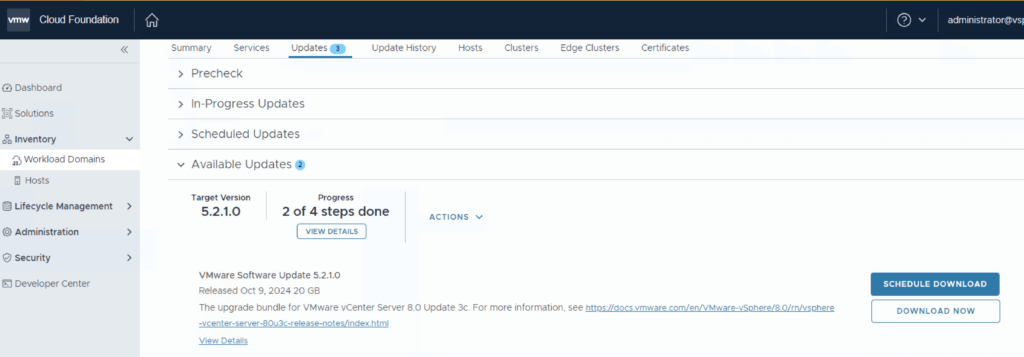
Once the upgrade is complete we can proceed with the vCenter Upgrade. VCF 5.2.1 comes with vCenter Server 8.0 Update 3c. The release notes can be found here. We can go to Inventory -> Workload Domains -> Select the workload domain -> Updates -> Under Available updates click on Download now.
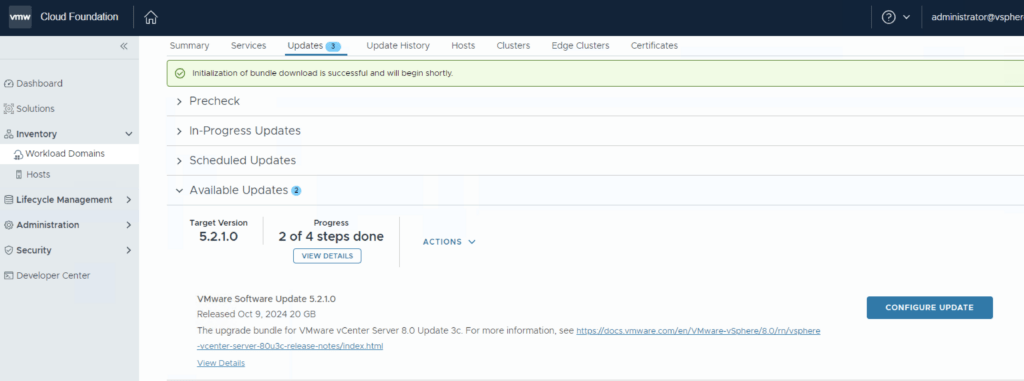
Once the download is complete we can click on Configure Update
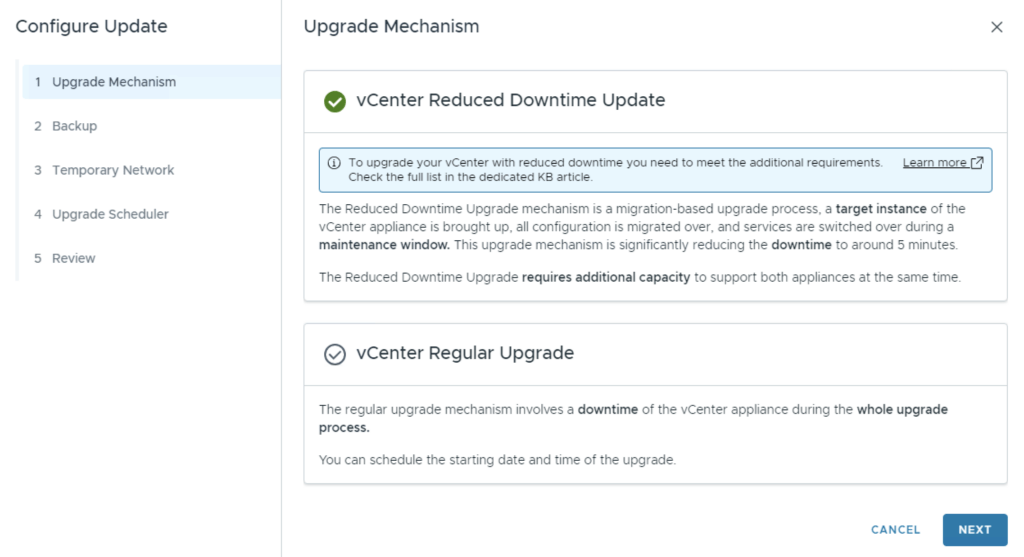
As we can see we now have 2 options. Reduced downtime which will install a target center and the migrate the data to it or an in place upgrade. Review the upgrade information and click Next.
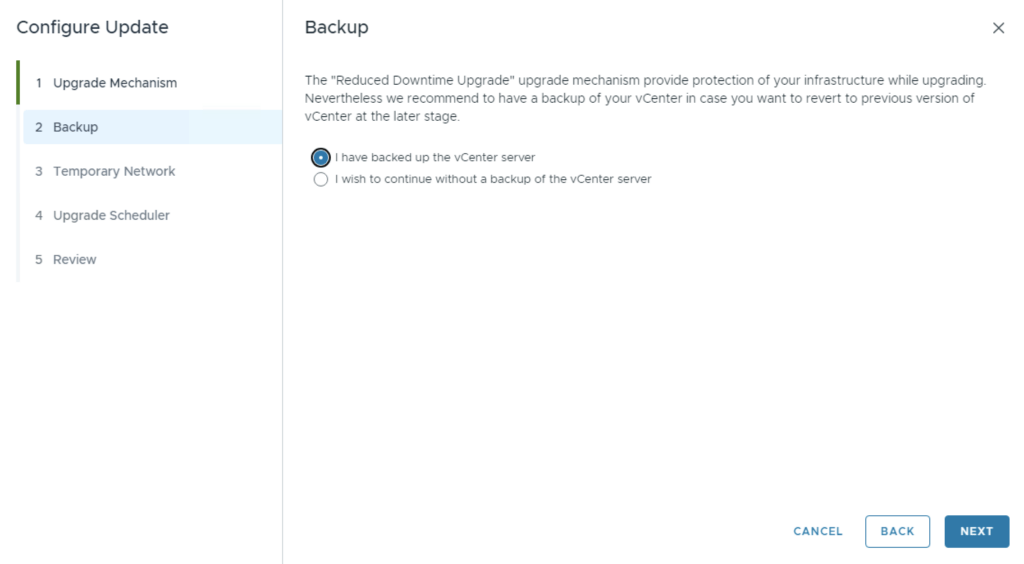
Confirm that we have a backup
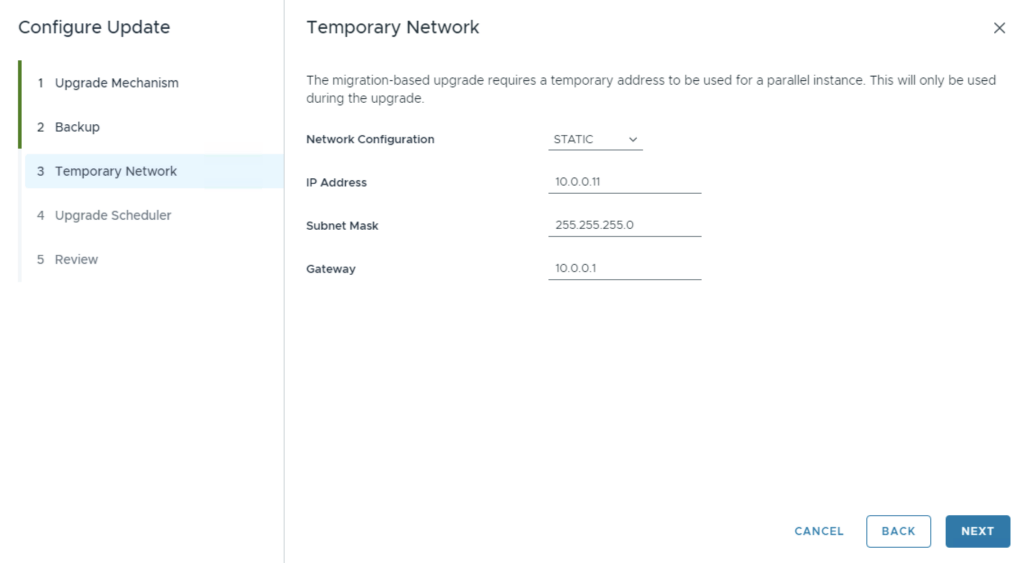
Provide a temporary network and click Next
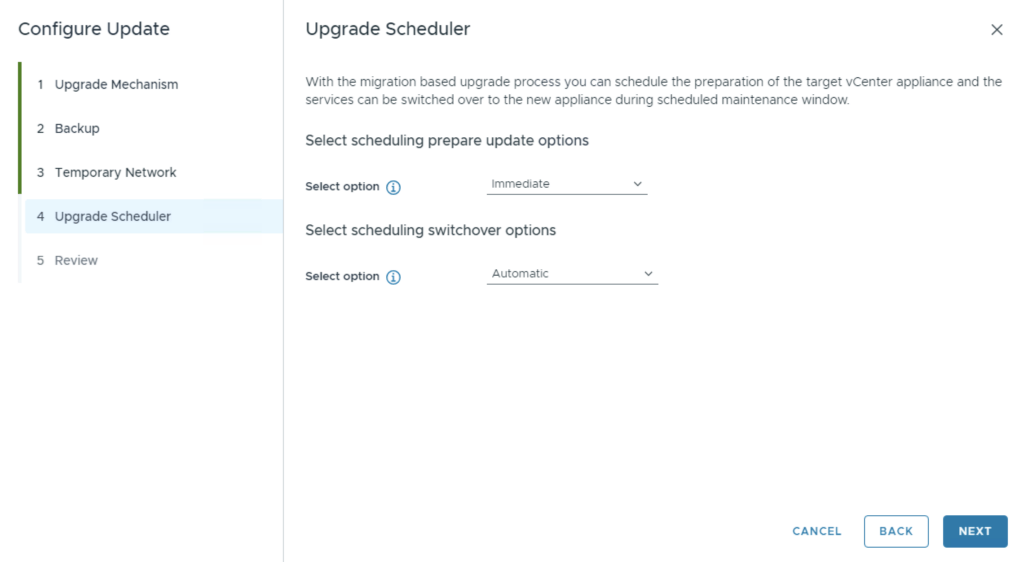
Schedule the upgrade options and click Next
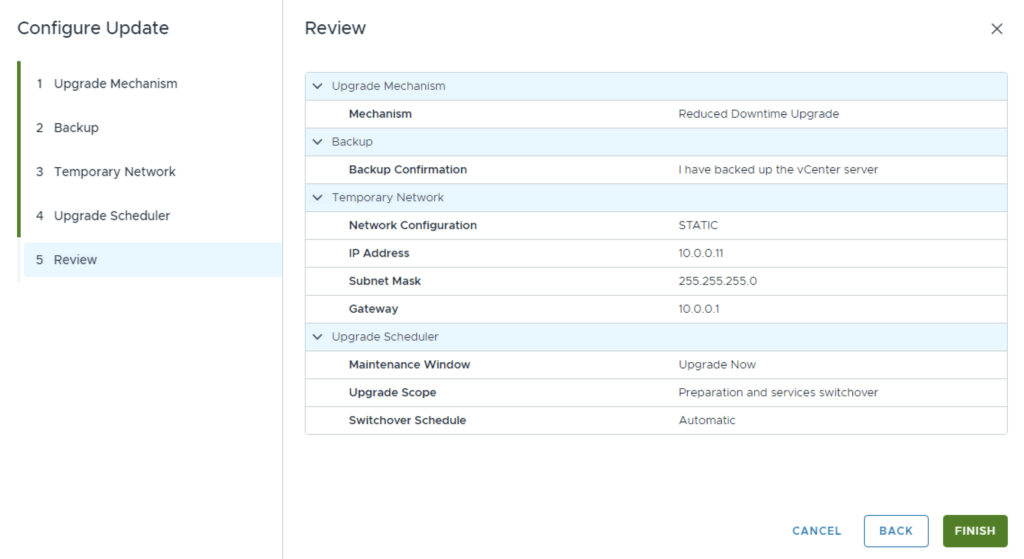
Review the upgrade selections and click Finish
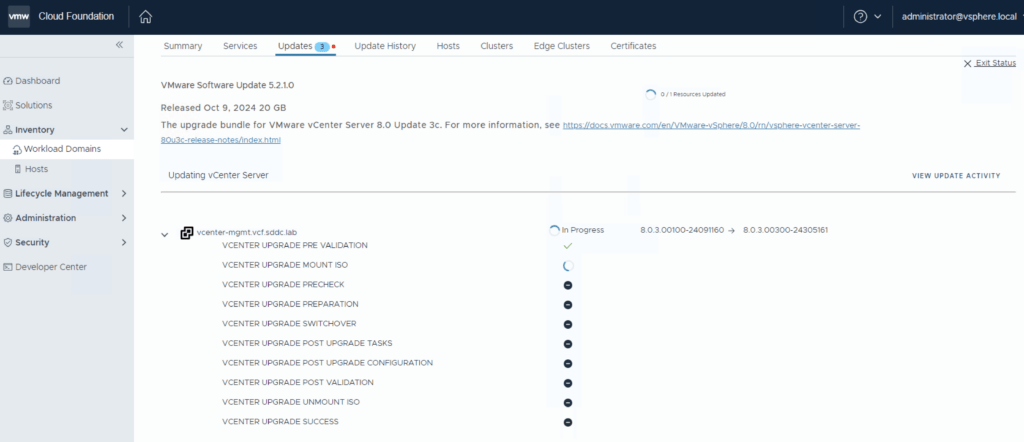
We can follow the status of the upgrade by clicking on the view status tab
Here we can see the different components that are getting upgraded
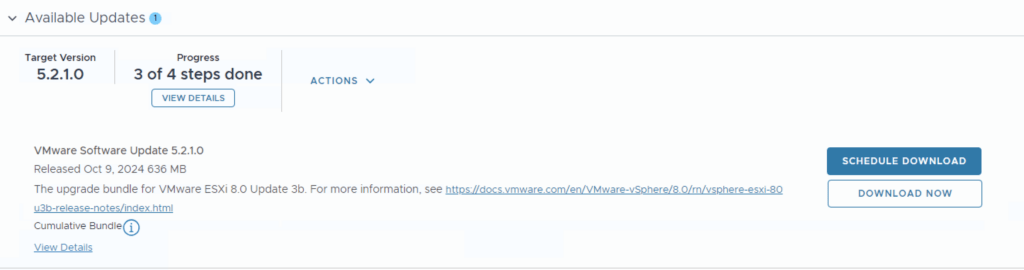
Once the upgrade is complete we are taken back to the previous page where we can see that the ESXi servers are next. The release notes for ESXi Update 3b can be found here. Click on Download Now.
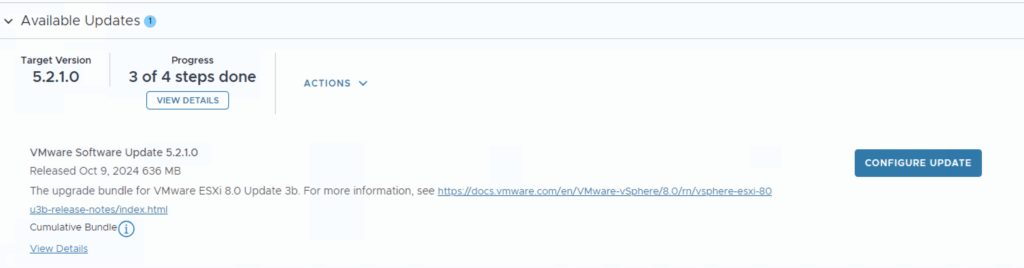
Once the download is complete we can configure the upgrade options by clicking configure upgrade
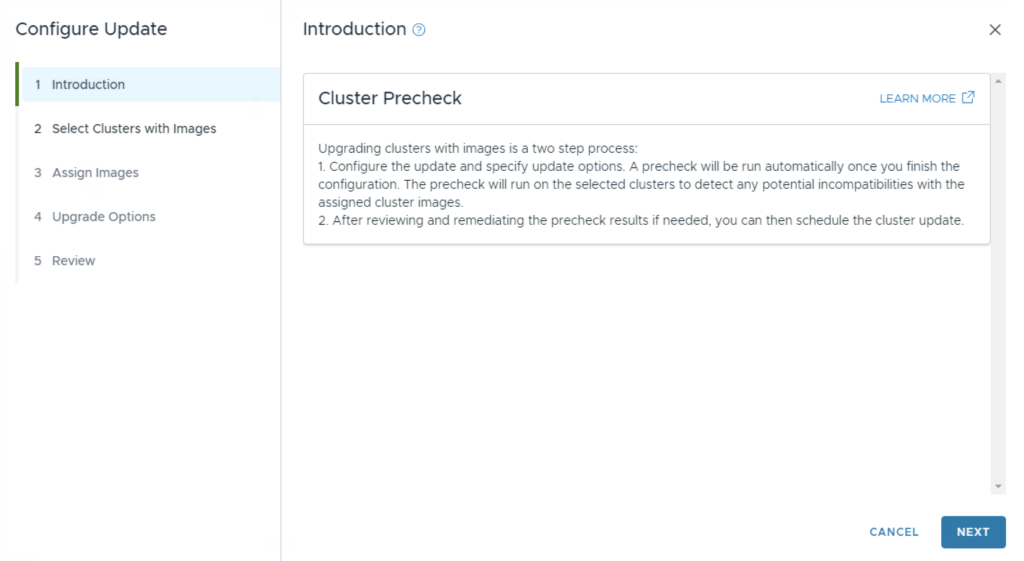
We get presented with the upgrade instructions. Click Next
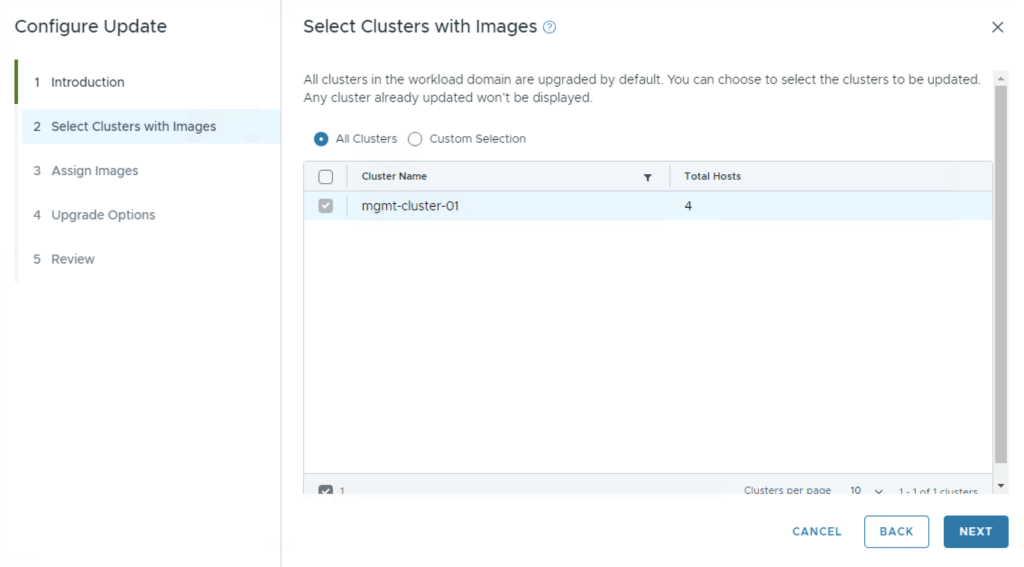
Select a cluster with images and click Next
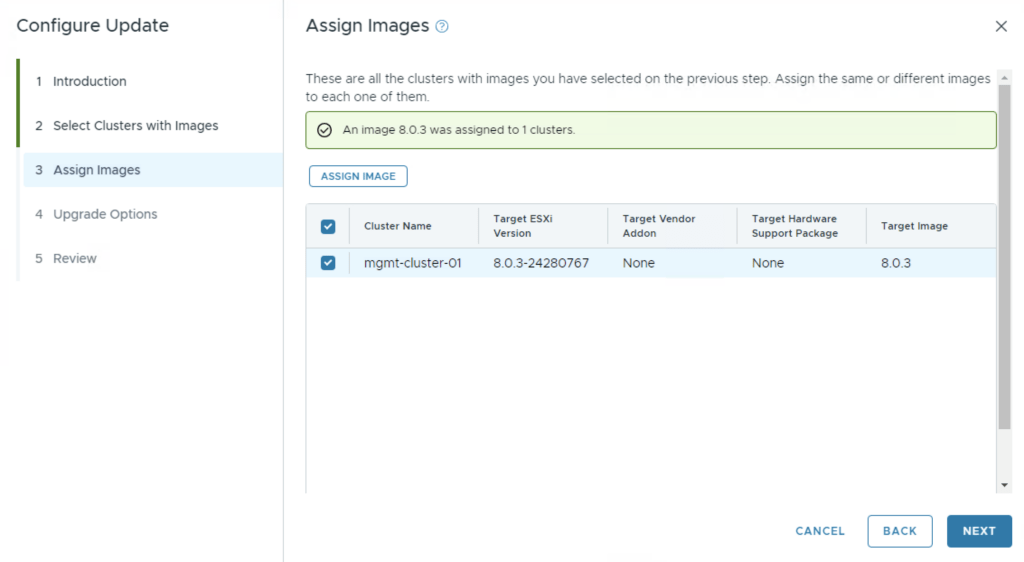
Assign an image and click next
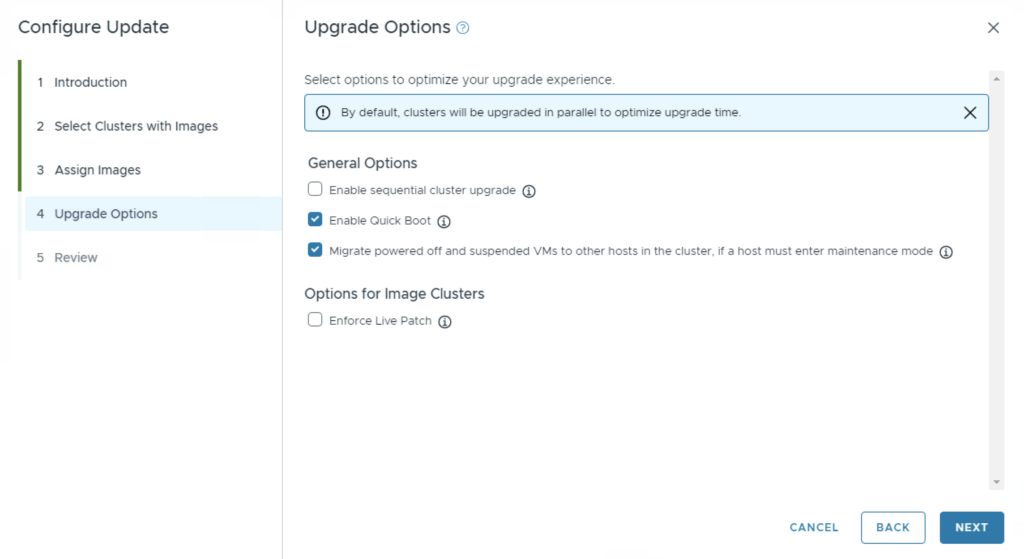
We can also enable sequential cluster upgrade, quick boot and the ability to evacuate offline VMs part of the maintenance. Click Next
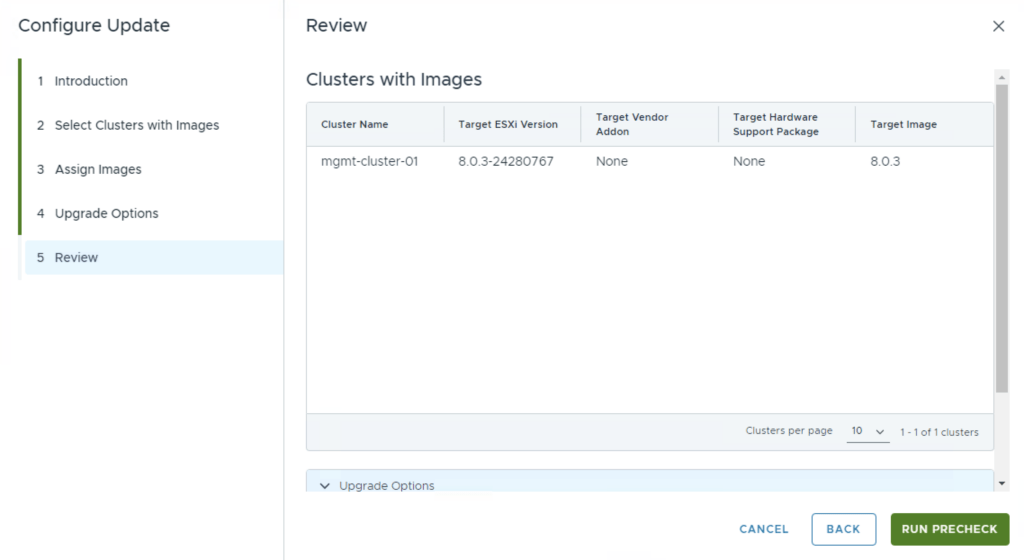
Review the updates and click Run precheck
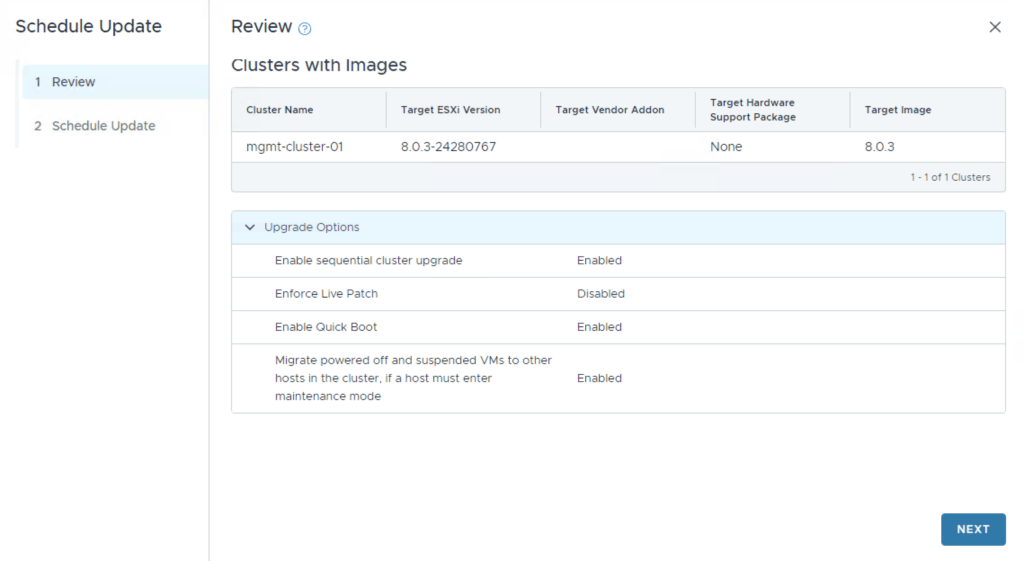
Once the precheck is completed we can click on schedule update. The first screen gives us a review. We ca continue by clicking Next.
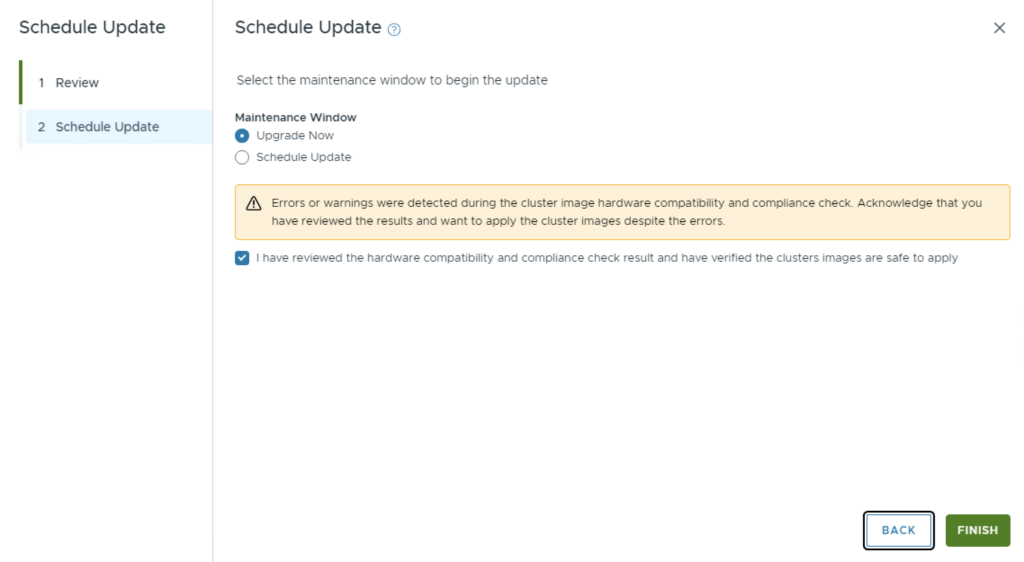
Make the proper selection and click Next
And with that we are finished with the workload domain. We can follow the same steps for the other domains

If applicable apply any configuration updates

Don’t forget to clean up the download bundles by following the steps from my other blog here
Hi
I tried to upgrade the VCF 5.2 to 5.2.1 While vCenter upgrade failed due to below reason can you help me on this issue .
Upgrade element resourceType: VCENTER resourceId: b3a75c52-23cf-4a2e-8c7a-70ae00f0d42b status changed to COMPLETED_WITH_FAILURE
This requires further investigation and log analysis, please open a ticket and generate a long bundle