
In this post, I will cover upgrading my 8.x Aria Automation appliance to version 8.18.1 Patch 1. As a prerequisite, we need to have Aria Suite Lifecycle upgraded to 8.18. Instructions can be found here. Note that the upgrade does not include the latest PSPACK containing the 8.18.1 Patch 1 Aria Automation release. Instructions for obtaining the PSPACK are available in here.
Note:
- Following the VMware by Broadcom Day 2 transition on May 6, 2024, Customer Connect has been migrated to the Broadcom Support. This migration impacts the VMware Aria Suite Lifecycle as follows:
- All Product Support Packs, along with product and patch binaries, will now need to be downloaded from the Broadcom Support Portal
- Users must then manually map these into the VMware Aria Suite Lifecycle
- VMware Aria Suite Lifecycle can be upgraded using “Check Online” method.
- Product Support Packs are cumulative, incorporating all updates from previous product support packs as well as patches into the latest version.
The Aria Automation Patch 1 binaries can be downloaded from here. In my case, it was VMware Aria Automation 8.18.1 .patch file (vrlcm-vra-8.18.1-8.18.1.36859.patch). Once downloaded, LCM supports local mappings. In my case, I uploaded the patch in /data/temp
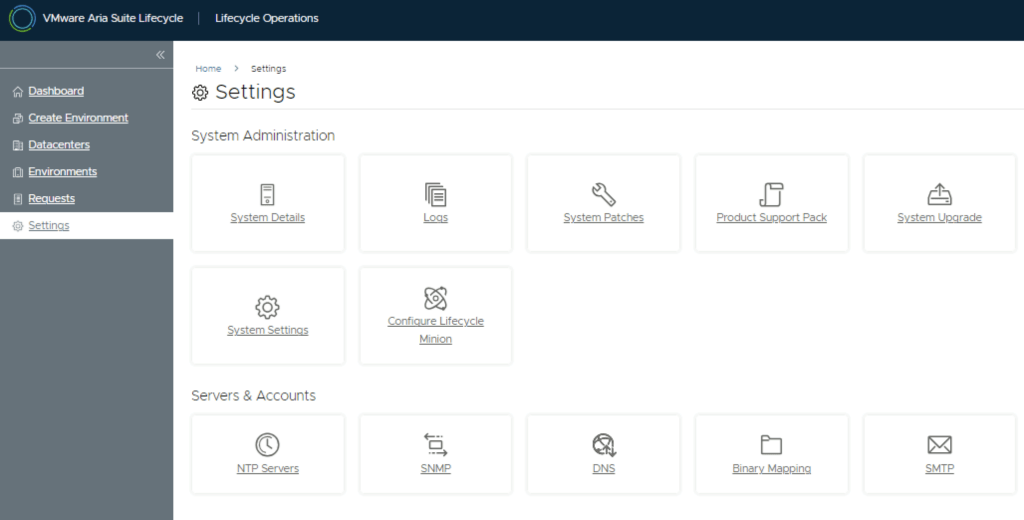
To get started, go to VMware Aria Suite Lifecycle -> Lifecycle Operations -> Settings -> Binary Mapping.
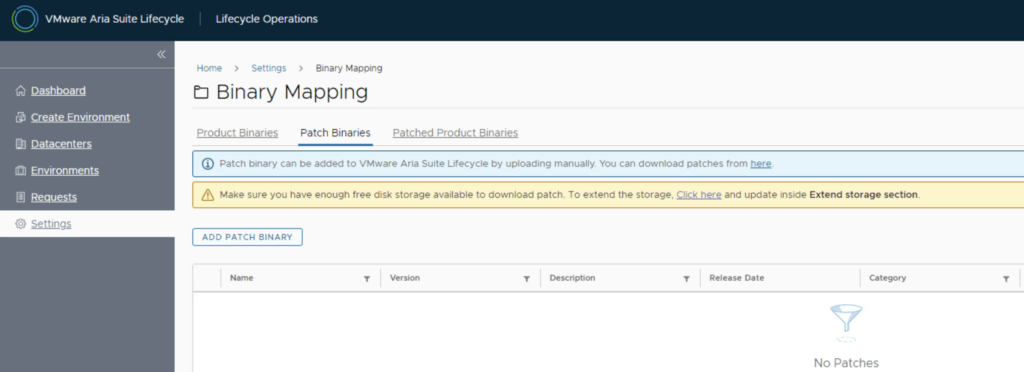
Click on Add Patch Binaries under Patch Binaries.
Select the location for the patch and click on Discover.
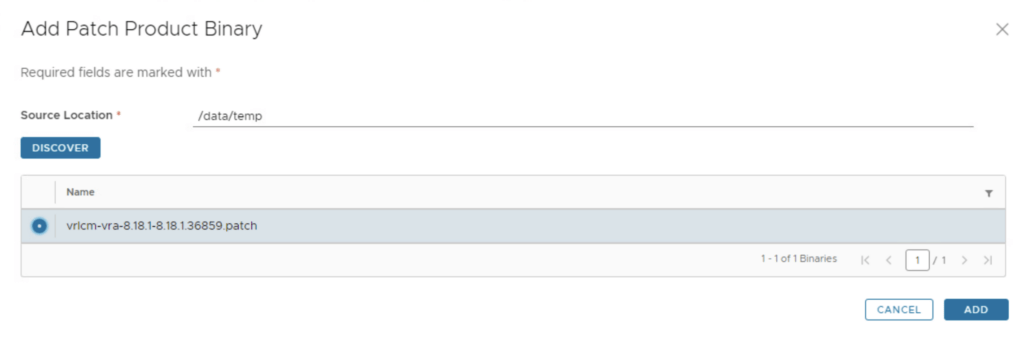
You will see a list of discovered patches. Select what you need and click on Add.
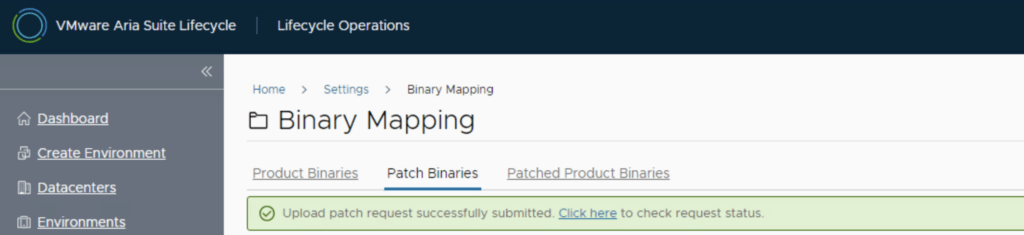
This will create a request and start downloading the package. To view the progress, click on the Click Here hyperlink.
Wait for the mapping to complete.
After the download is complete, go to Environments -> View Details on the environment that includes Aria Automation.
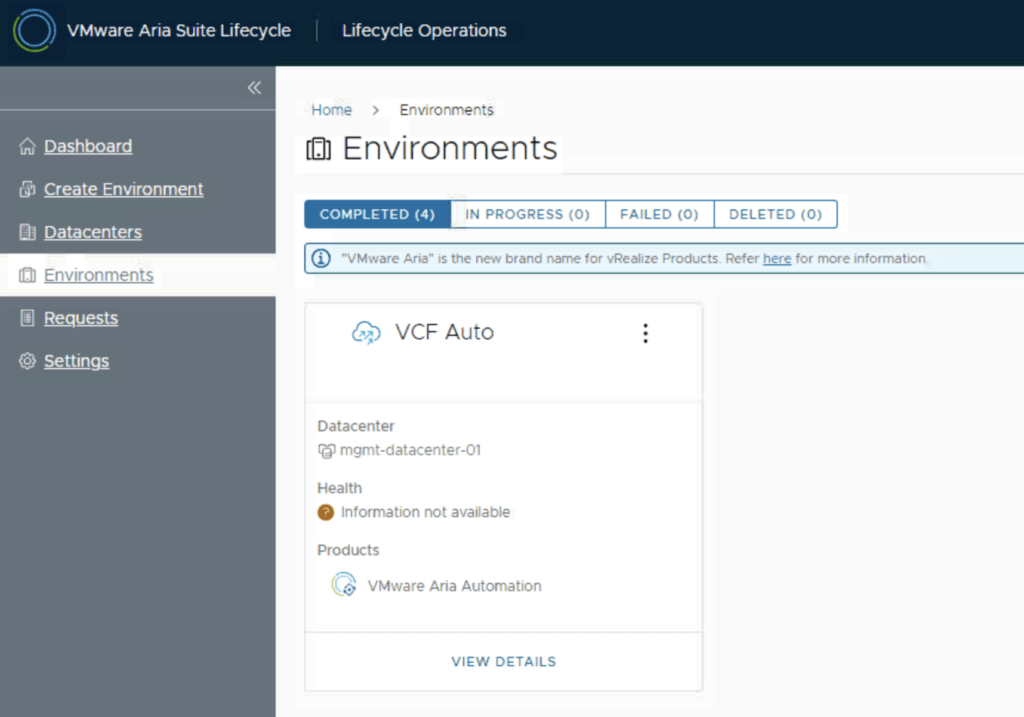
Click on the Ellipsis -> Patches -> Install Patch.

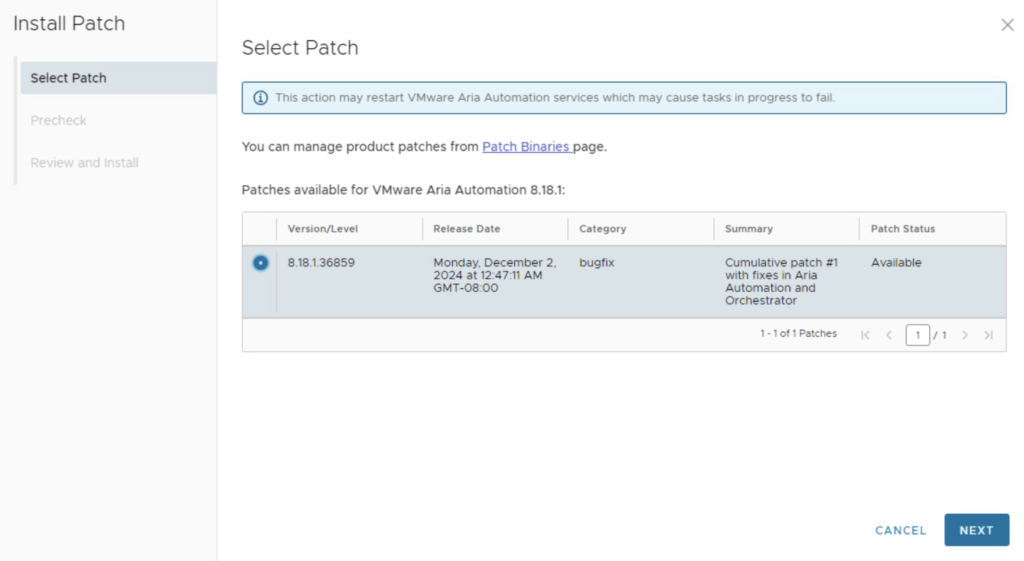
An inventory sync is recommended if the environment has changed since LCM performed the last sync. Select the uploaded Patch and click Next to continue.
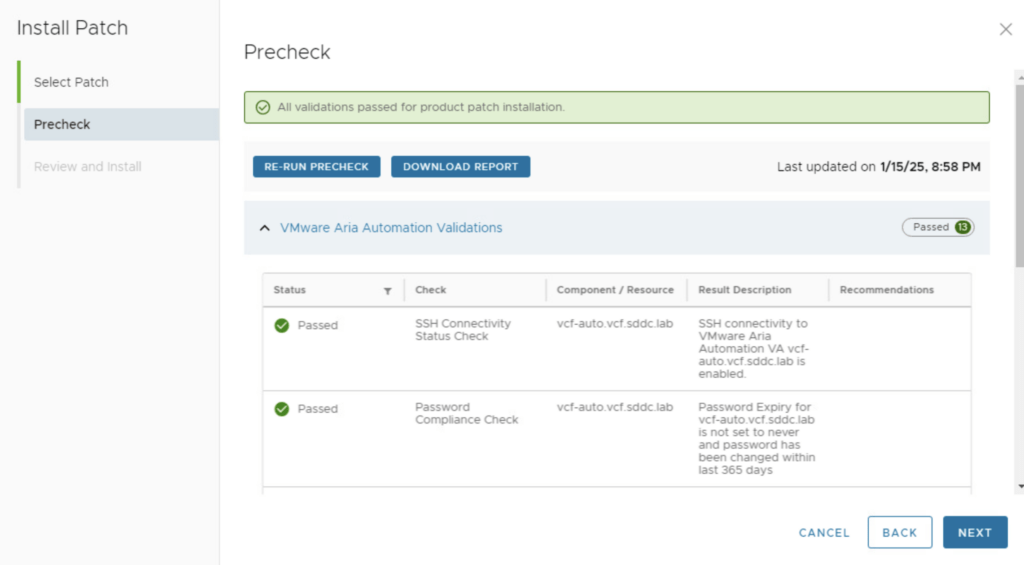
Select Run Precheck to make sure the upgrade is supported
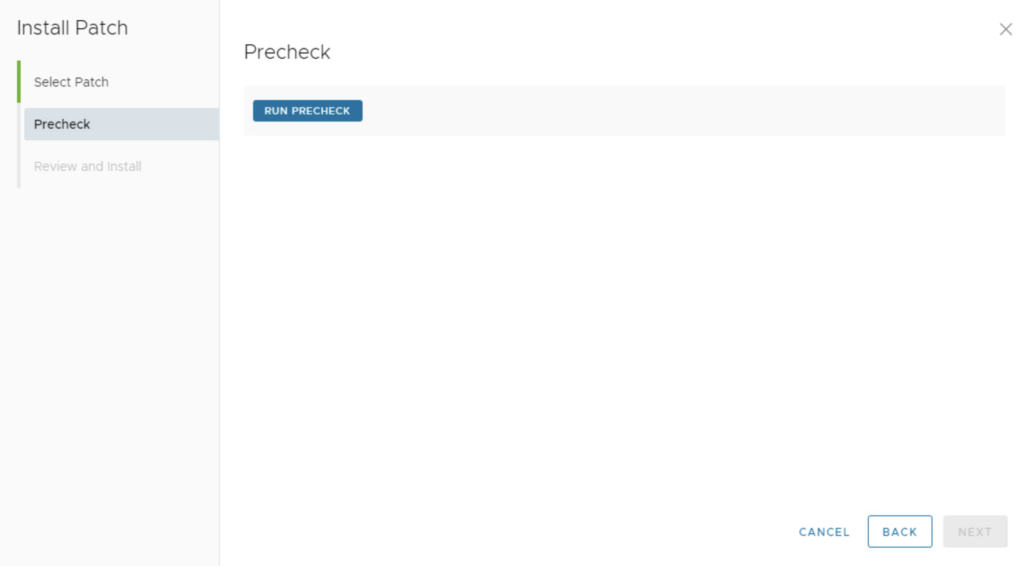
Verify the report to make sure its free of errors and click Next
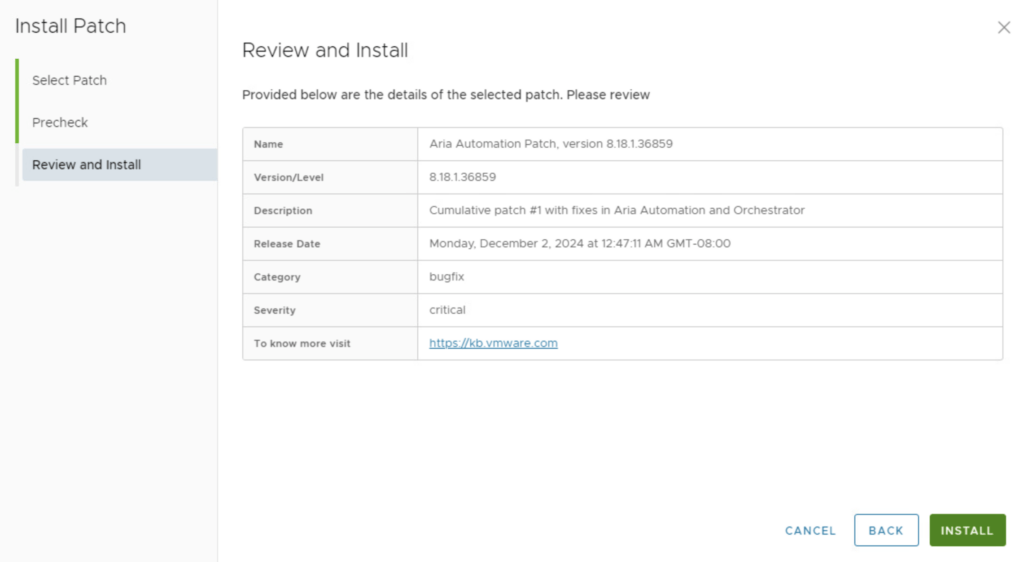
Review the Summary and click Install.
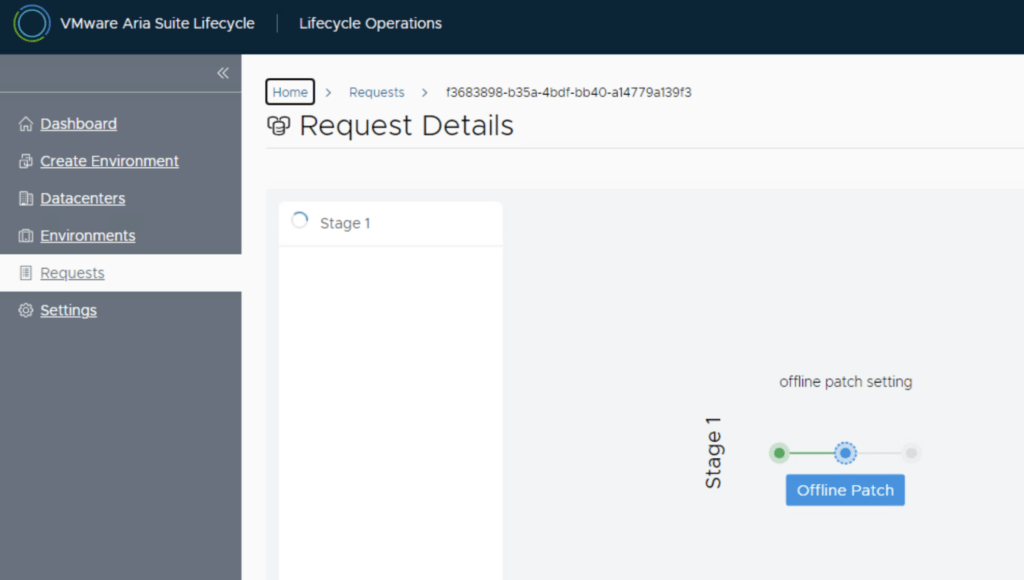
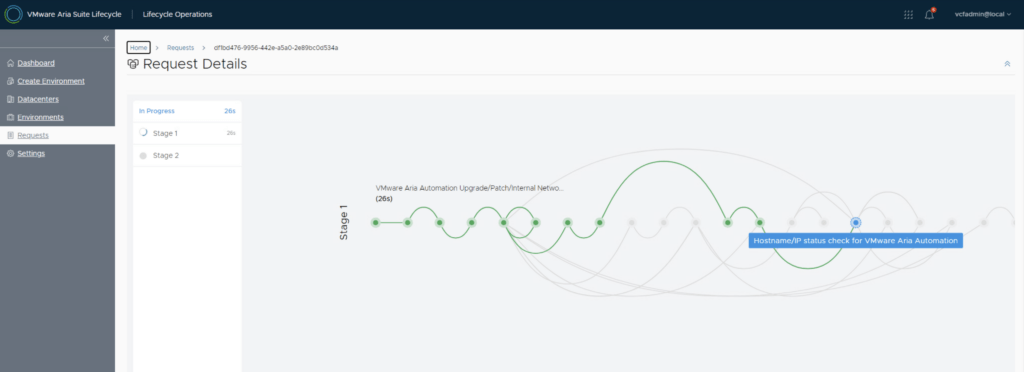
You will be taken to the progress screen where you can follow the progress.
The system will reboot, and once it’s back up, you will be on version 8.18.1 Patch 1. Since we are doing a upgrade, I strongly recommend clearing the cache before using the new Aria Automation version.