Deploying the VCF Fleet Management (Operations / Fleet Manager) appliance using an OVA is a common approach when standing up a new VMware Cloud Foundation (VCF) 9 environment or re-deploying the component. Below is a refined guide covering the deployment, configuration, and integration steps.
1. Prerequisites & Downloading Binaries
Before you deploy the OVA:
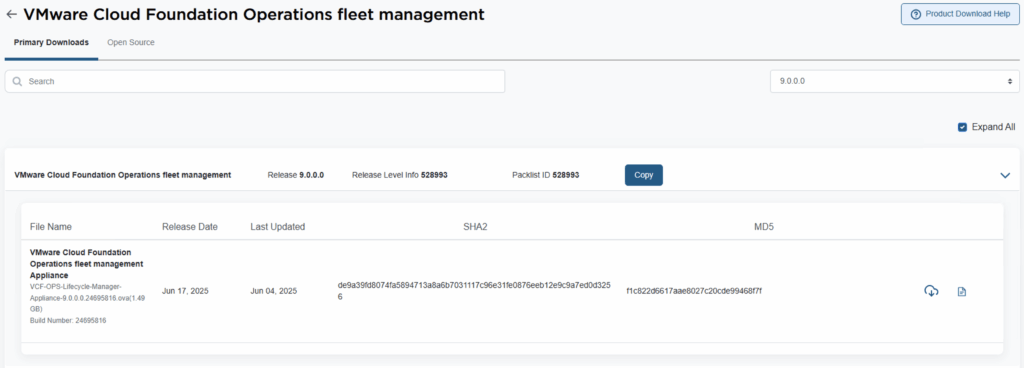
- Log into the Broadcom Support Portal and obtain the required binaries and OVA files for the Fleet Manager. Direct link can be found here.

- Ensure DNS, IP addresses, and network configurations for the appliance are defined (fully qualified domain name, subnet, gateway, DNS servers, etc.).
- Ensure your vCenter / ESXi environment meets the compatibility and resource requirements (CPU, RAM, storage).
- Map the hostname, IP, and other parameters you’ll use for the Fleet Manager appliance.
2. Deploy the OVA via vCenter
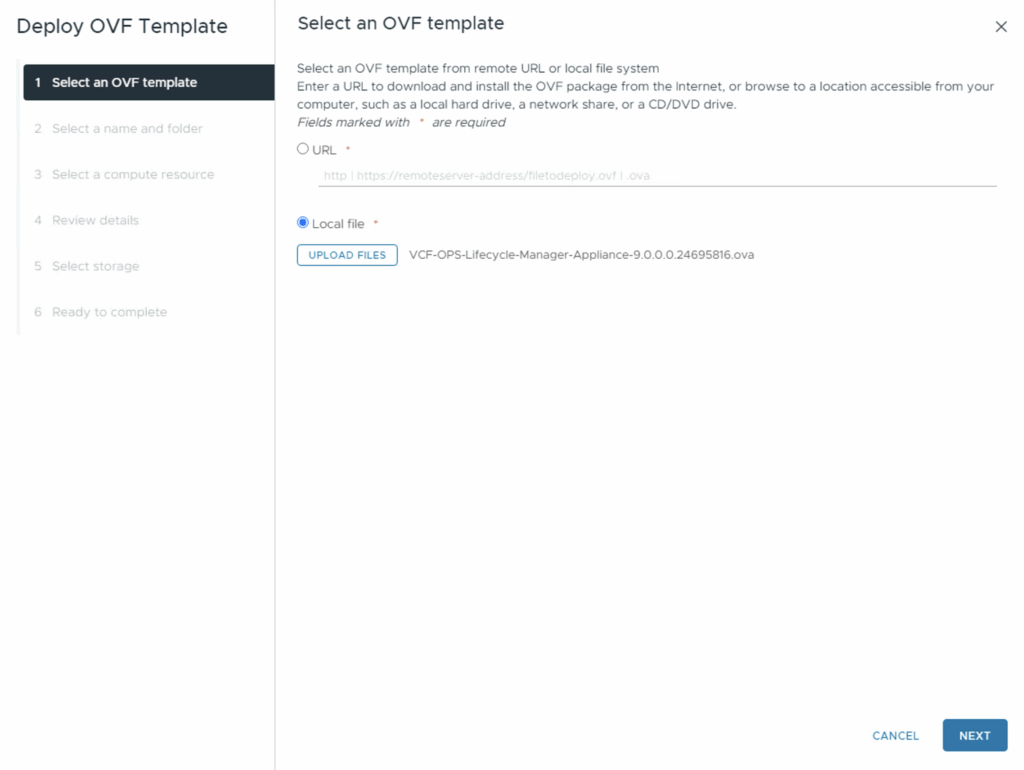
- In vCenter, choose Deploy OVA (or OVF template).
- Select the Fleet Manager OVA file (downloaded from the portal).
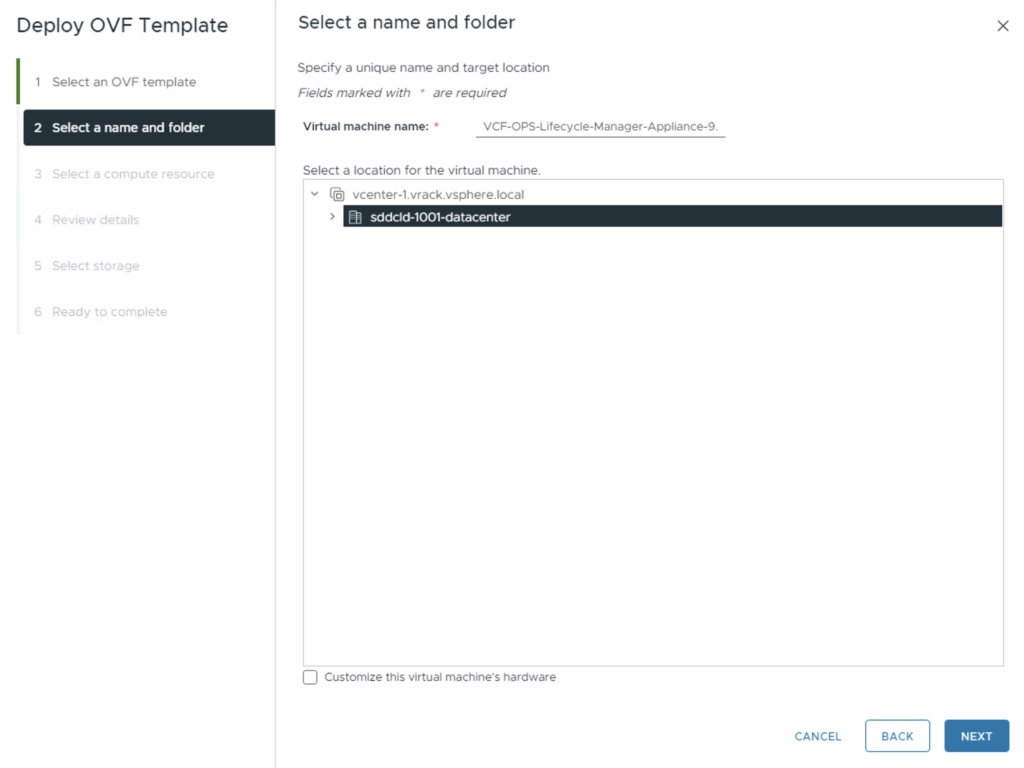
- Provide a VM name and select the inventory location (folder, cluster, or host).
- Choose the compute resource (ESXi host or cluster) for placement.
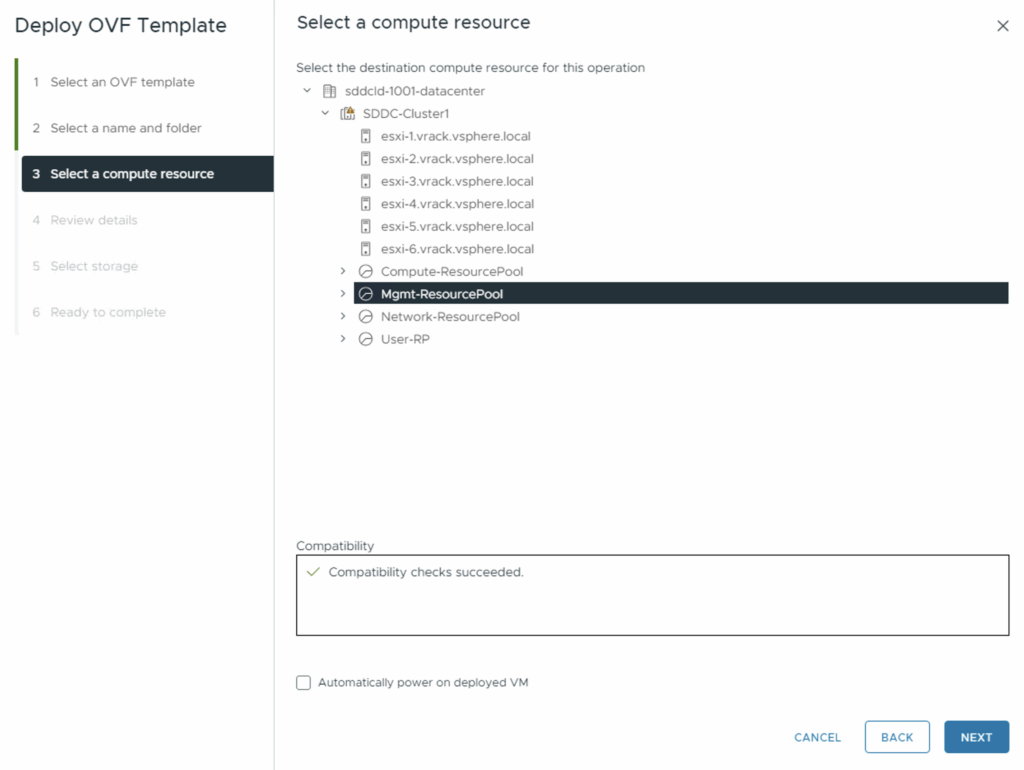
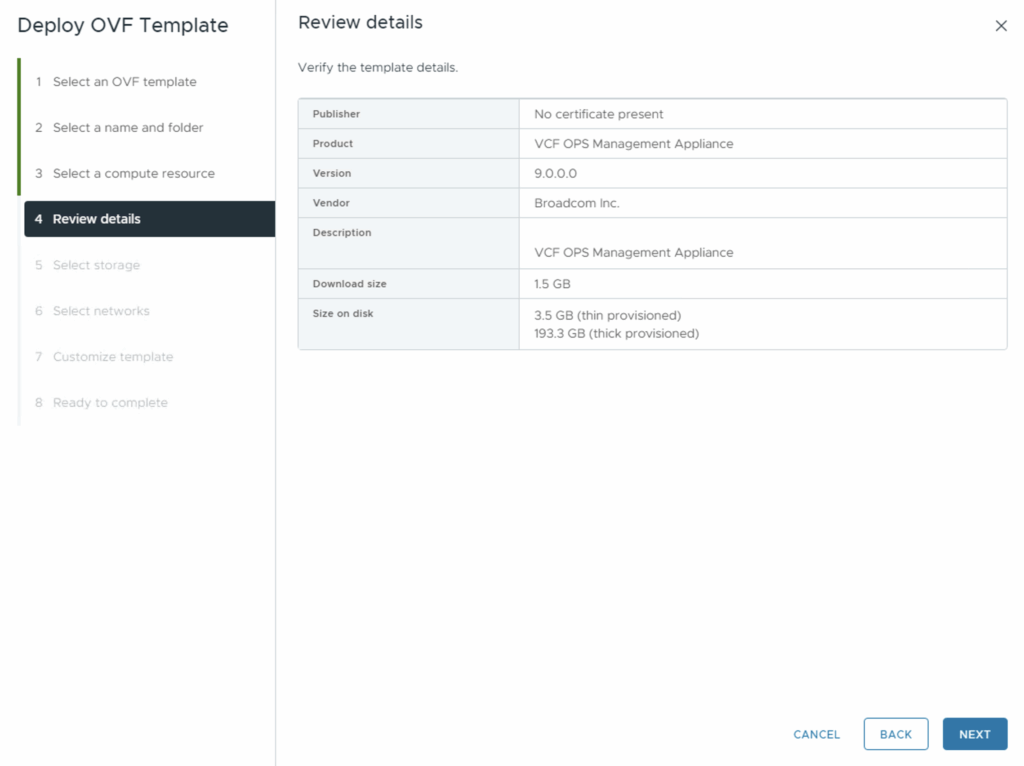
- Review the details and click Next.
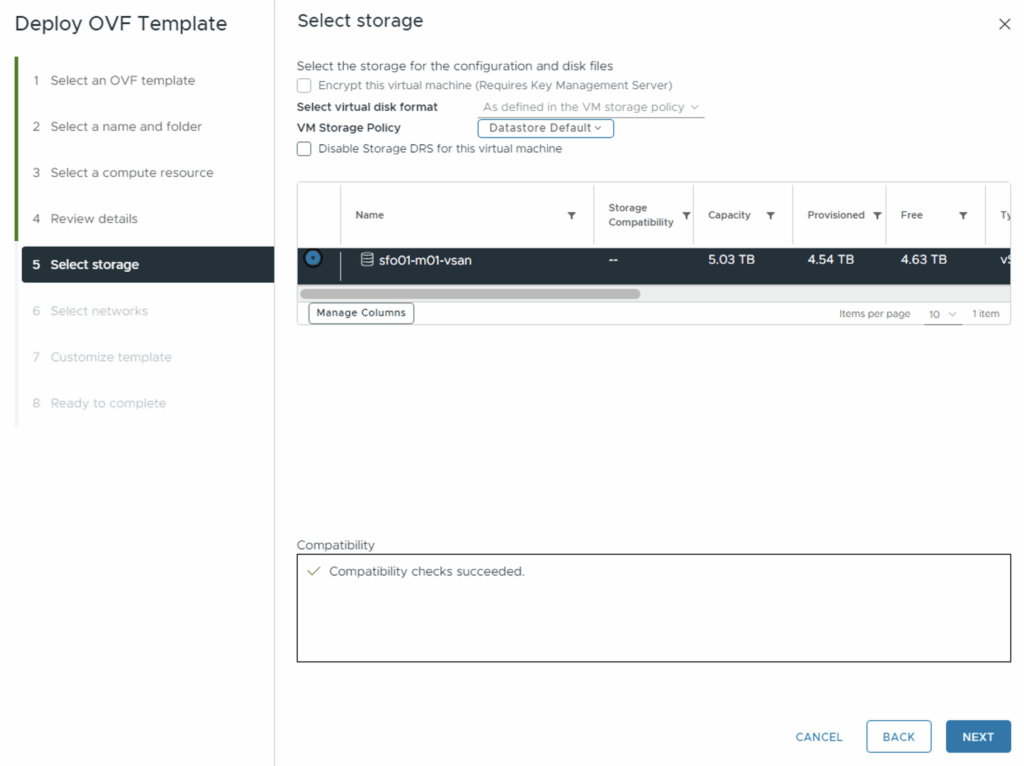
- Select the target storage (datastore) for the VM’s disks.
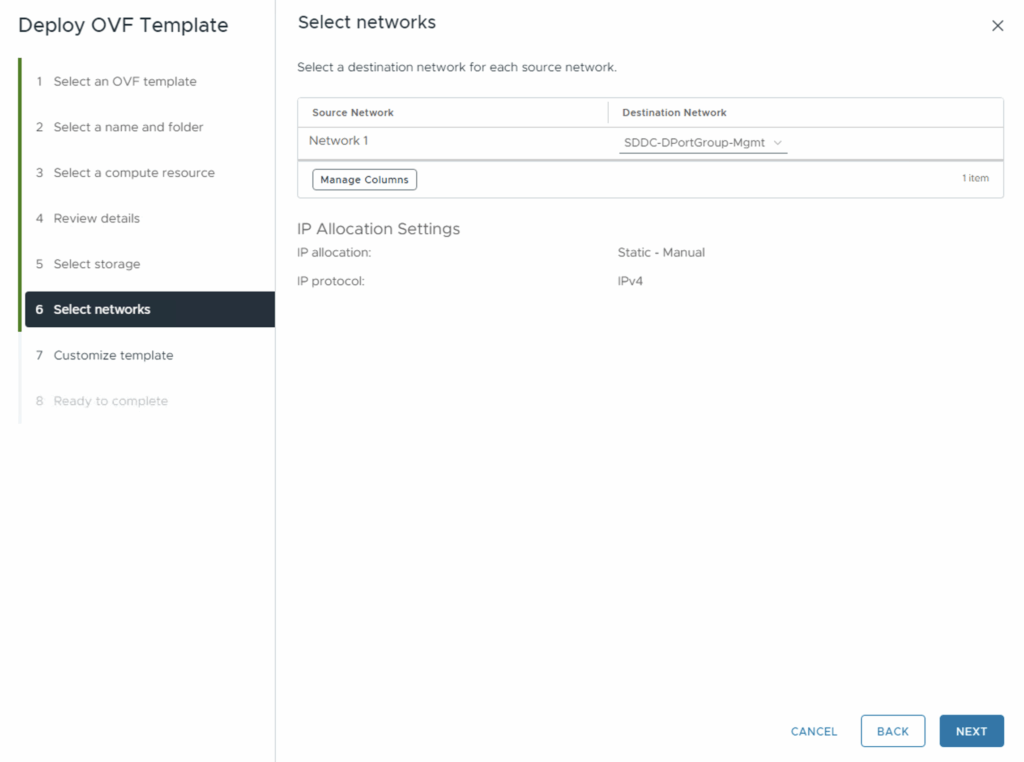
- Choose the network(s) to attach the appliance.
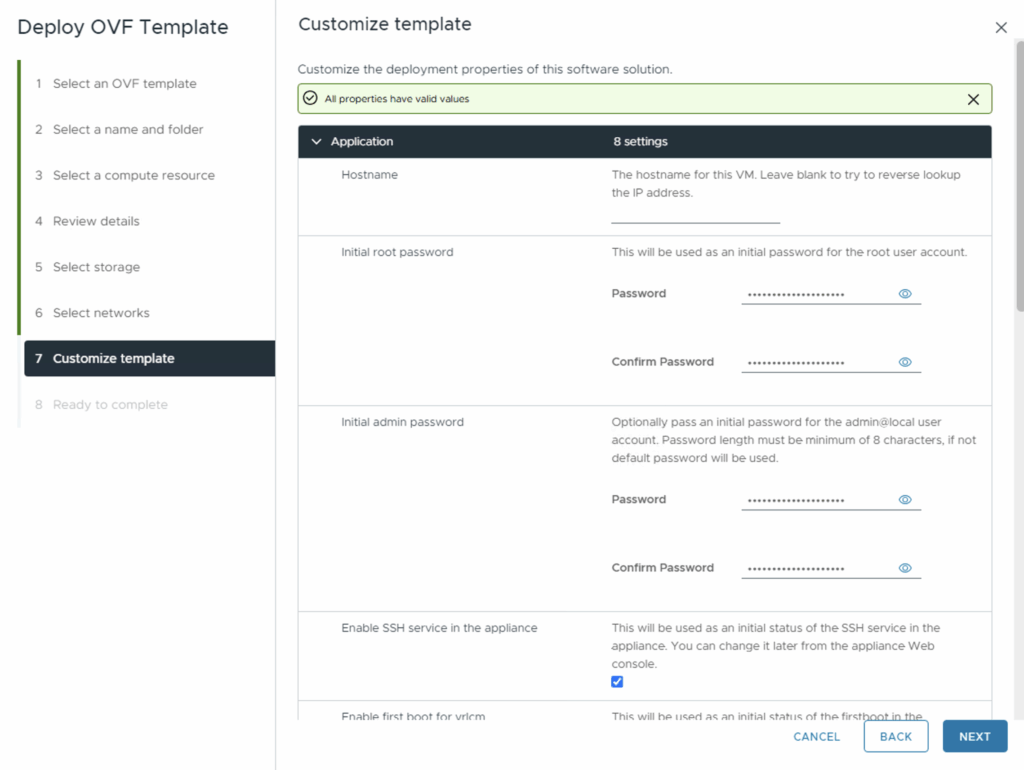
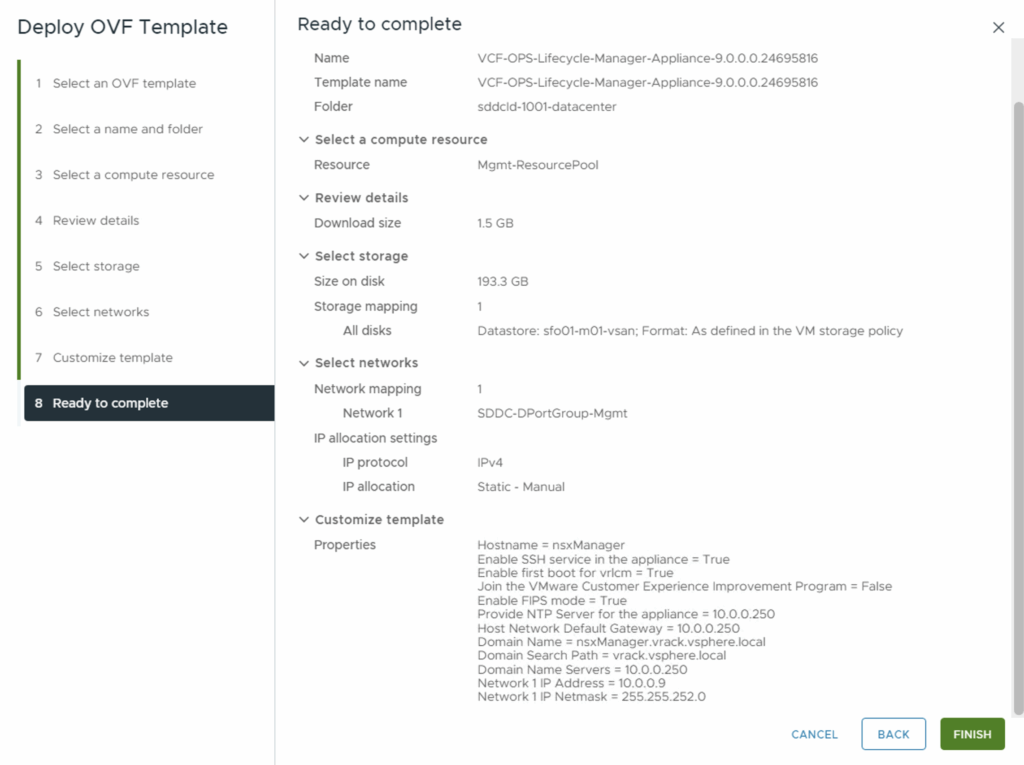
- When prompted, fill in the customization metadata:
- Root / admin passwords
- FQDN / hostname
- IP address, subnet mask, gateway
- DNS server(s), domain name
- NTP server(s)
- Review the settings and click Finish to deploy the OVA.
- Power on the appliance once deployment completes.
3. Initial Configuration & Connection
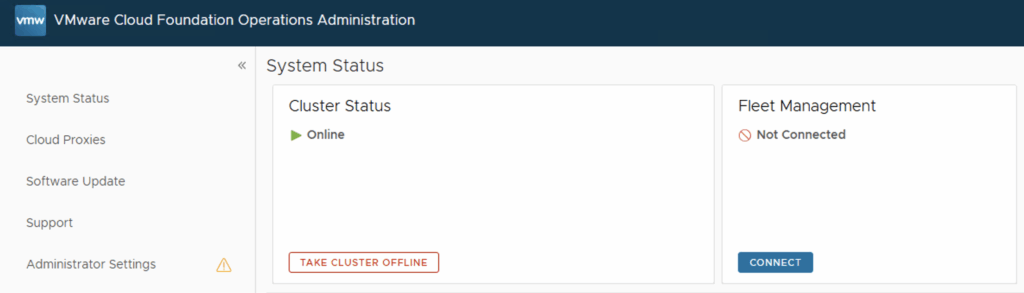
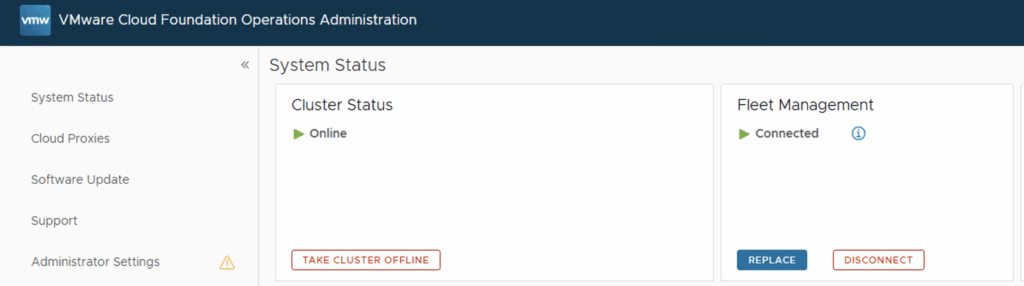
- Access the Operations appliance UI admin interface via its FQDN (e.g. https://<fleet-mgr-fqdn/admin>) in a browser.
- In the UI, go to the Fleet Management or Connect tile.
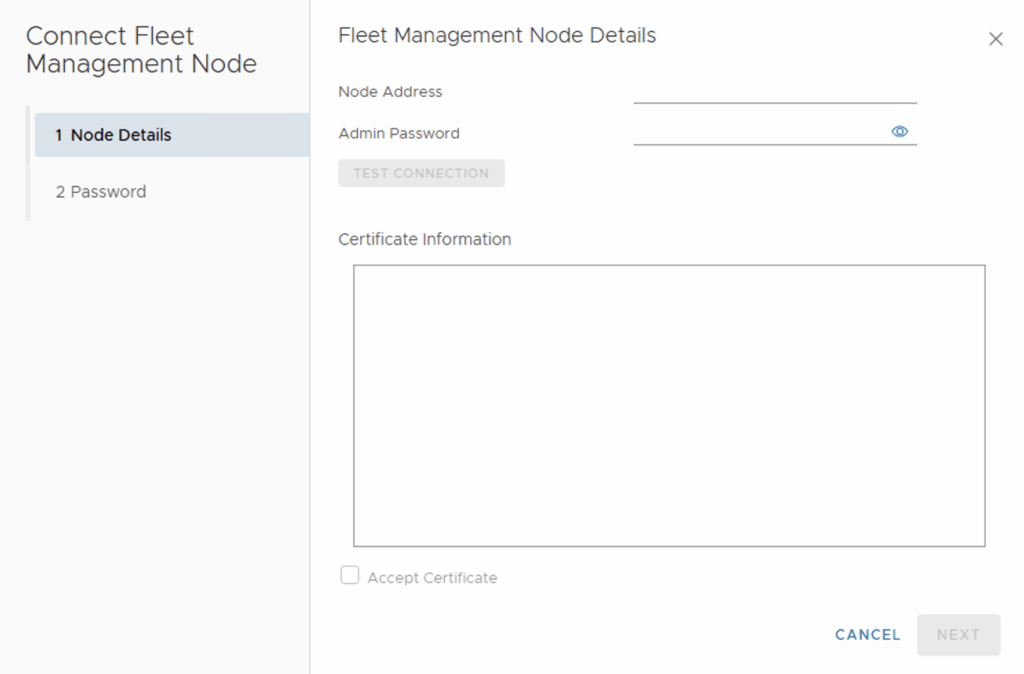
- Enter the IP / FQDN and admin credentials for the new appliance, then test the connection.
- Accept any SSL / certificate warnings as needed.
- Supply credentials for your primary VCF Operations node (or cluster).
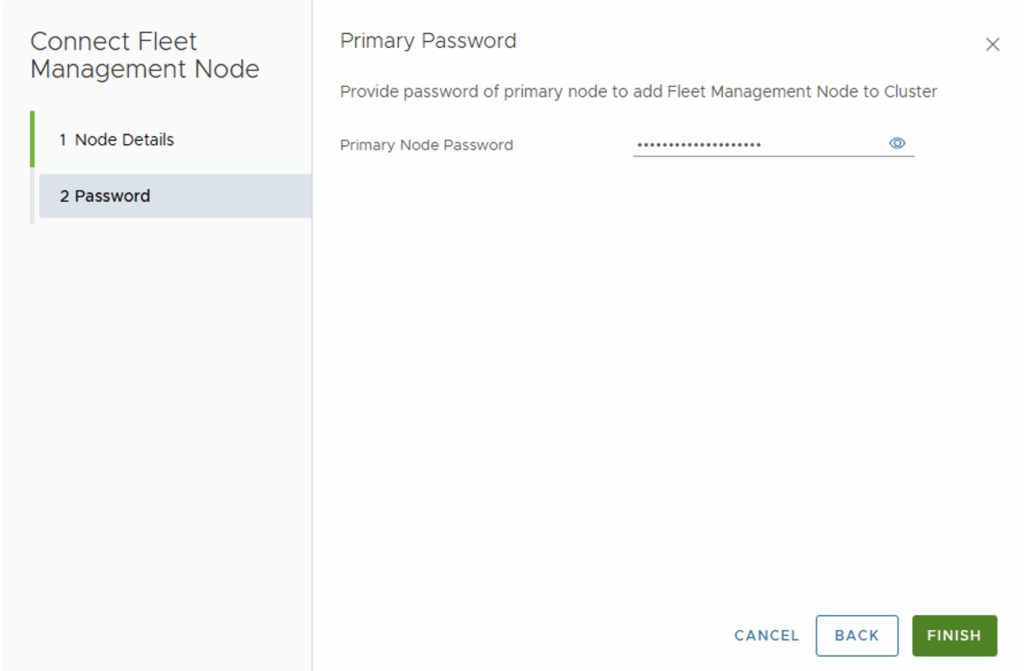
- Wait for a couple of minutes, the Fleet Management box should reflect as Connected
4. Import / Add Existing Components
Once Fleet Manager is reachable, the next steps are to integrate it with any existing Operations / Logs instances:
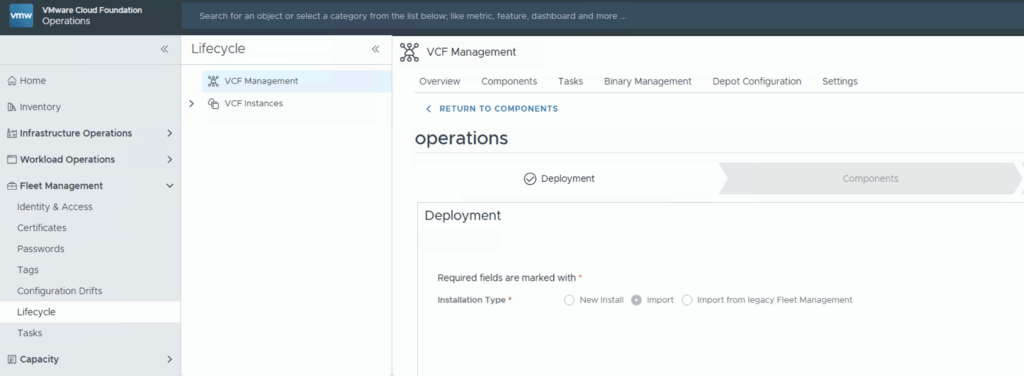
- Go to Operations user interface -> Fleet Management -> Lifecycle -> VCF Management -> Under operations click Import. this should start a task
- Provide the credentials, FQDN, and vCenter info. Submit the job.
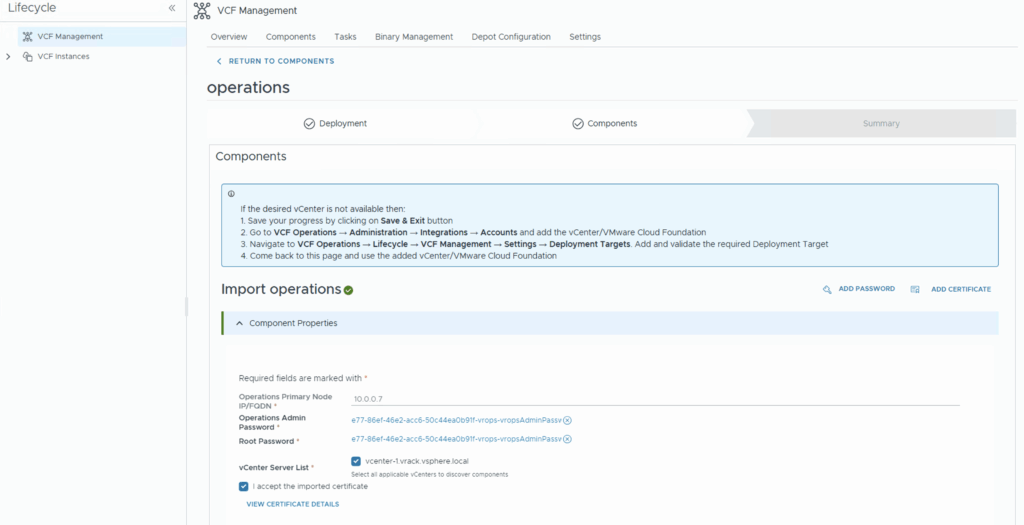
- Review the details and click submit. This will start a task to import VCF Operations under management.
5. Configure the Depot & Deploy VCF Automation (Optional Next Step)
- In the UI, configure the Depot / Binary Management settings (online or offline depot).
- After the depot is set up and binaries are synchronized, you can use the UI to deploy VCF Automation, the next piece of your stack.
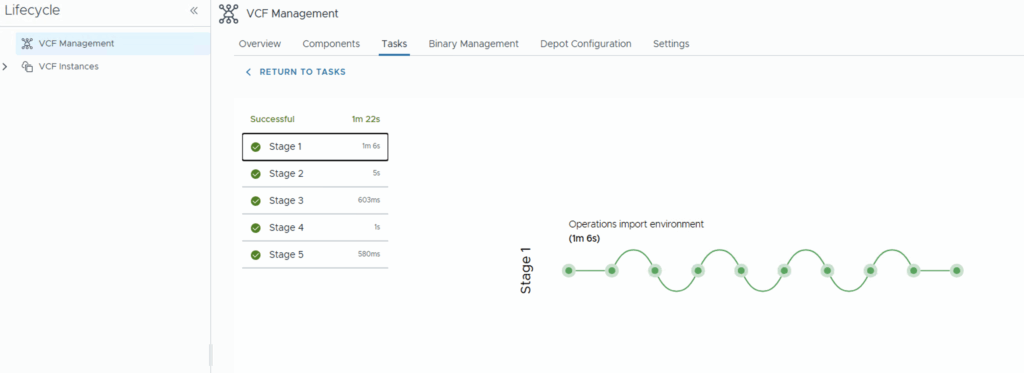
6. Verification & Post-Deployment Checks
- In Lifecycle → Overview / Components, confirm that Operations and Fleet Manager show successful integration.
- Check connectivity, dashboard health, metrics, and logs to ensure no errors or warnings.
- Verify that future Lifecycle / patching tasks are visible and manageable under this new Fleet Manager hierarchy.