With the release of VCF 9 (Official What’s New blog can be found here) I wanted to get my lab environment upgraded so I can try out all of the new features.
To get started we need to download the VMware Cloud Foundation Installer from the VMware Cloud Foundation 9.0.0.0 page found here. In this post we will cover only the deployment. The configuration is available in another post.
Deploy the VMware Cloud Foundation Installer appliance
Once the appliance is downloaded we need to get the ova deployed.
- Log in to an existing vCenter with an user that has enough permissions to deploy an ova
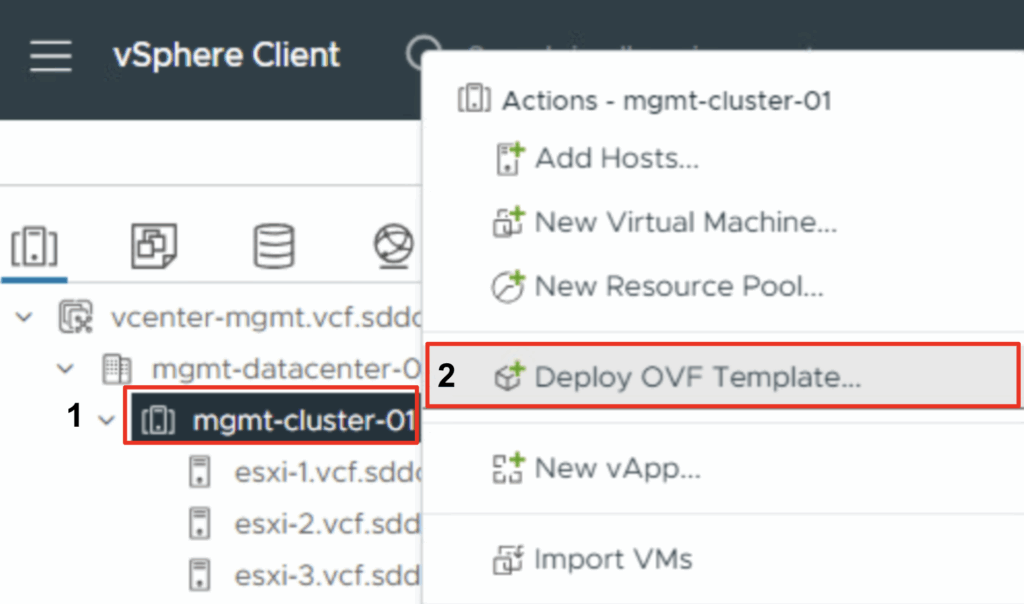
- Right click on an existing cluster and click on Deploy from OVF Template

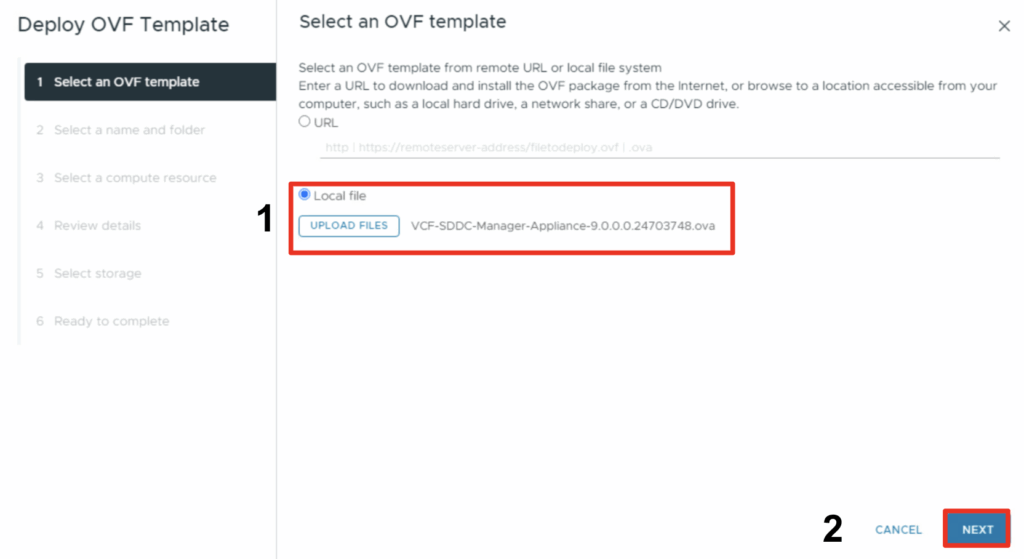
- Select the installer file that was downloaded
- Click Next
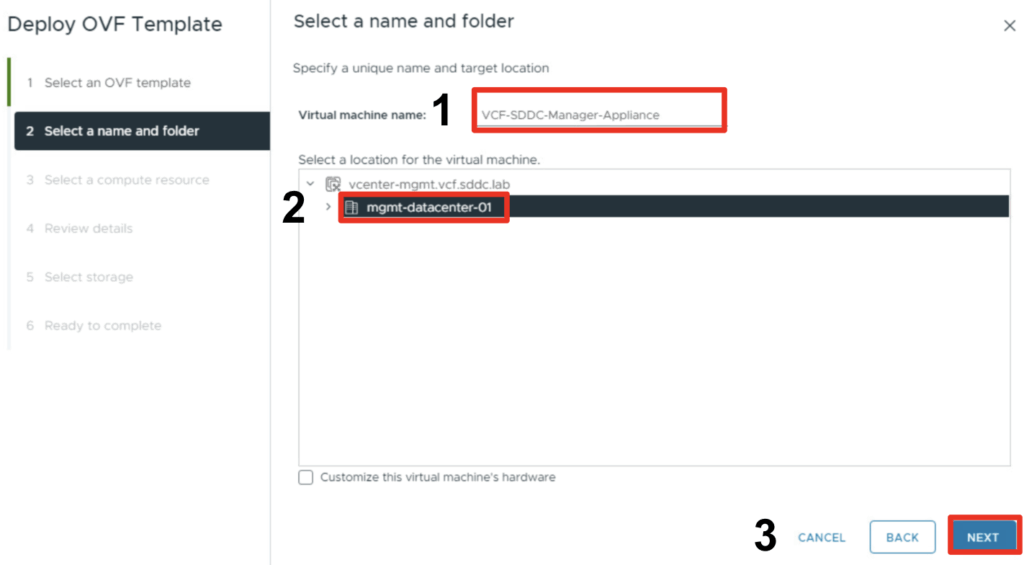
- Give the appliance a name
- Select a deployment location
- Click Next
- Select a compute resource
- Click Next

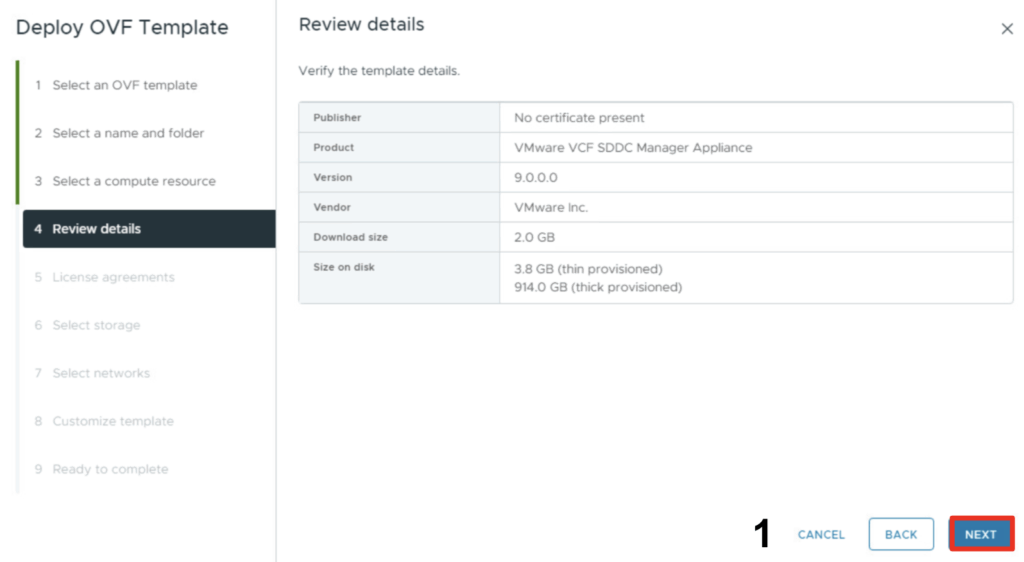
- Review the deployment details
- Click Next
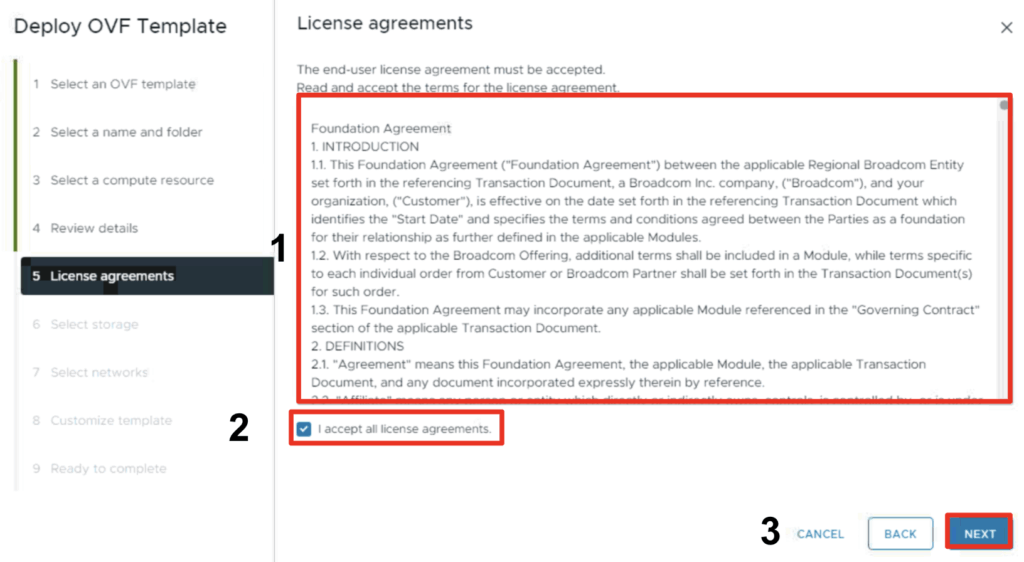
- Read the License agreements
- Accept the license agreements
- Click Next
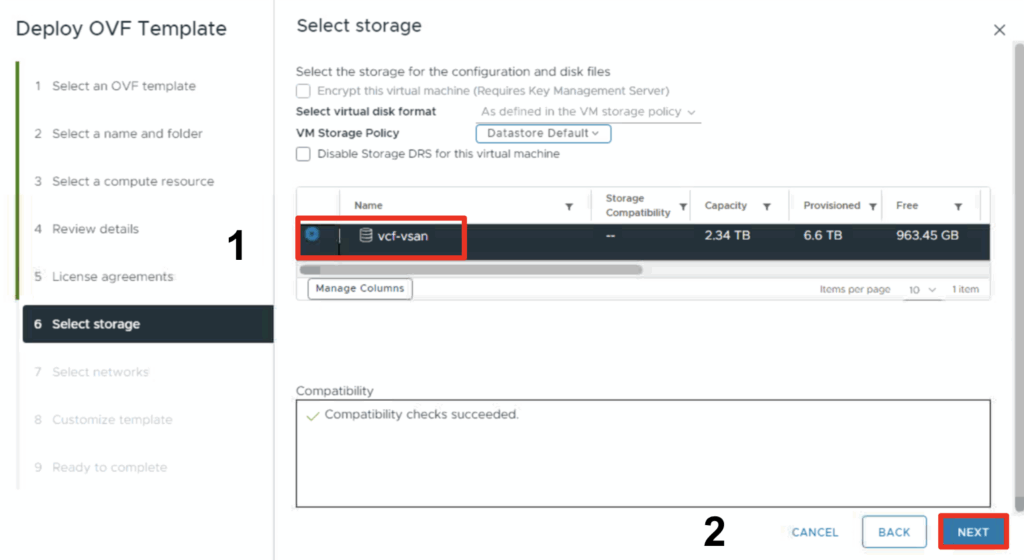
- Select a datastore for the deployment
- Click Next
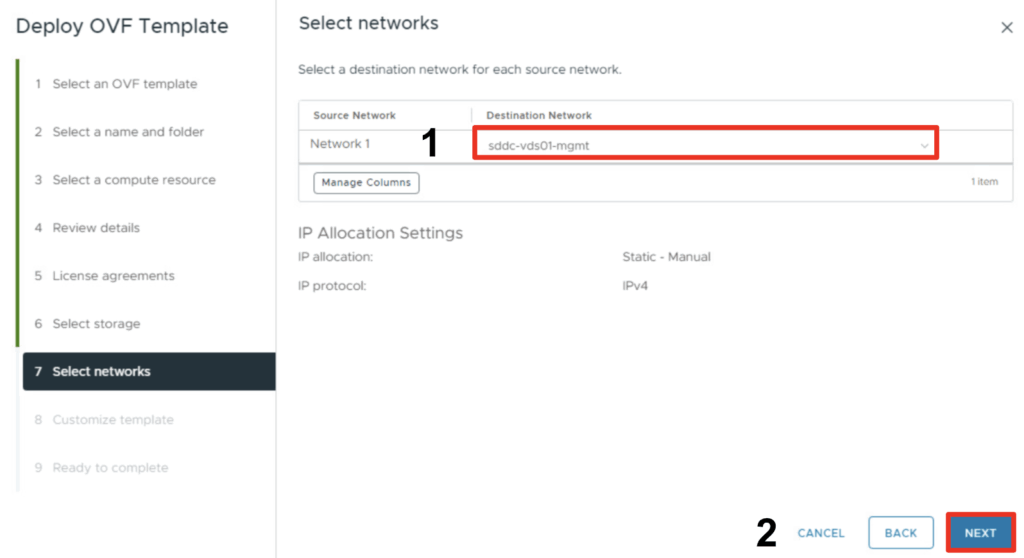
- Select a destination network
- Click Next
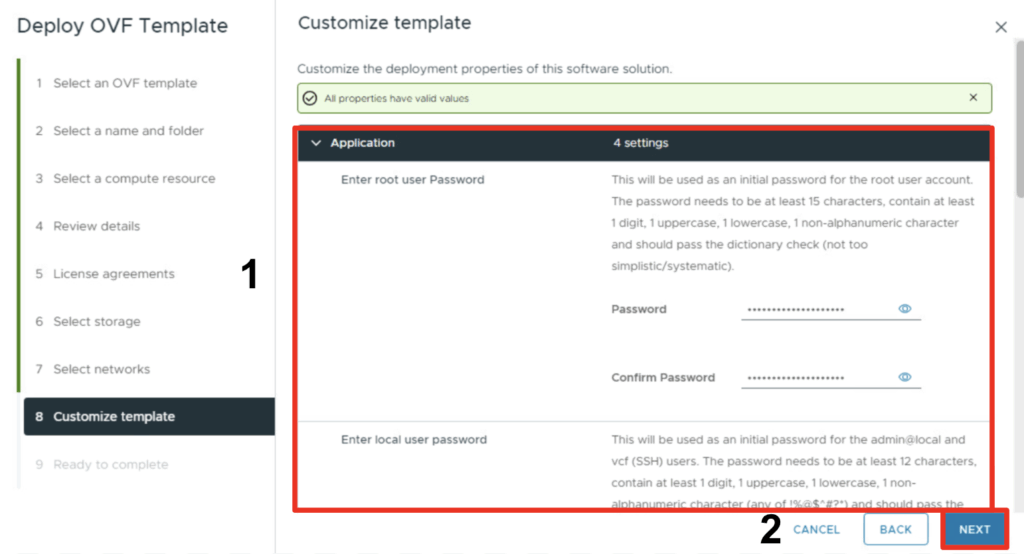
- Provide the required information ex: passwords, network configuration etc.
- Click Next
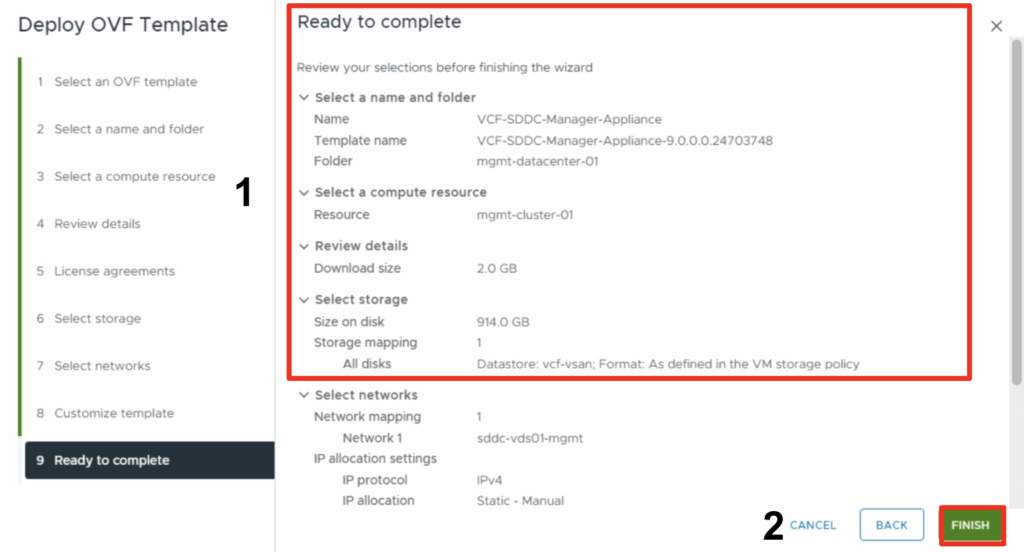
- Review the information
- Click Finish to start the deployment.
Once the appliance is deployed we can navigate to https://ip_address/ui or https://hostname/ui of the appliance.
If the following appears there is no reason to worry, the appliance is still starting services, try again in a few minutes
Once the appliance has finished starting services we will be presented with the following login screen
- For username we will use admin@local
- For password enter the password provided in the previous steps.
- Click Log in
![]()
I will be covering the configuration in one of the next blogs