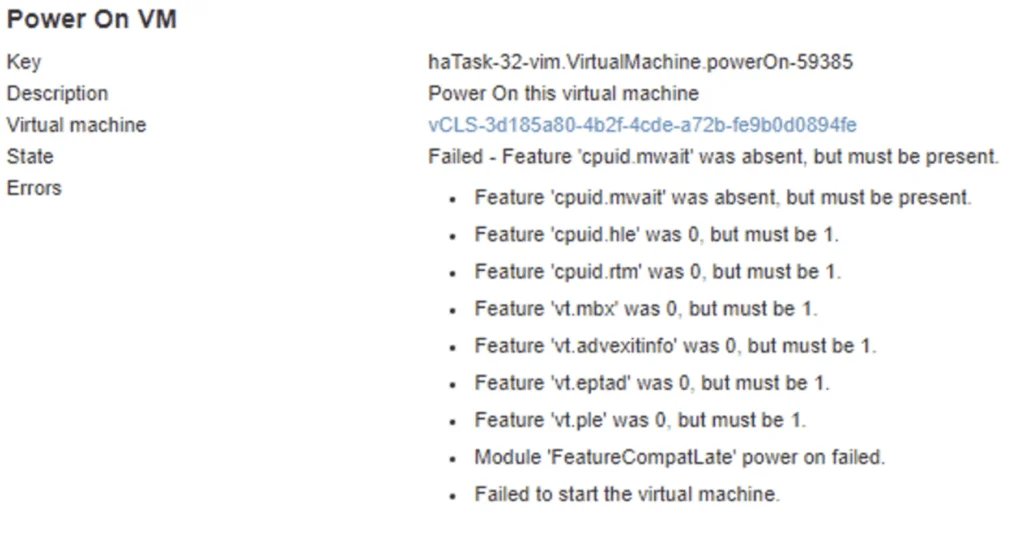
With the release of vCenter 7 Update 1, VMware introduced the vCLS (vSphere Clustering Service). More information can be found here.
Diagnosing the cpuid.mwait Error

Looking at the error details it looks like it is looking for a feature called cpuid.mwait
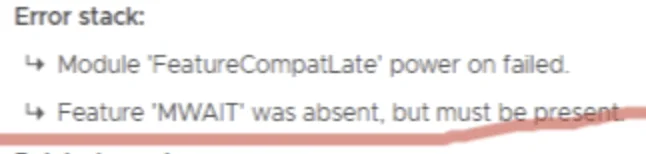
Reviewing the VMX file it seems like EVC is enabled on the vCLS VMs. I didn’t want to enable EVC on the whole cluster so I wanted to do it only on the specific VMs.
Upgrading VM Compatibility to Version 14
Doing some research I found that the VMs need to be at version 14. After upgrading the VM I was able to disable EVC on the specific VMs by following these steps:
In the vSphere Client, navigate to the virtual machine
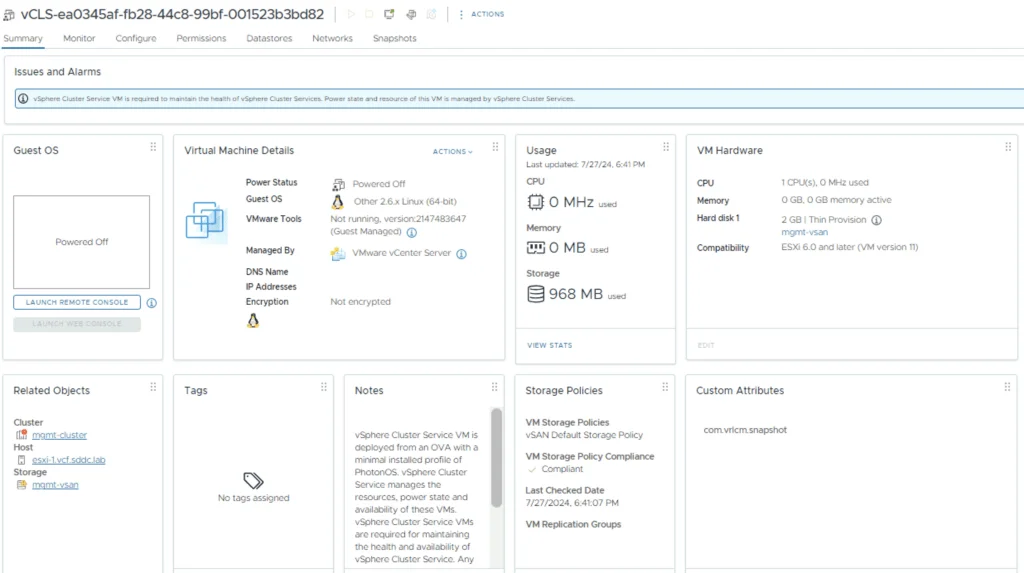
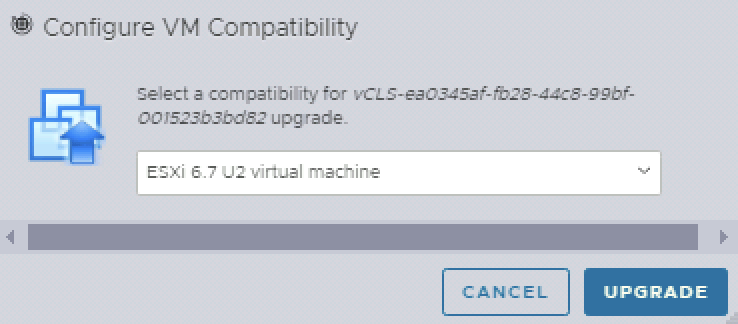
Next we need to log in directly to the ESXi server. Under the Actions -> Upgrade VM compatibility
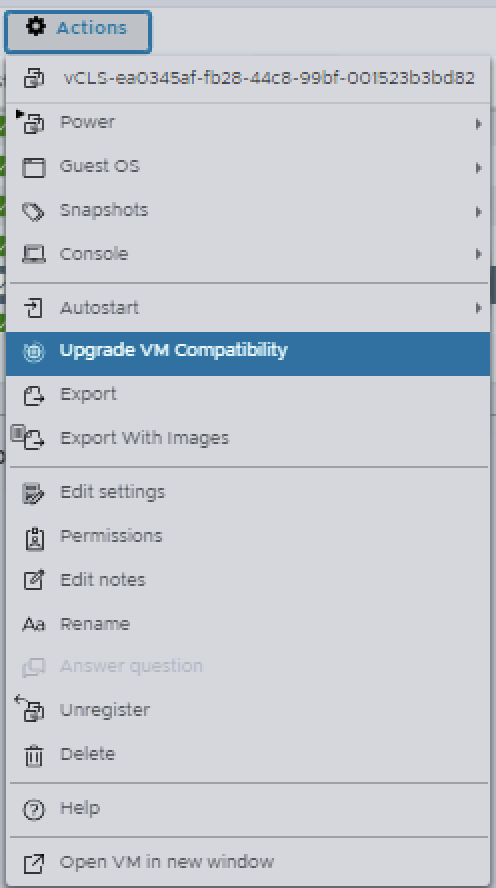
We can disable EVC on per VM level on version 14 and above, so in my case I chose ESXi 6.7U2 and clicked upgrade.
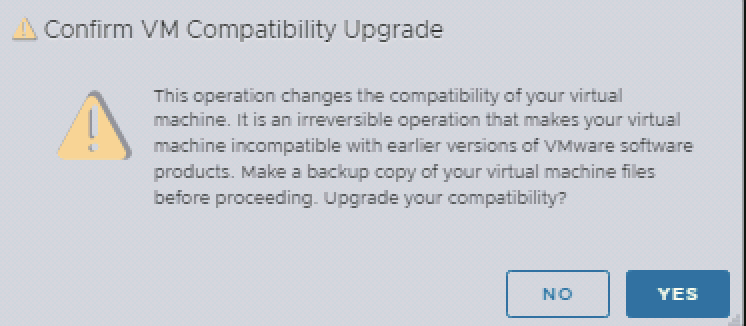
Confirm VM Compatibility Upgrade and click yes.
Disabling EVC on the vCLS VM
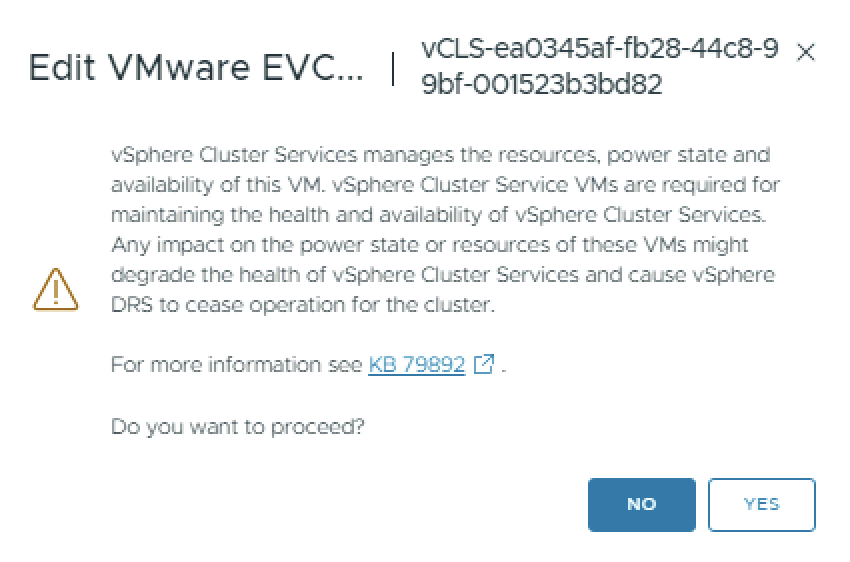
Next go to the Configure Tab on that VM in vCenter. Pick VMware EVC and click on Edit

Click on Yes
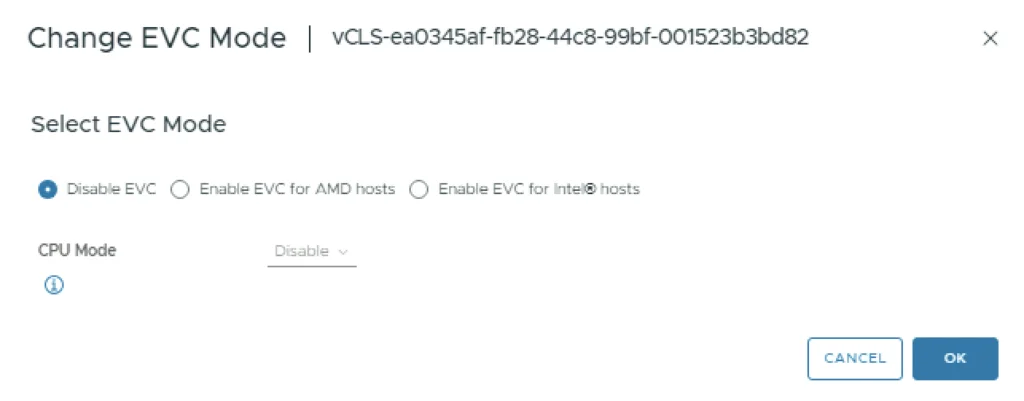
Click on Disable EVC and Click OK
Powering the vCLS VMs Back On
The next time it tries to power on the VM, the system will automatically set the proper EVC CPU Mode and it should power on.

Once the first VM starts up it will most likely deploy a few additional ones, follow the same steps as above again on the new VMs
For other vCLS issues, see vCLS not starting with Insufficient resources message, or learn how to disable vCLS via retreat mode.