VMware Aria Operations for Networks (formerly vRealize Network Insight) provides deep network visibility, security analysis, and troubleshooting capabilities. Deploying VMware Aria Operations for Networks through VMware Aria Suite Lifecycle Manager (ASLCM) ensures a streamlined installation process.
Before You Begin
Prerequisites
Before proceeding, ensure that:
Aria Suite Lifecycle Manager (ASLCM) is installed and configured.
VMware Aria Operations for Networks binaries are manually downloaded from Broadcom’s Support portal.
vCenter and NSX credentials are available.
Sufficient resources (CPU, RAM, storage) are allocated in vSphere.
DNS, NTP, and network settings are properly configured.
Logging In and Mapping the Product Binaries
Step 1: Log in to Aria Suite Lifecycle Manager
Open your browser and go to the Aria Suite Lifecycle Manager UI.
Log in using admin credentials.
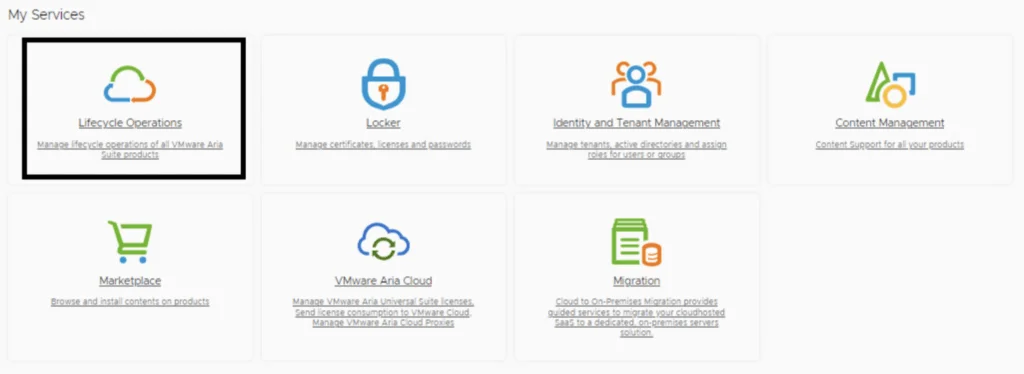
Navigate to Lifecycle Operations.

Step 2: Manually Download and Map the Aria Operations for Networks Binary
Since ASLCM no longer downloads binaries directly, you must:
Search for VMware Aria Operations for Networks.
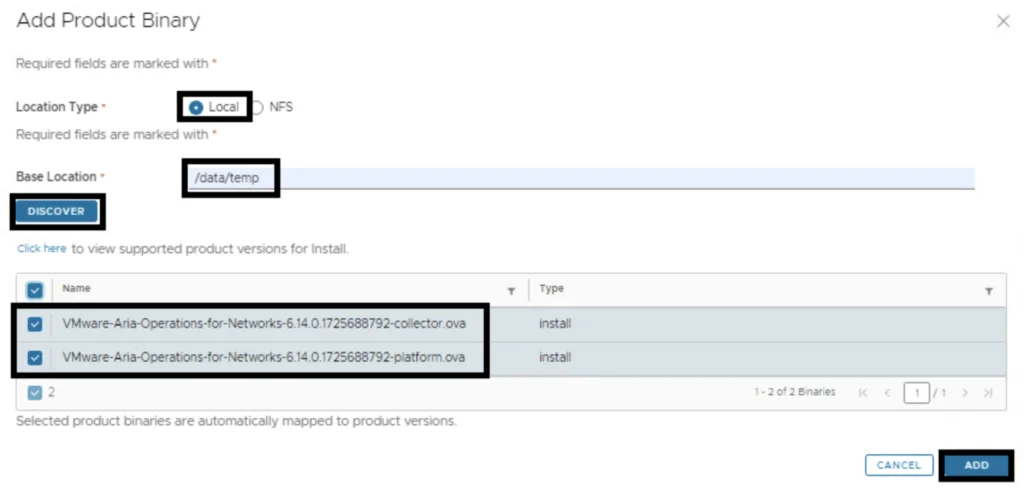
Download the required OVA/installation files for the desired version. In my case the VMware-Aria-Operations-for-Networks-6.14.0.1725688792-collector.ova and VMware-Aria-Operations-for-Networks-6.14.0.1725688792-platform.ova
Transfer the downloaded files to a local datastore or a NFS accessible location.
Adding Local Binary in ASLCM
In Aria Suite Lifecycle Manager, go to Settings > Binary Mapping.

Click Add Binaries and select Local.
Browse to the location where you uploaded the Aria Operations for Networks OVA.
Click Add to map the packages.
Adding Aria Operations for Networks to an Environment
Step 3: Add VMware Aria Operations for Networks to the Environment.
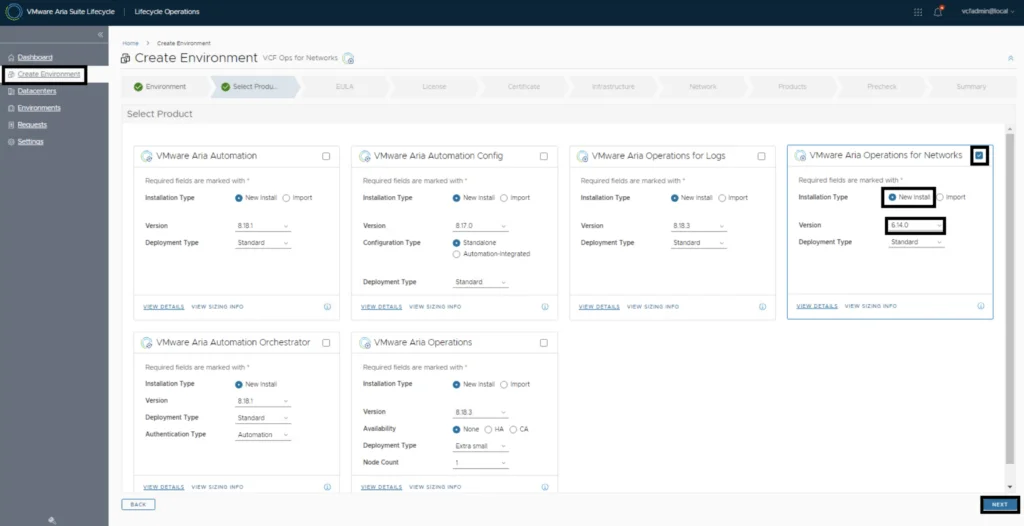
In Lifecycle Operations, click Add Product to an existing environment or create a new environment.
Select Aria Operations for Networks.
Choose the version you mapped in Binary Mapping.
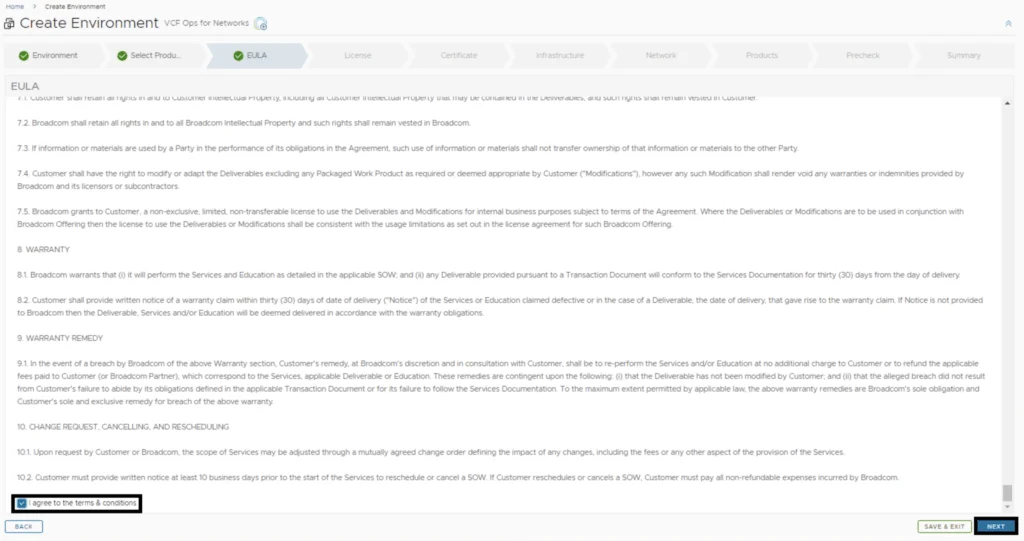
Accept the EULA and continue.
Licensing and Deployment Configuration
Step 4: Configure Licensing
Select License: Choose a license or add a new one.
Validate the license:
Proceed to the next step.
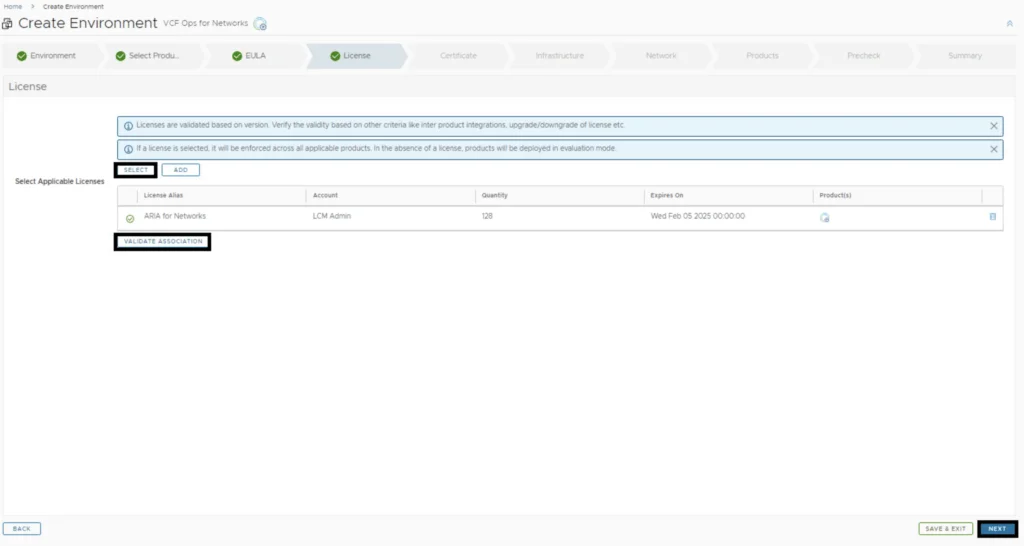
Step 5: Configure Deployment Details
Select Environment: Choose an existing environment or create a new one.
Provide vCenter Details:
Provide the vCenter Server.
Select the appropriate cluster, resource pool, network, datastore, disk mode and vIDM integration.
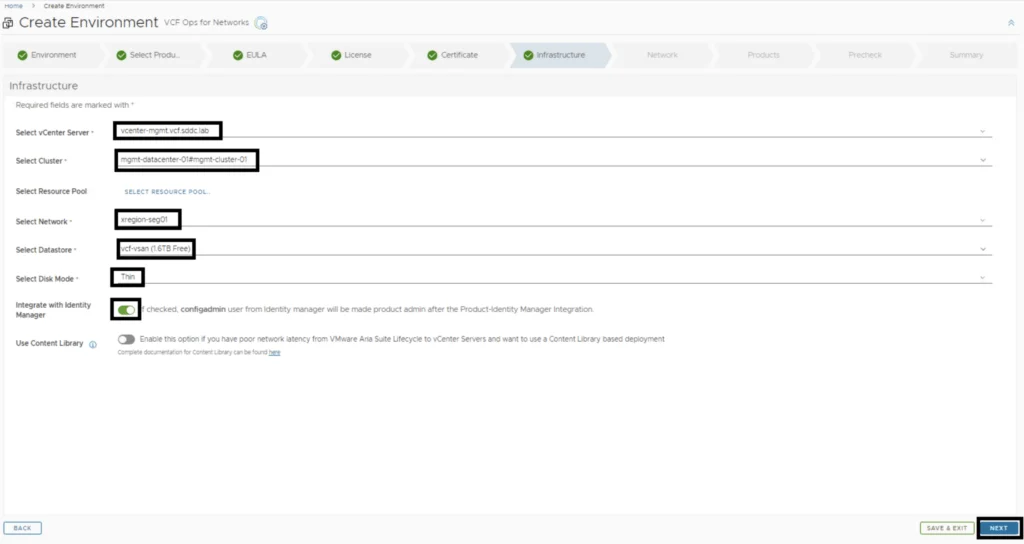
Network Configuration:
- Provide gateway, subnet, and DNS details.
VM Sizing: Choose between Small, Medium, or Large based on the network size.
Running the Deployment
Step 6: Start the Deployment
Run the recheck and review all configurations carefully.
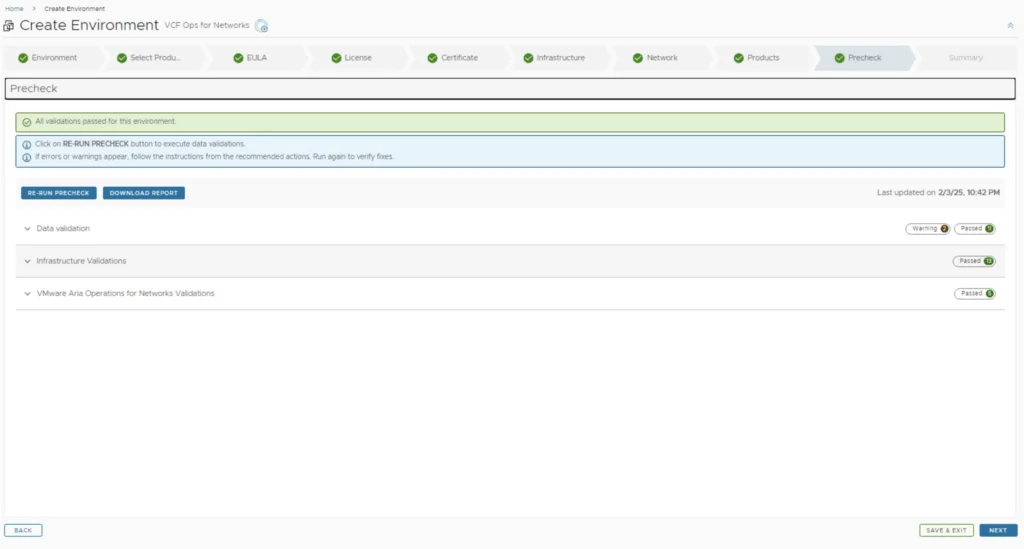
Click Submit to begin the deployment.
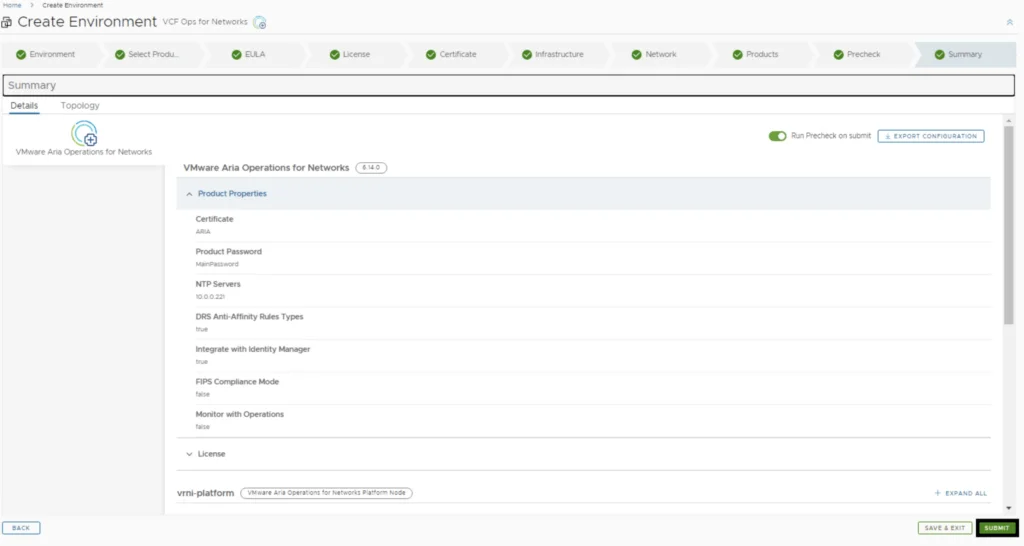
ASLCM will automatically deploy and configure the Aria Operations for Networks VM.
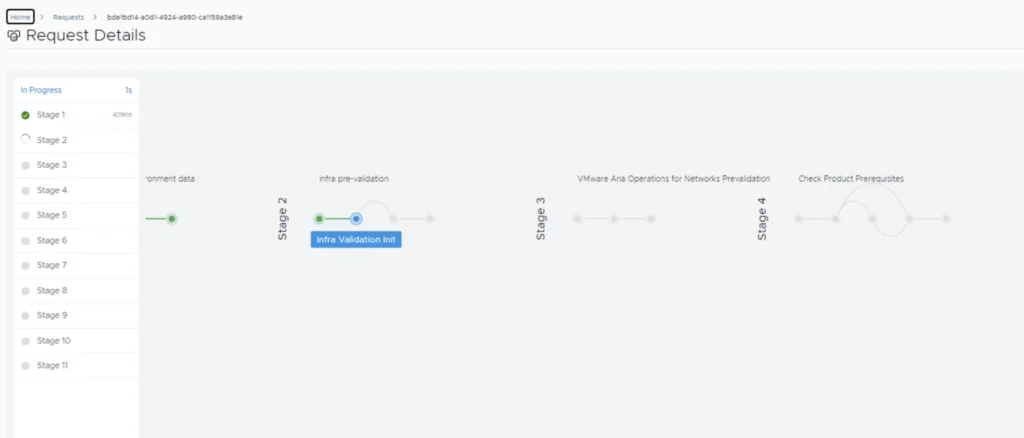

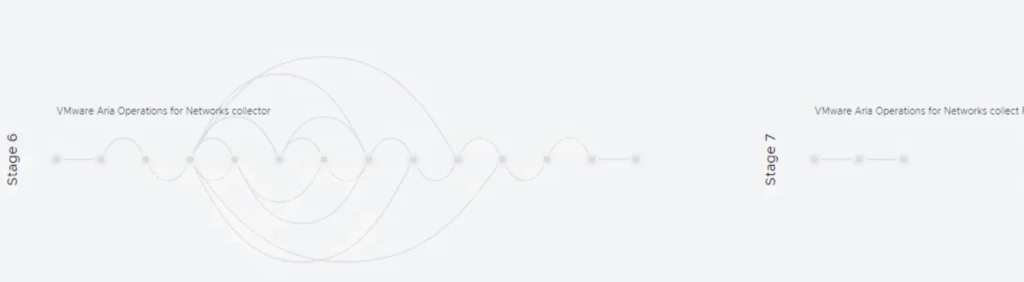
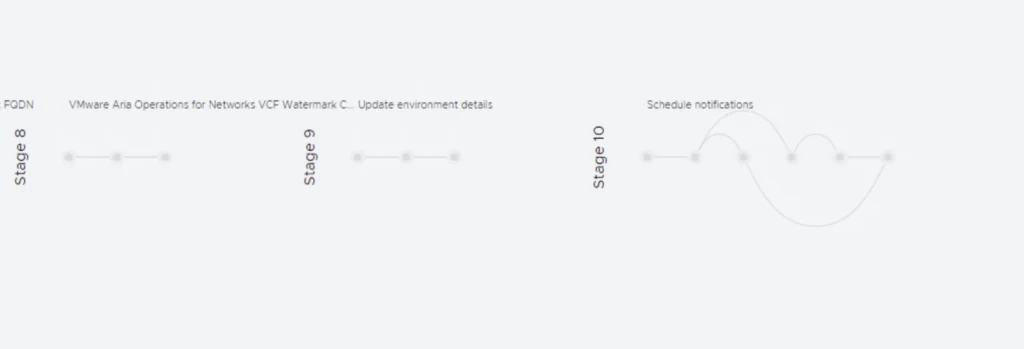
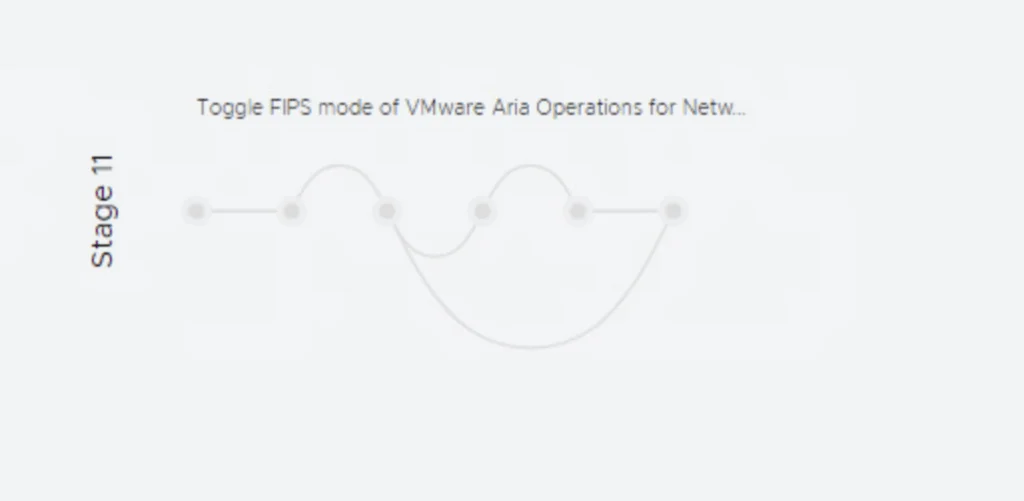
Validation and Post-Deployment Tasks
Step 7: Validate the Deployment
After deployment, log in to Aria Operations for Networks via its web UI.
Check the Admin Console for any configuration errors.
Verify that the VM is properly running in vCenter.
Ensure successful integration with vCenter and NSX.
Post-Deployment Tasks
Configure user roles & access permissions.
Set up data sources and start monitoring traffic flows.
When a newer release becomes available, I covered upgrading Aria Operations for Networks to 6.14 via Aria Suite Lifecycle in a separate guide.