If you followed my previous posts Deploying the vRealize suite using VCF 4.0 and vRealize Lifeycycle Manager (vRSLCM) enable product dowloads you should now have vRA and vIDM already downloaded.
Because im running on a deployment from VCF i can see that the datacenter was already provioned for me under under Home -> Lifecycle Operations -> Datacenters

However it seems like my Environment is not completely configured. In order to configure we can go to Home -> Lifecycle Operations -> Create Environment
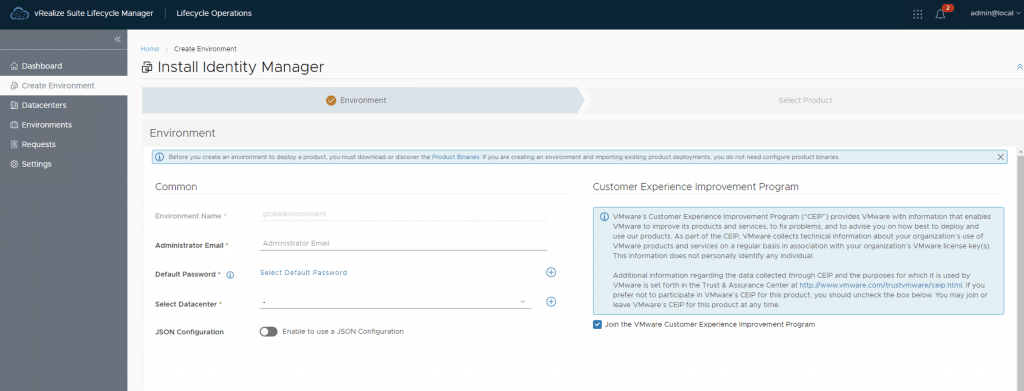
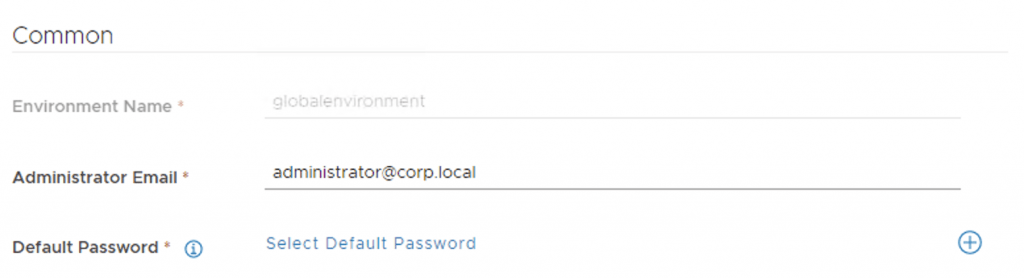
Add a new password to the vault that will be used by our installation wizards. We can add a password by clicking on the + sign next to the Default Password
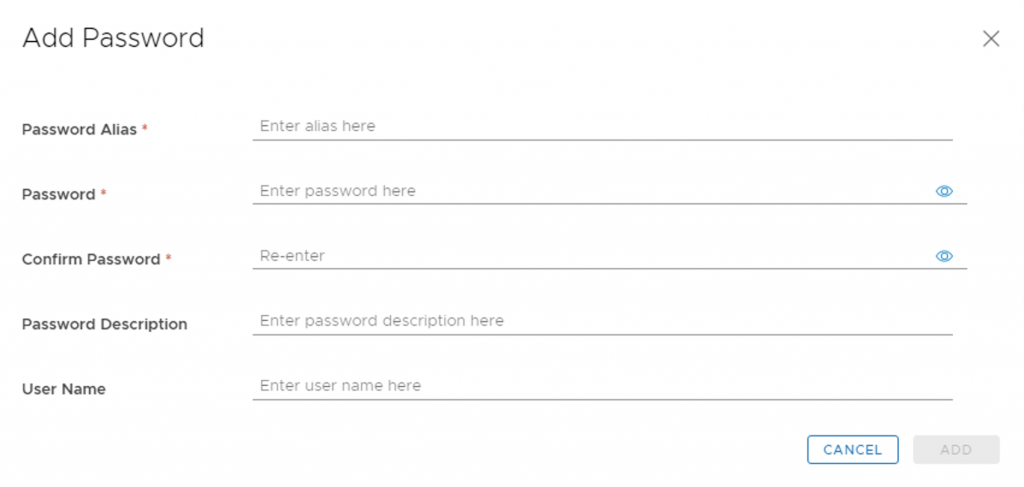
Enter the password details and click add
Now i can select the new password by clicking on Select Default Password. I can select the Datacenter from the drop down and click Next.
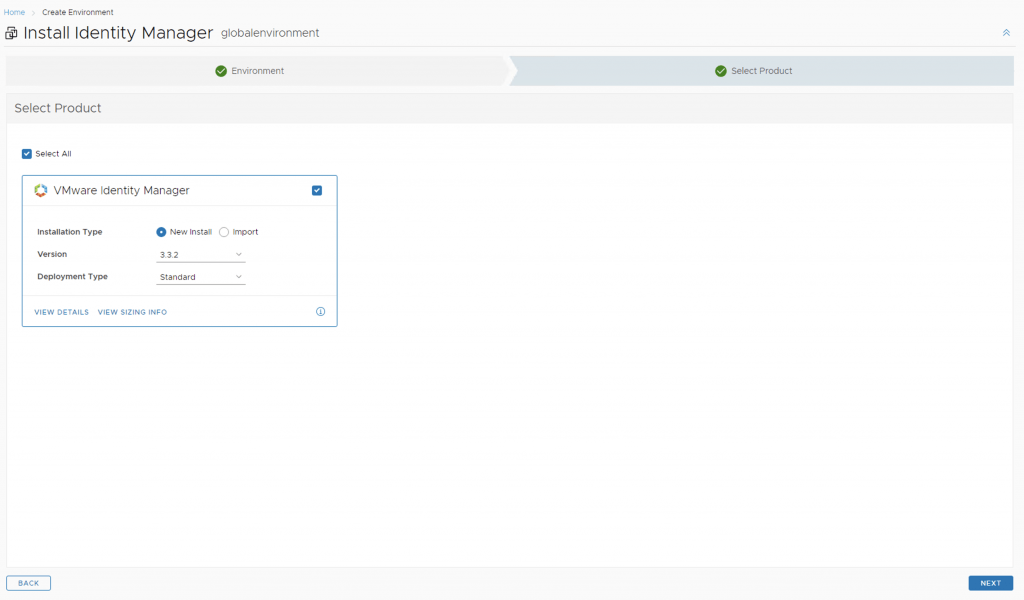
Select the VMware Identify Manager and click Next
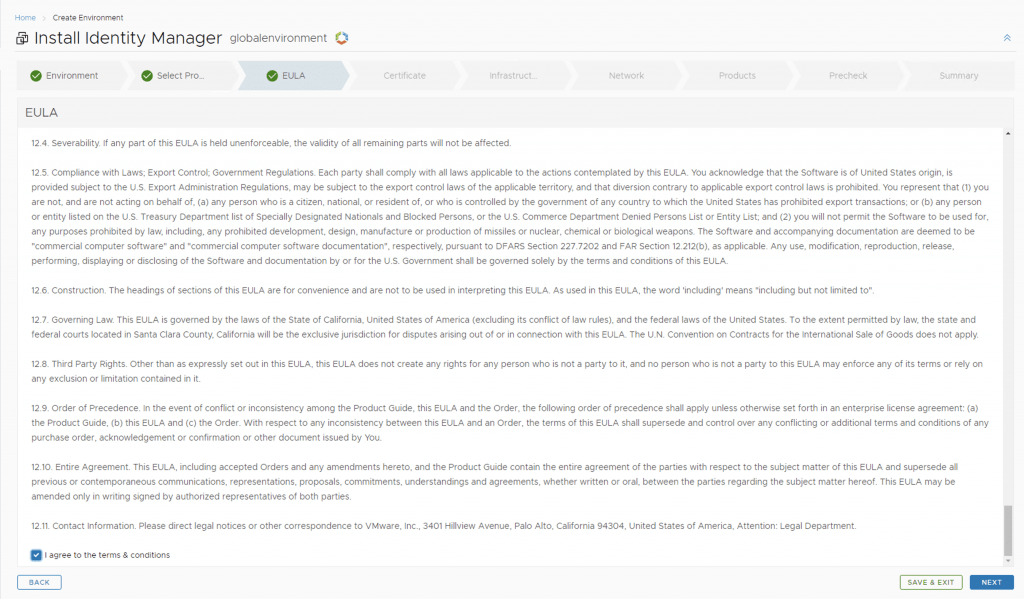
Accept the EULA and click Next
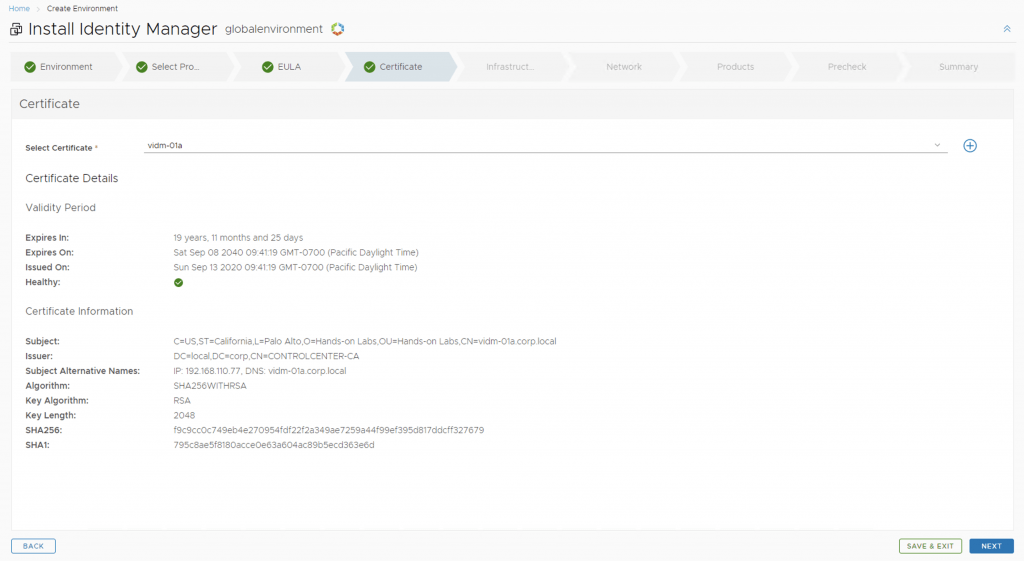
Select the certificate. If you do not have a certificate you can follow the instructions i have here. Click next
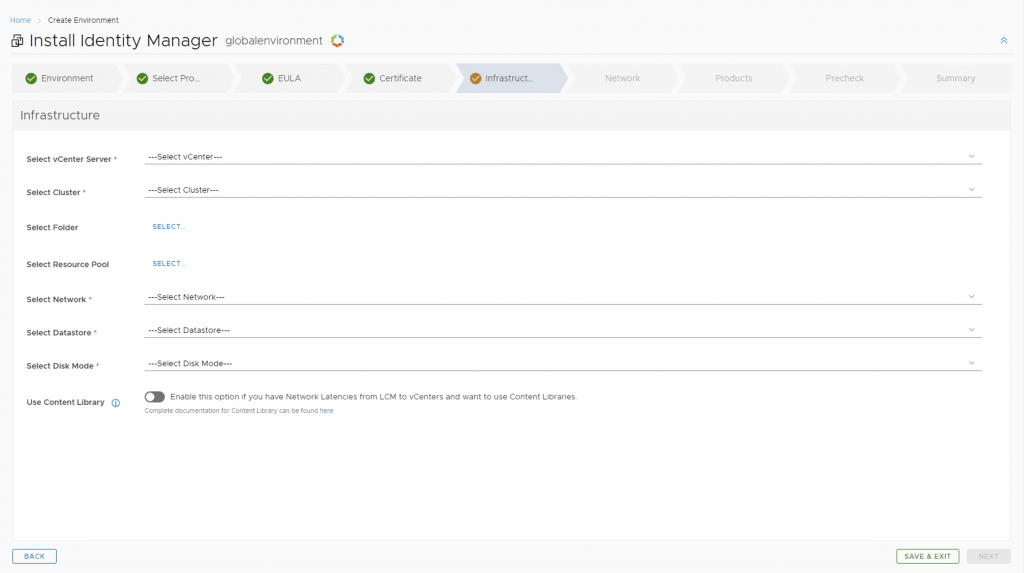
Select the proper details to where the server will be deployed
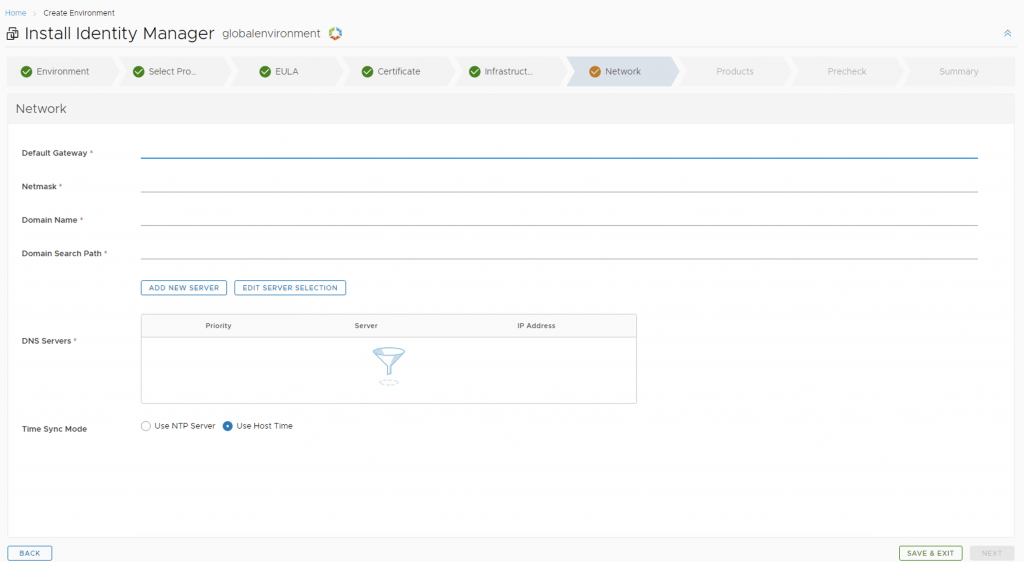
Fill in the network information and click next
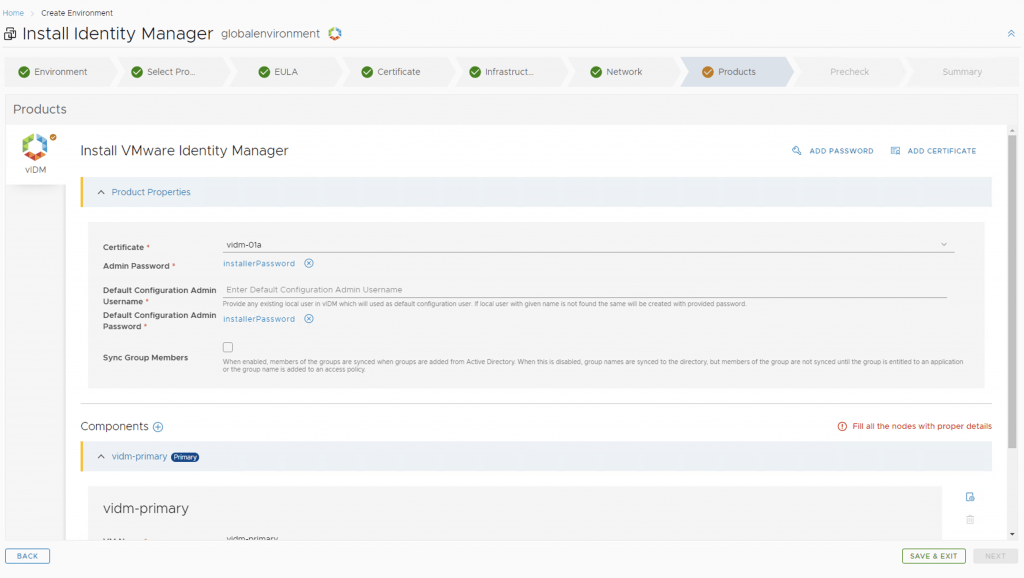
Fill in the product information
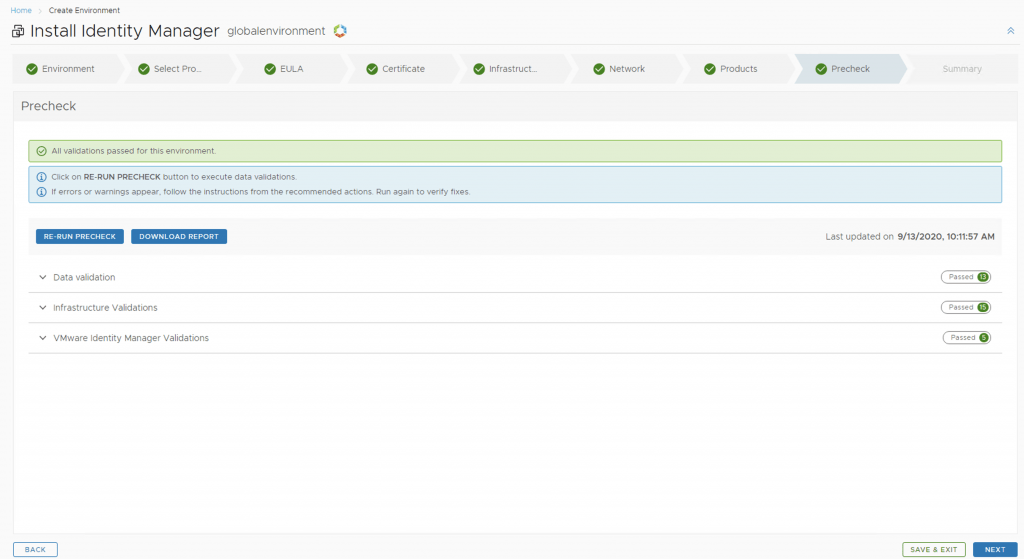
Run the precheck and verify that everything is valid and click next
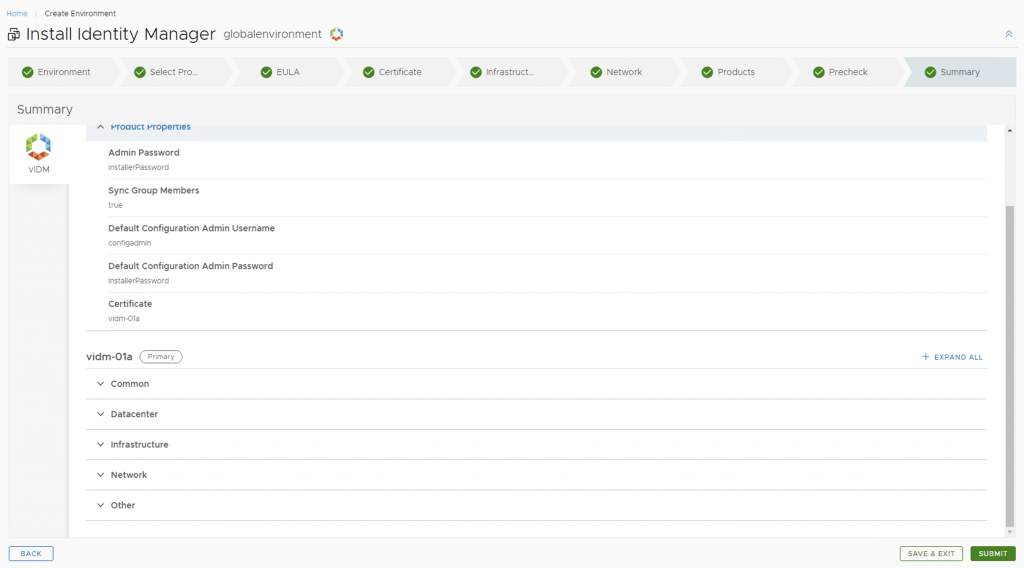
Verify the details in the Summary and click Submit
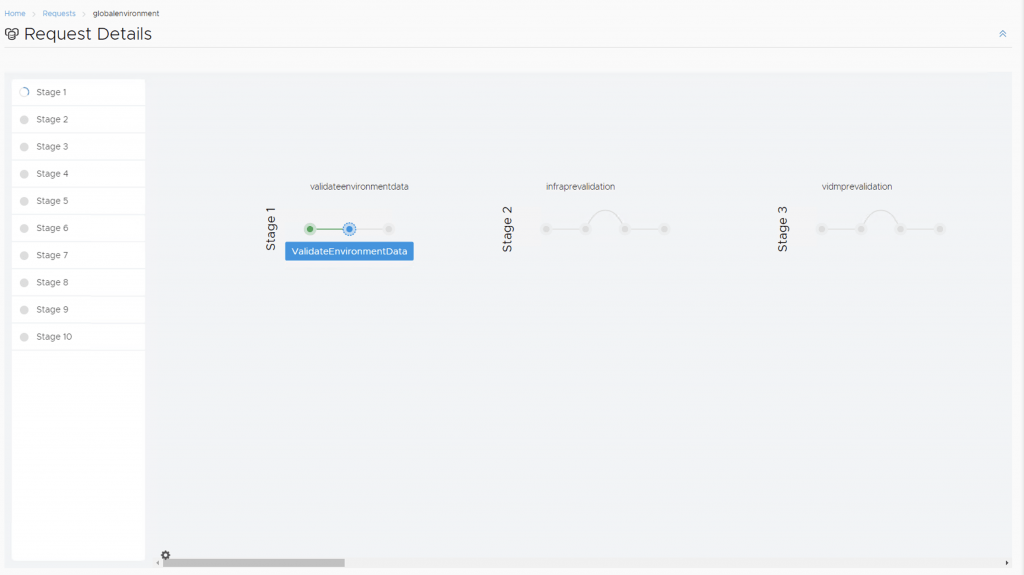
We are taken to the request details page
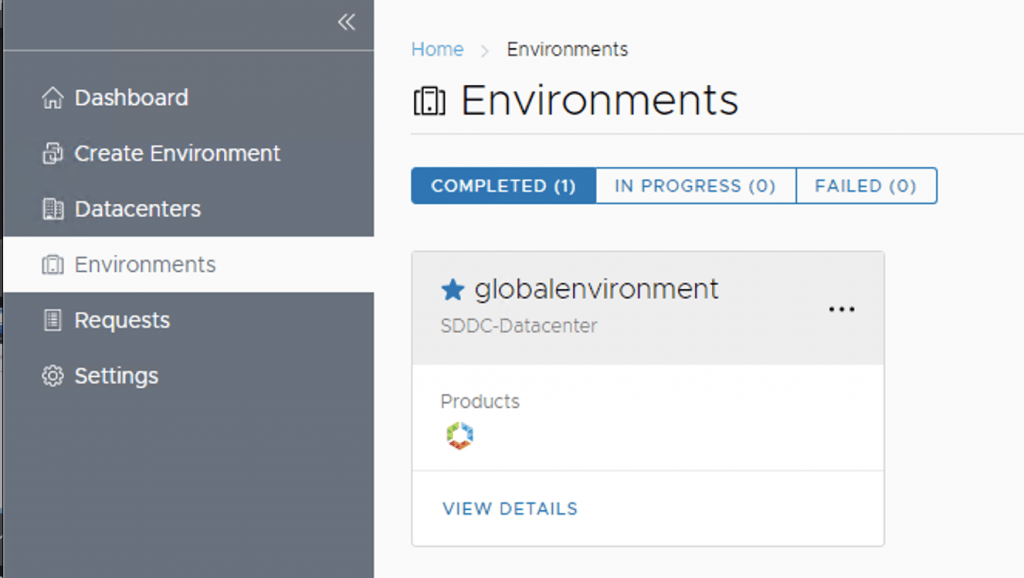
Once the deployment is complete we can see the vIDM server under Environments