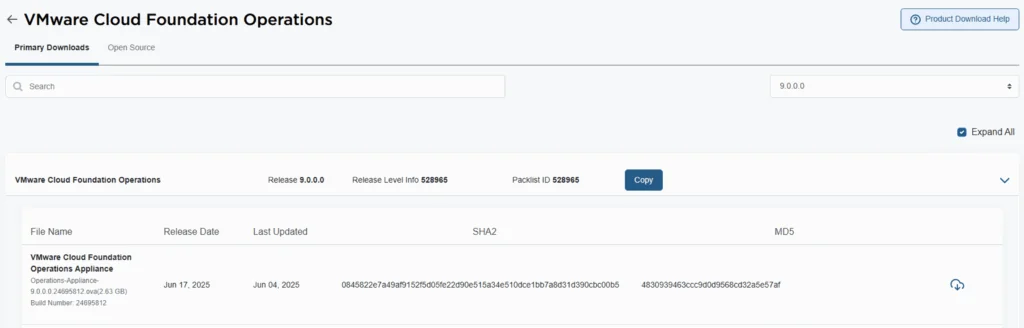
VMware Cloud Foundation 9 (VCF 9) introduces a streamlined deployment experience with the VCF Installer appliance, replacing the older Cloud Builder model. One of the core components in that workflow is VCF Operations, which provides unified lifecycle, monitoring, and fleet management across your private cloud environment.
In this guide, we walk through deploying VCF Operations 9 from an OVA, detailing prerequisites, deployment steps, and post-deploy tasks.
1. Prerequisites & Preparation
Before you deploy, make sure these items are in place:
- DNS entries for all components (Operations primary, replica, data node, collector, etc.).
- NTP / time sync configured across all hosts and appliances.
- Network connectivity and routing between your ESXi cluster and the new Operations appliance.
- Sufficient resources (CPU, RAM, storage) allocated to your VCF Operations cluster.
- Access to the VCF software depot / repository to download component binaries.
- Verified password and certificate format compliance (e.g. FQDN matching, certificate CN, etc.).
Many issues during deployment stem from missing DNS records, certificate mismatches, or time sync problems, make sure these are fully validated before proceeding.
2. Deploy the Operations OVA
- Download the OVA: Obtain the VCF Operations OVA from the VMware by Broadcom software depot. Direct link can be found here.

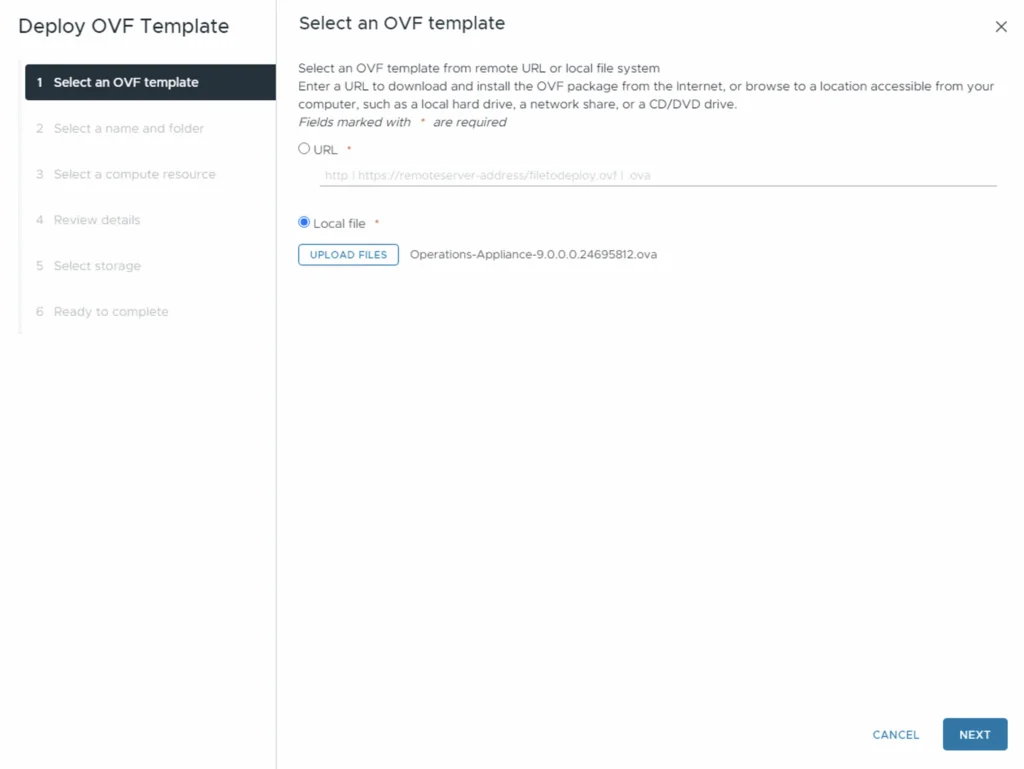
Select the OVA
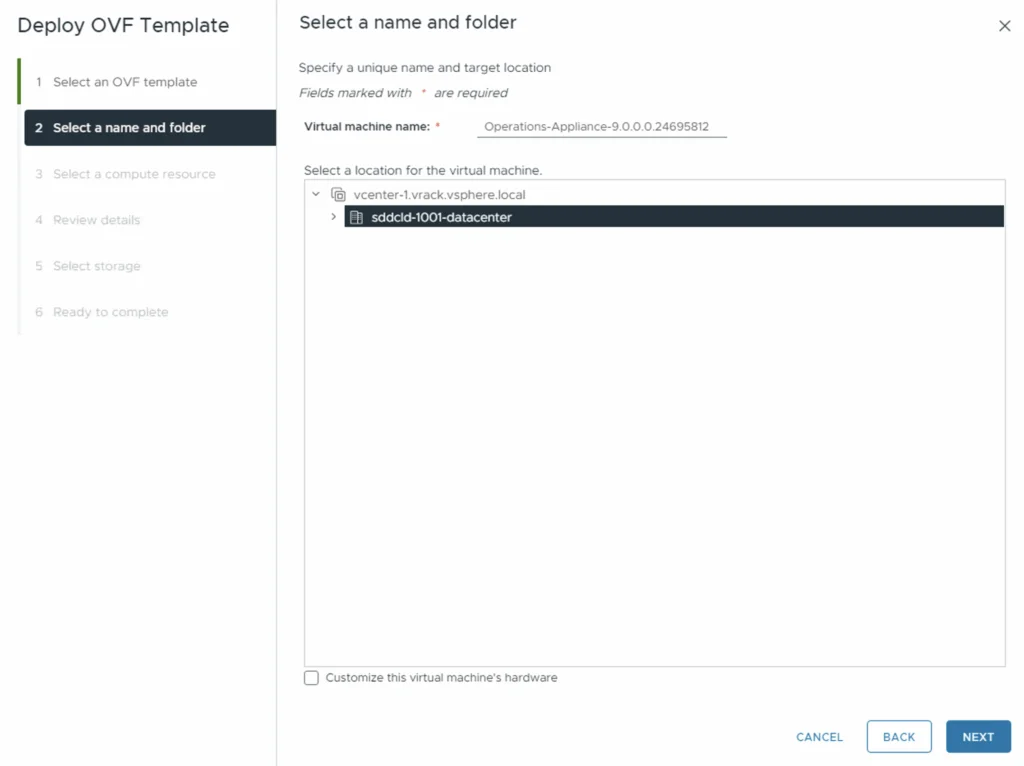
Name your VM and choose its folder/cluster. Click Next
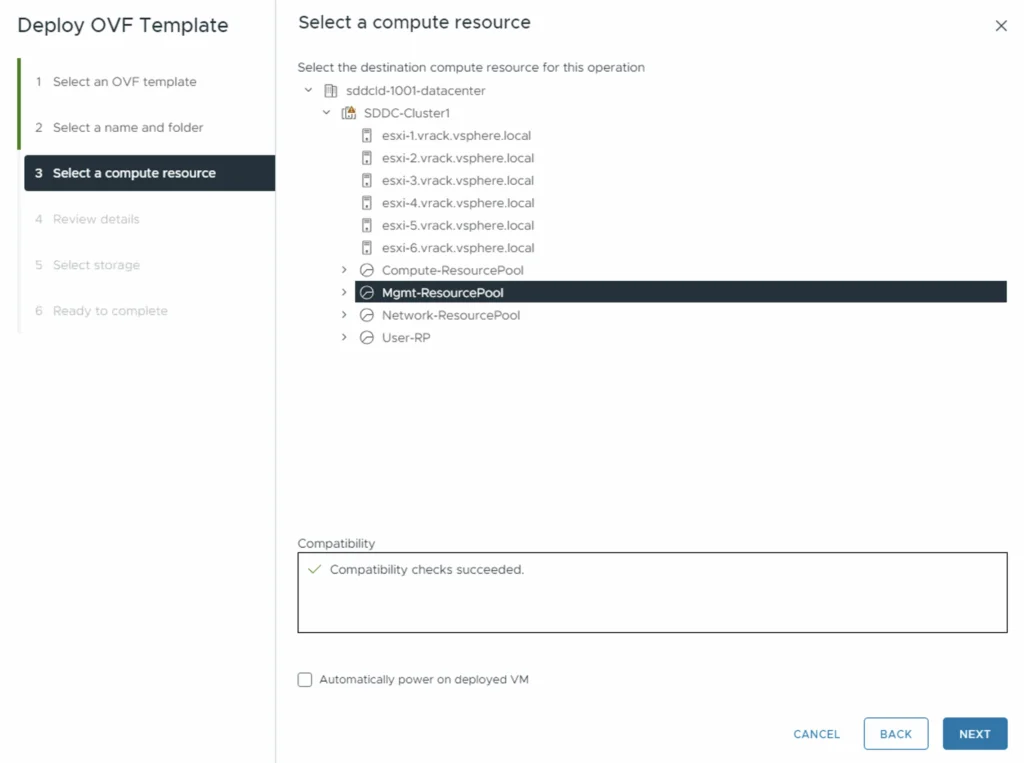
Specify a Resource pool for the deployment
Review the details and click Next
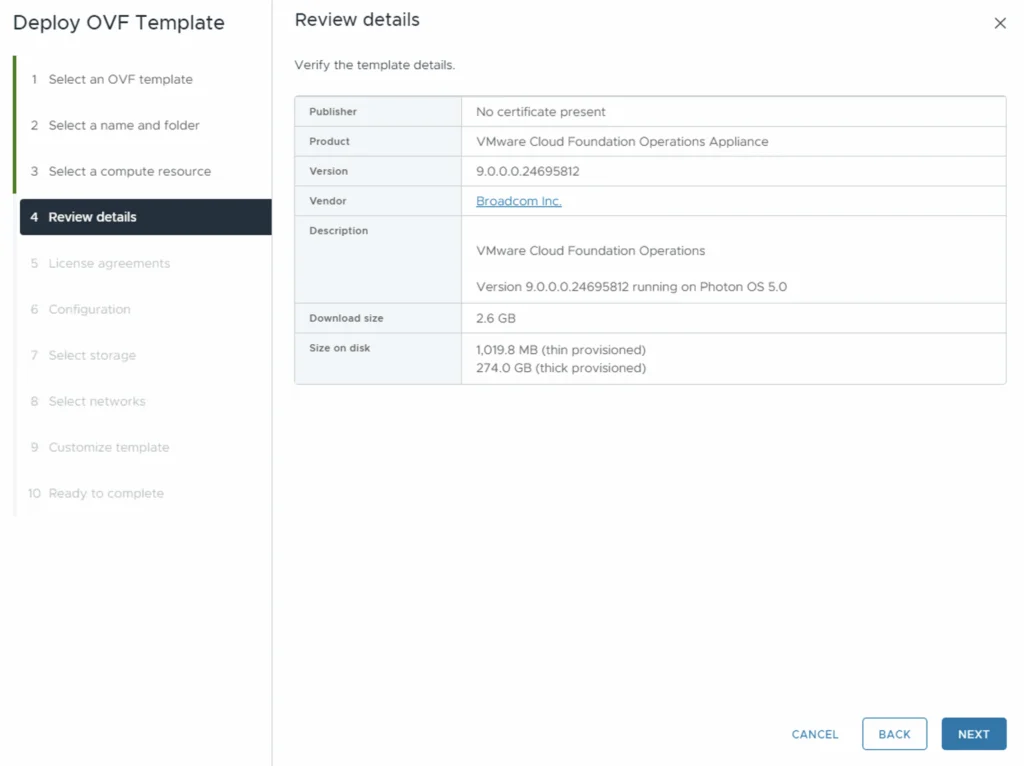
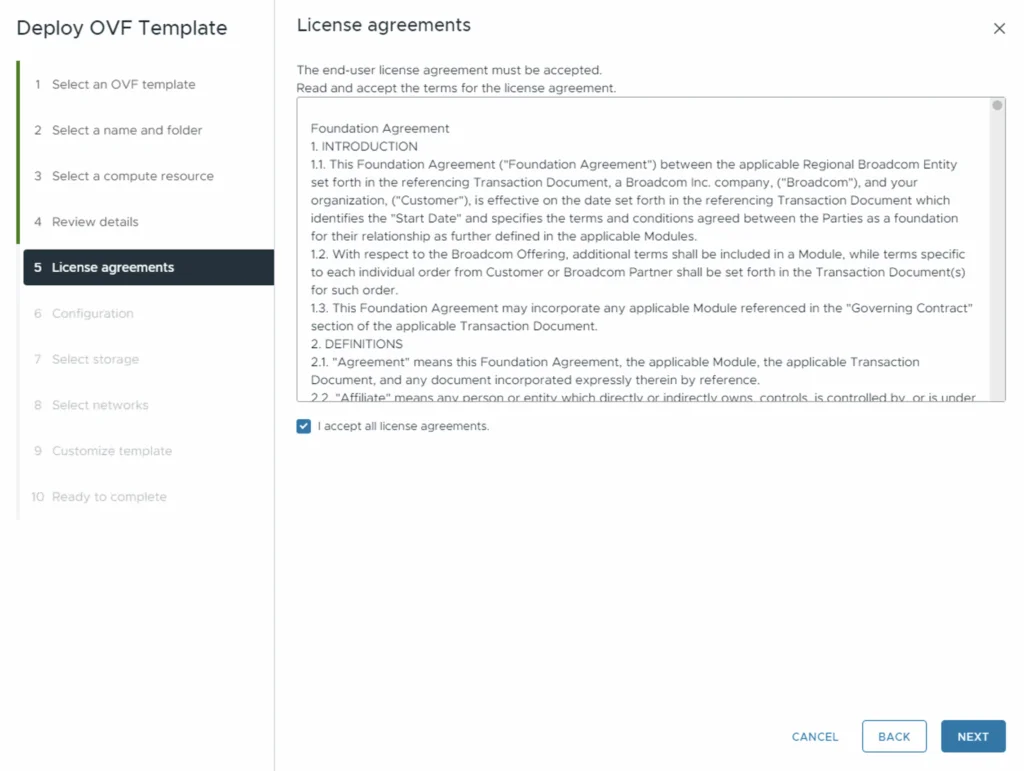
Accept the EULA and click Next
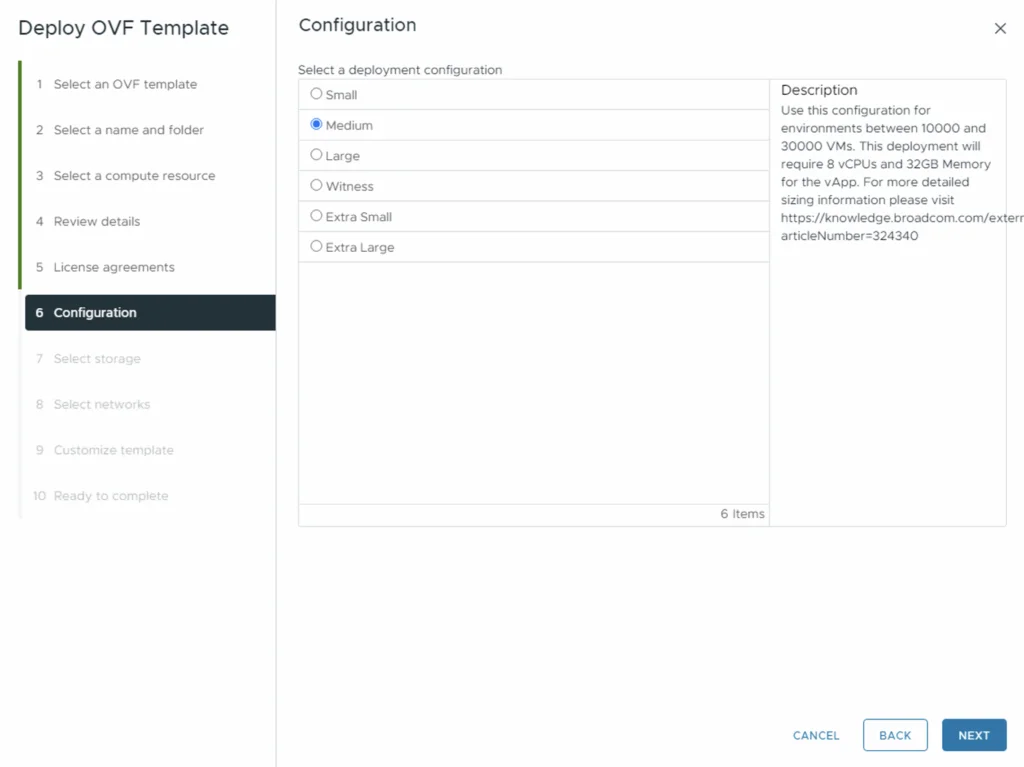
Select a size for the appliance and click Next.
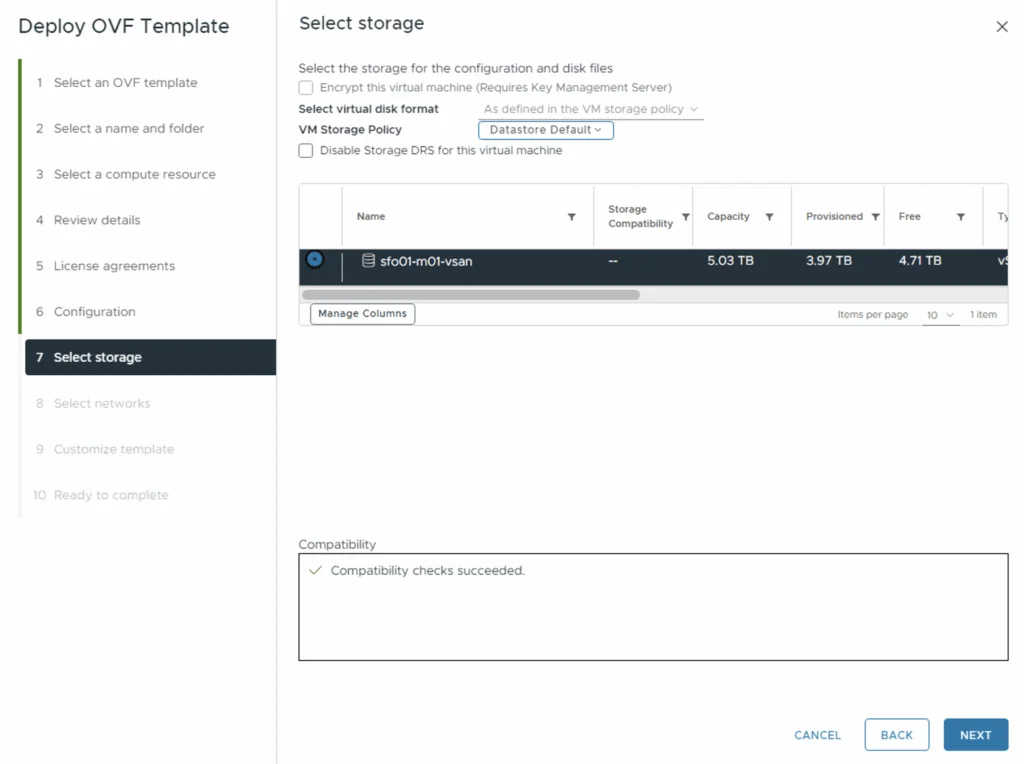
Select a Datastore and click Next
Select a network for the deployment and click Next
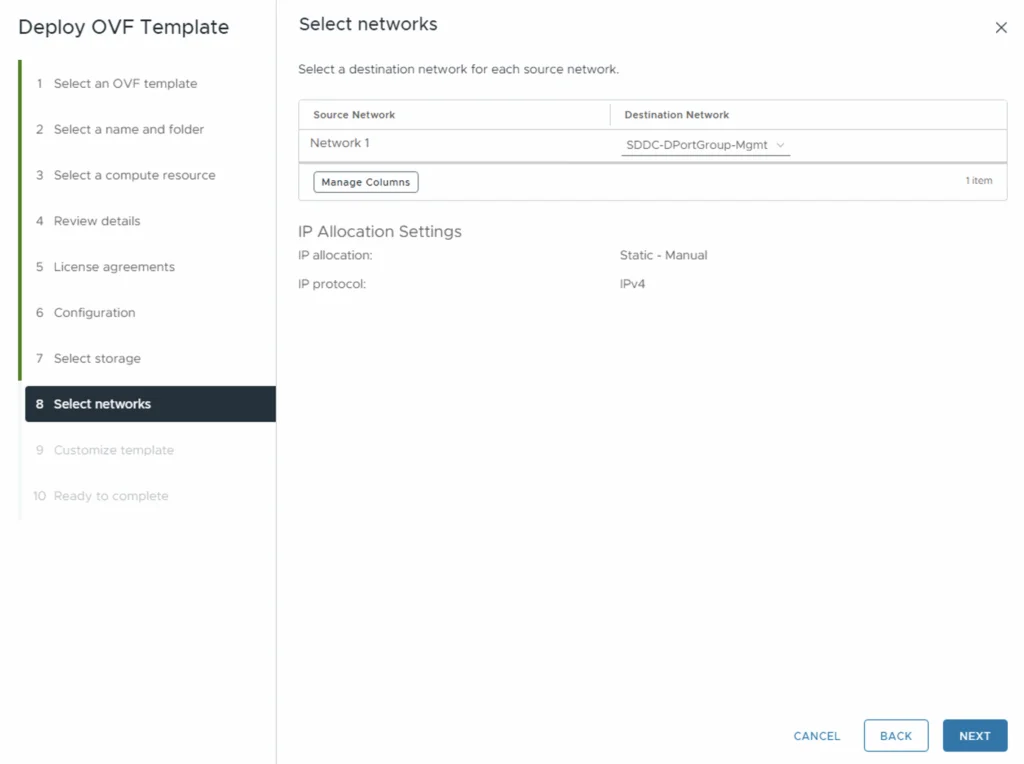
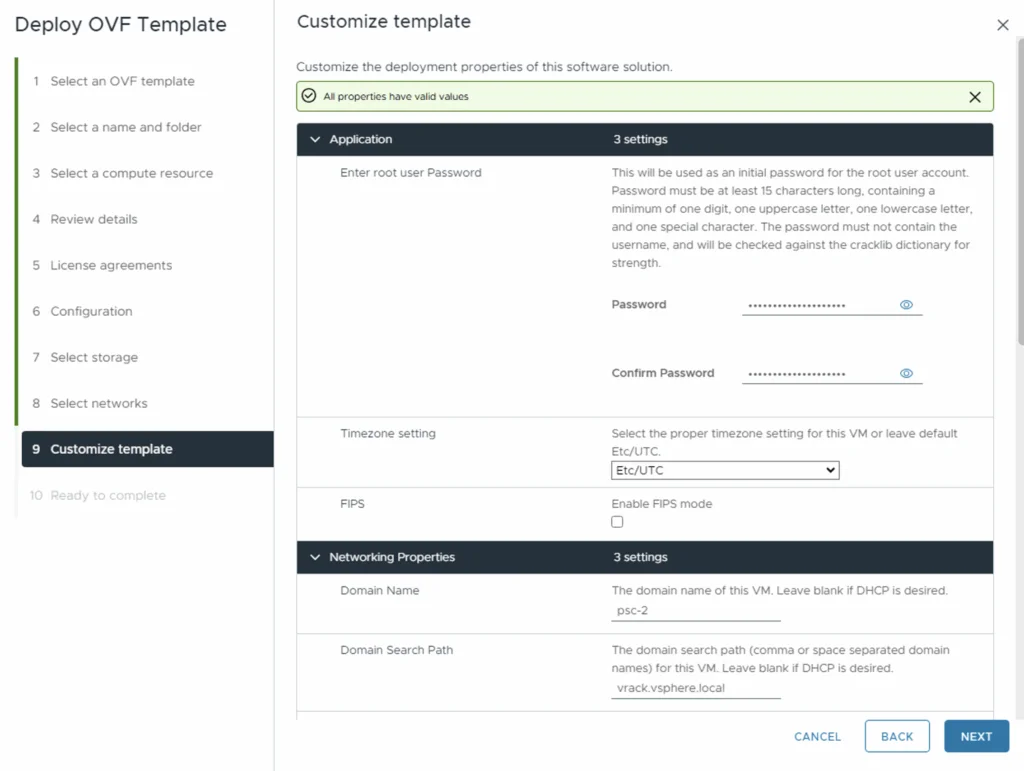
Fill in the network information and click Next
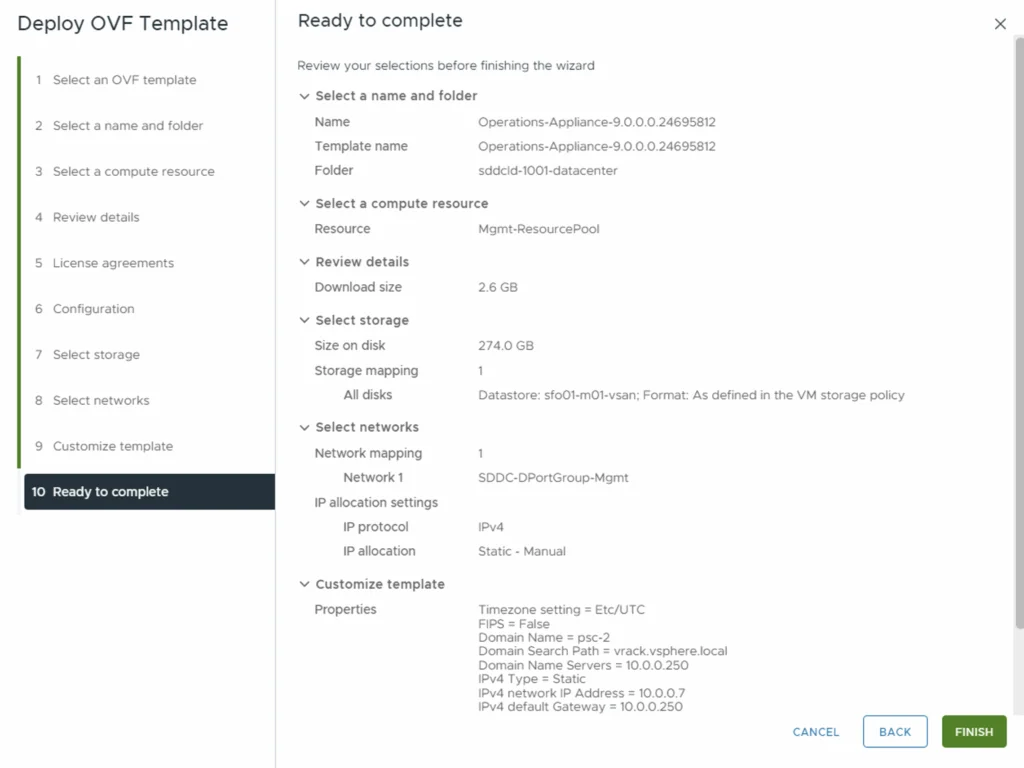
Review the selections and click Finish to start deploying the .ova
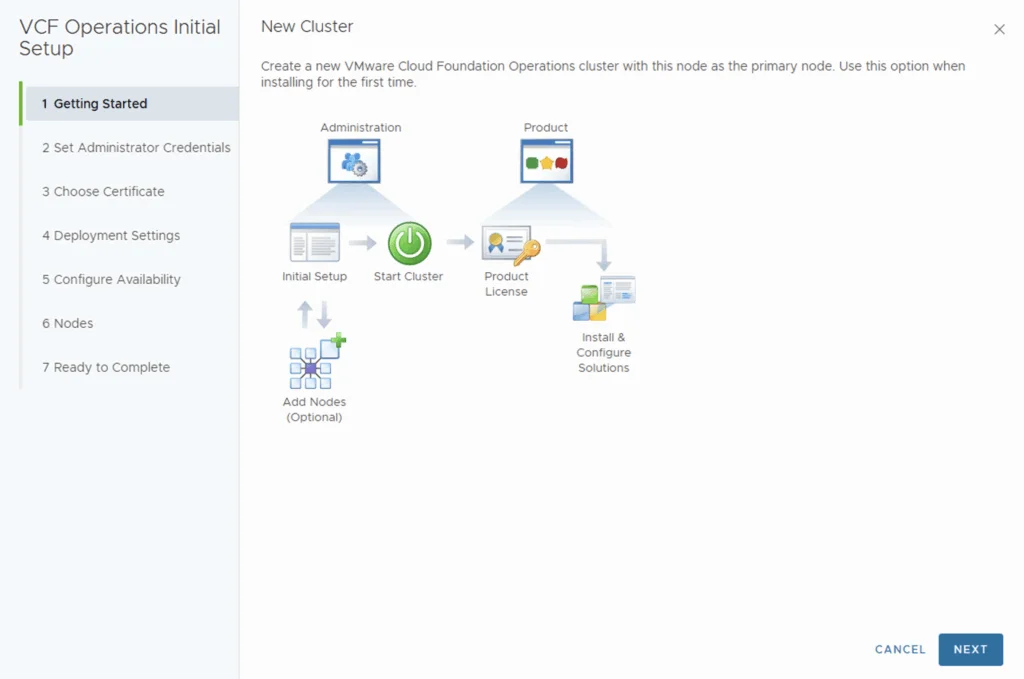
Once the appliance is up we can proceed with a few options: Express installation, New installation, Expand an existing installation. In my case I am using a new installation
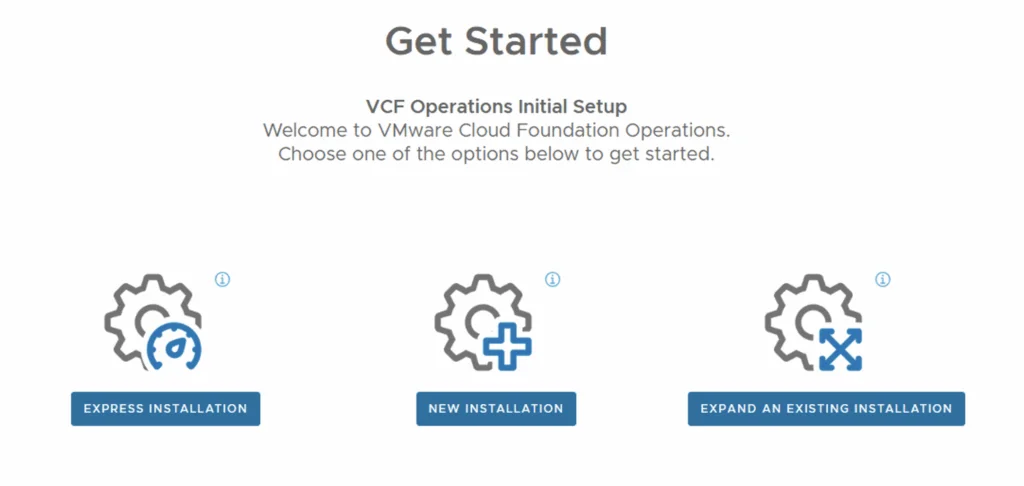
New installation takes us through a new cluster deployment. Click Next.
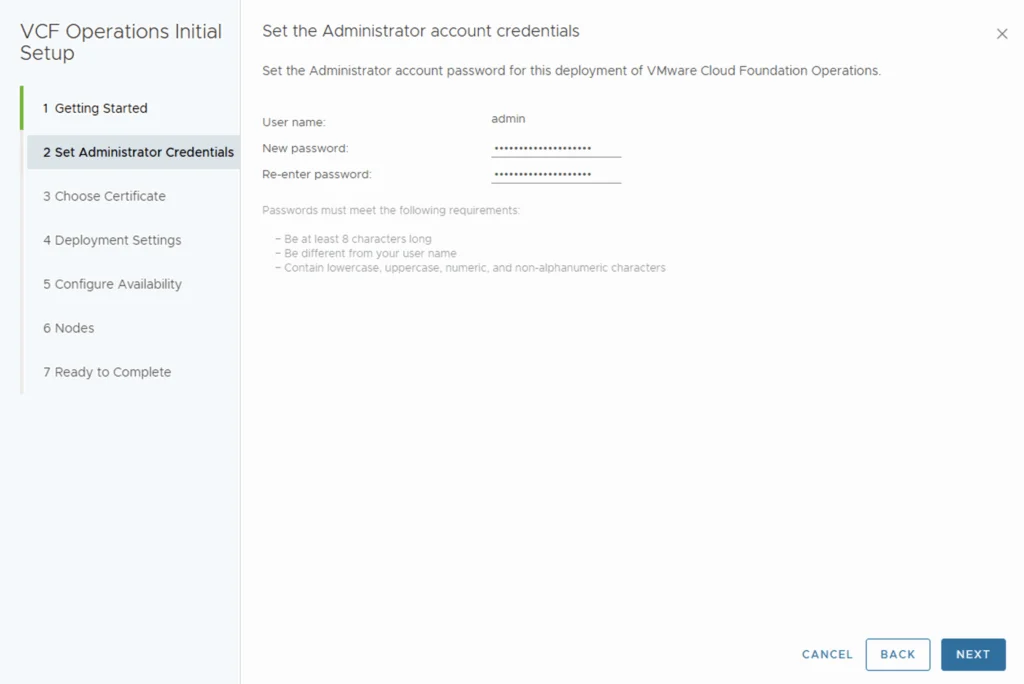
Setup the credentials for the admin user and click Next
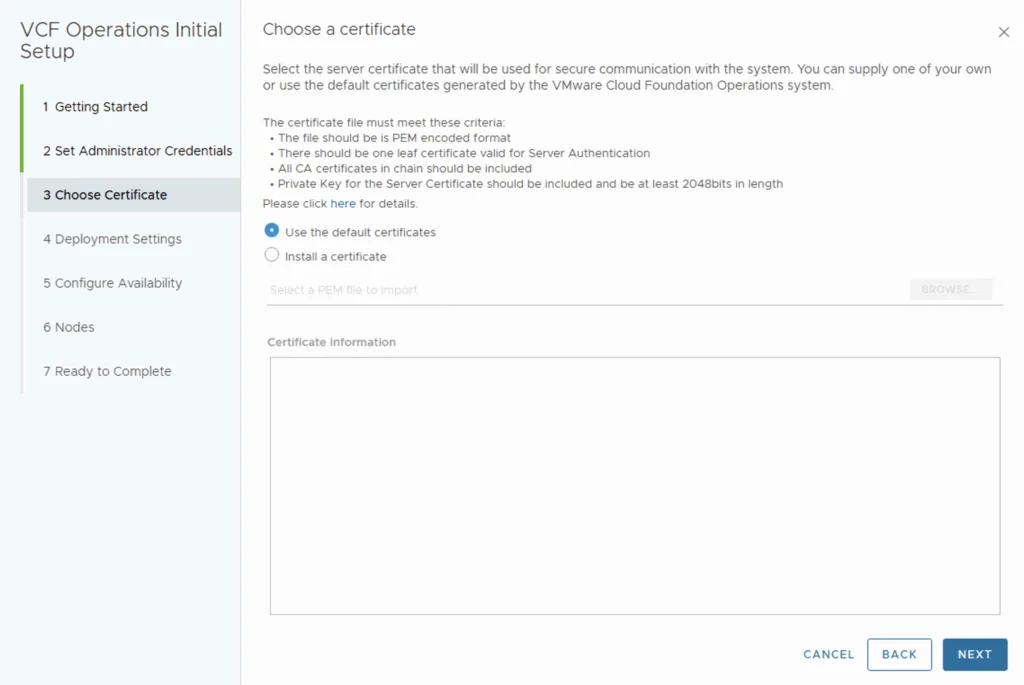
Install or use the default certificate and click next
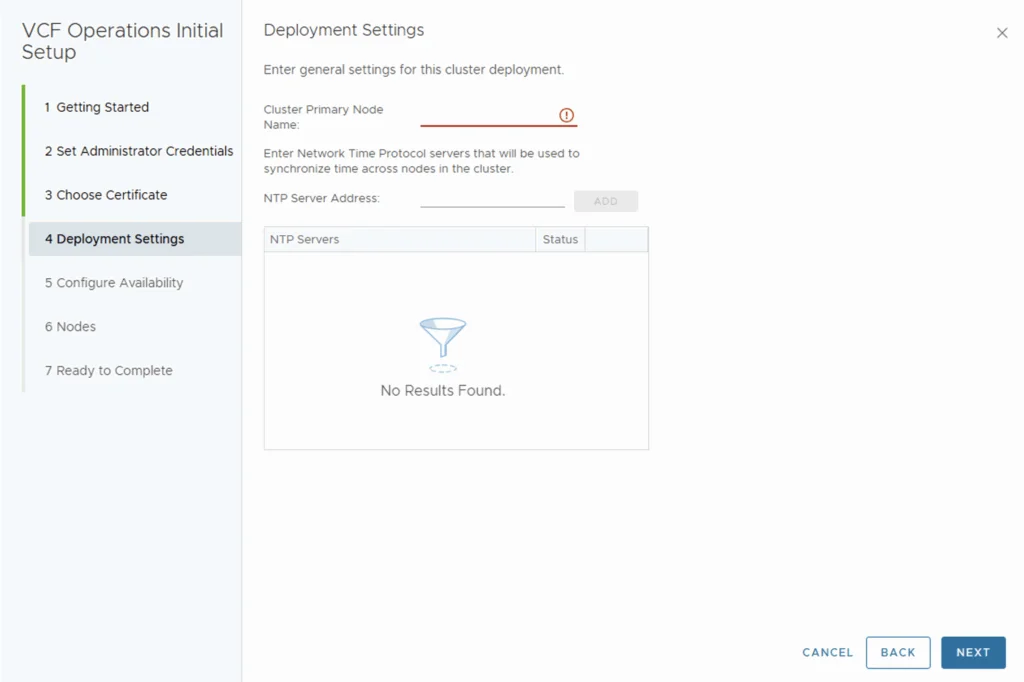
Give the cluster a name and add an NTP Server. Click Next
Part of the new deployment we can configure the availability mode for HA or CA. In my case I will be deploying a single node. Click Next
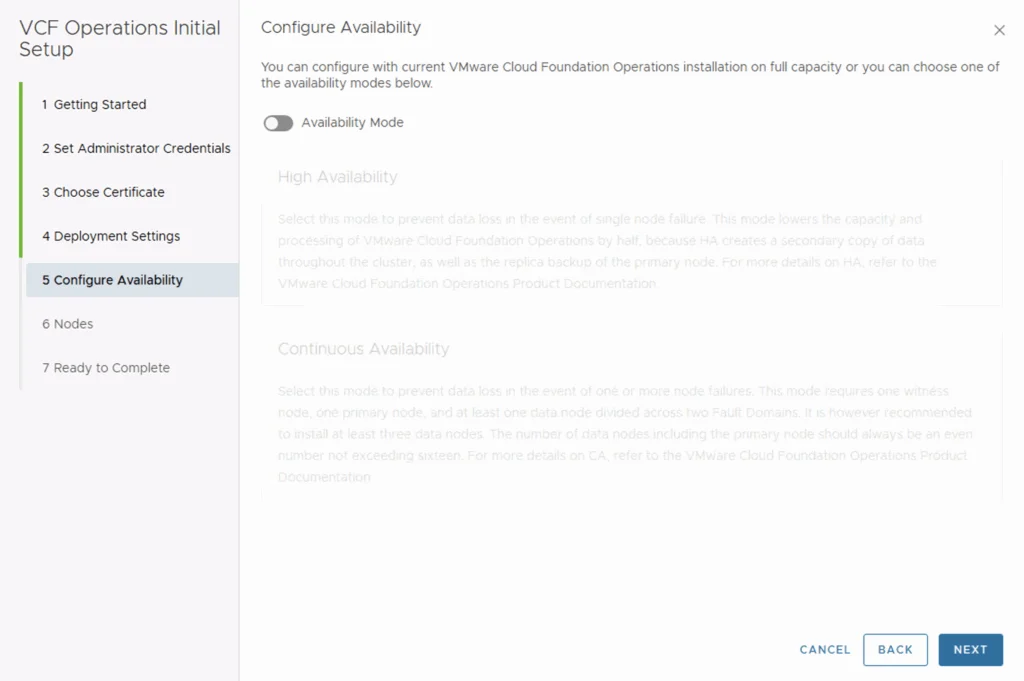
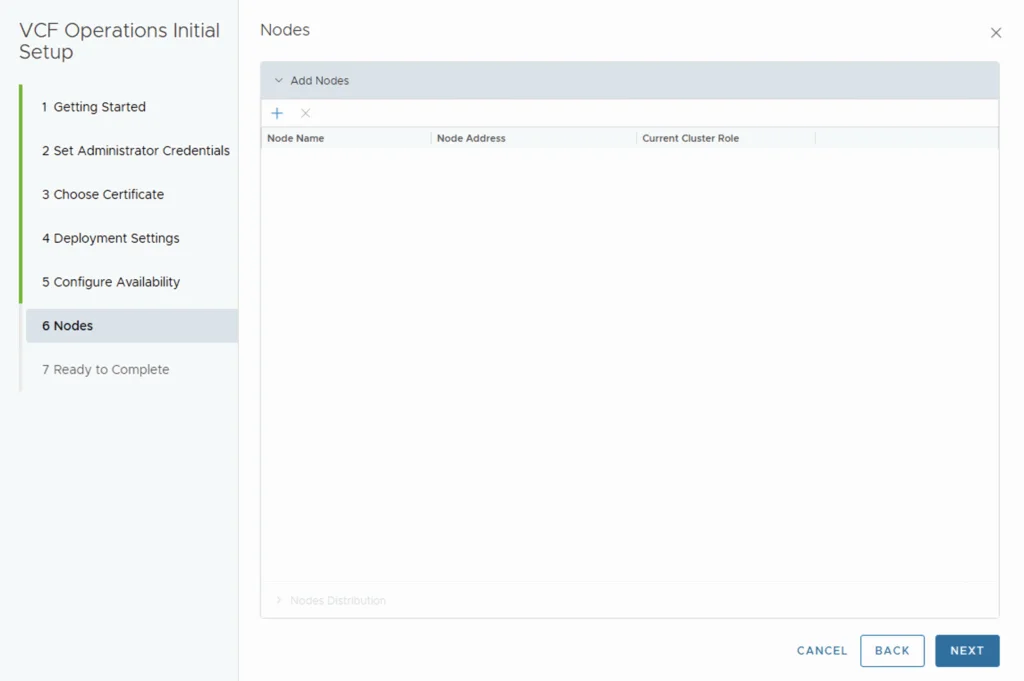
Add any additional nodes and click Next
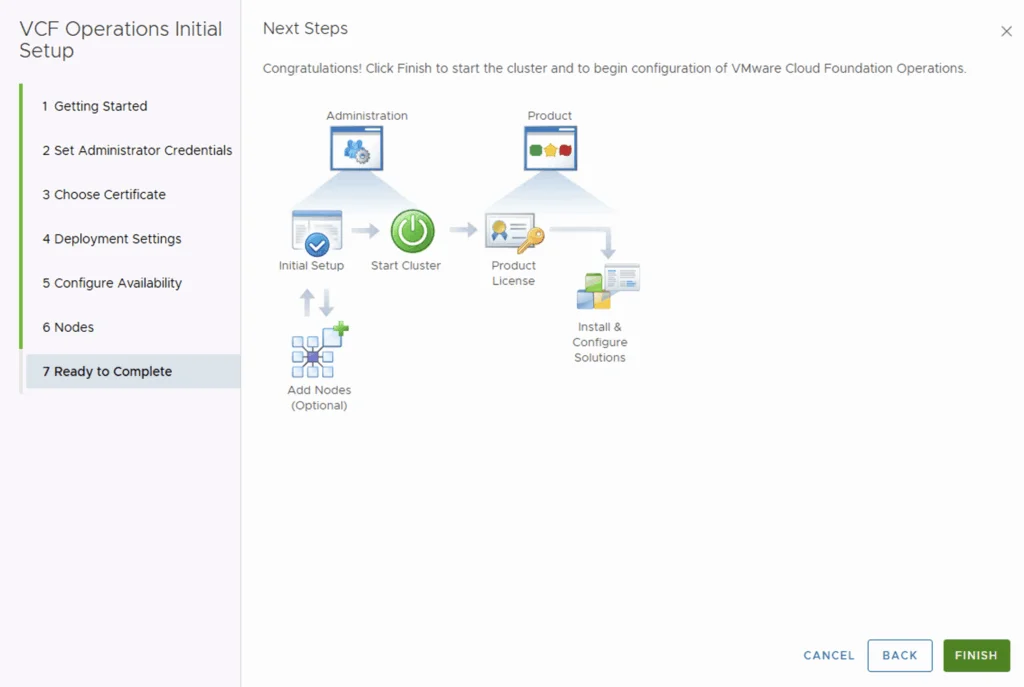
Click Finish to allow operations to deploy its default configuration.
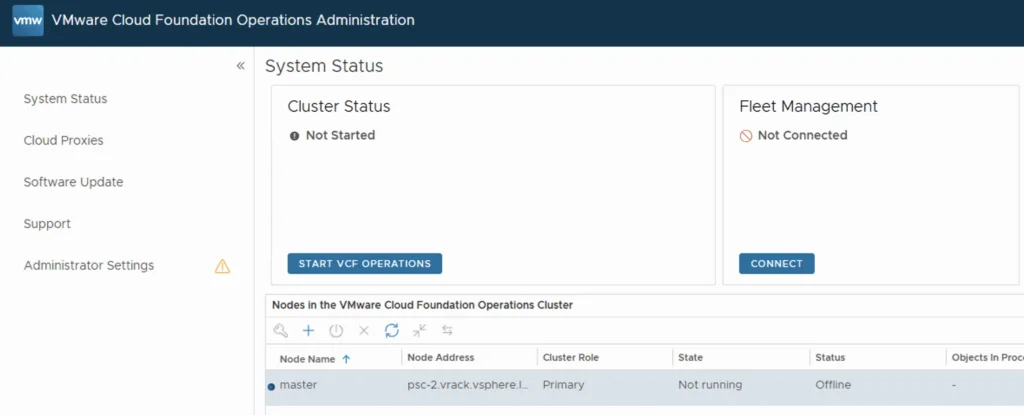
The appliance will redirect to the admin page where we can see the status of the cluster as Not Started. all we have to do is click on Start VCF Operations.
Confirm the Application Startup by clicking Yes
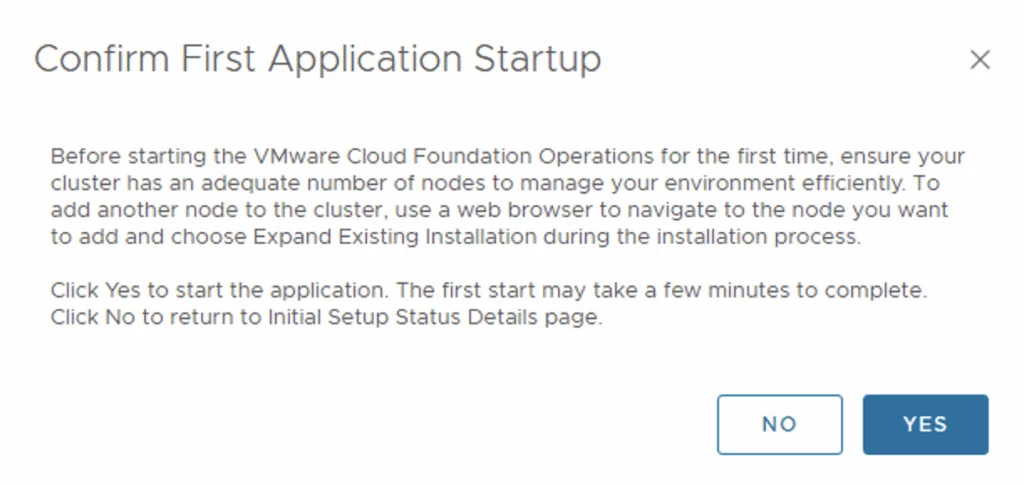
The system will go through the cluster Initialization. Once completed the product can be used.
In the next blog we will exploring the deployment of Fleet Management appliance in VCF 9.