Assuming that you already downloaded the SaltStack Config binaries in this guide we will go over the deployment of SaltStack Config in an existing VRA 8.3 environment via Lifecycle Manager 8.3
Adding SaltStack Config to the vRA Environment
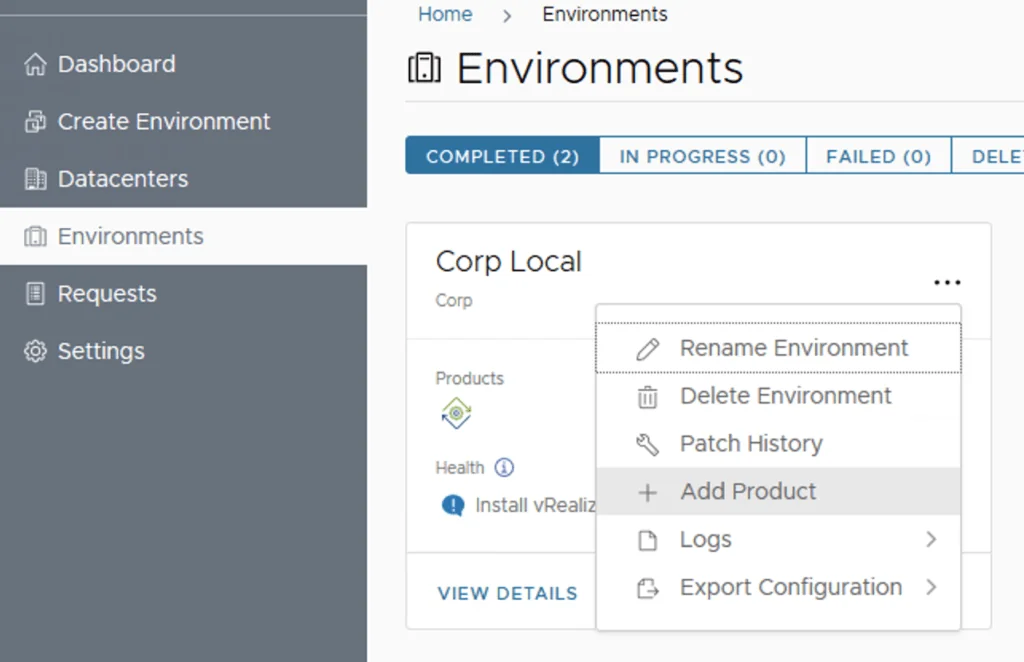
Log on to Lifecycle Manager -> Go to environments, on the vRA environment click on the Menu and go to Add Product

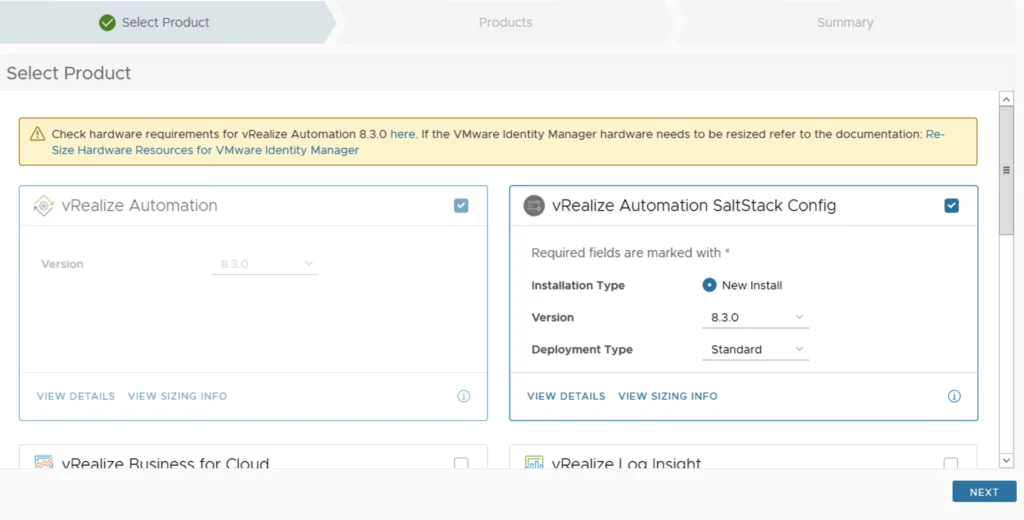
Select the checkbox next to vRealize Automation SaltStack Config and click Next
Review the EULA, click on the agree box on the bottom of the page and click on next

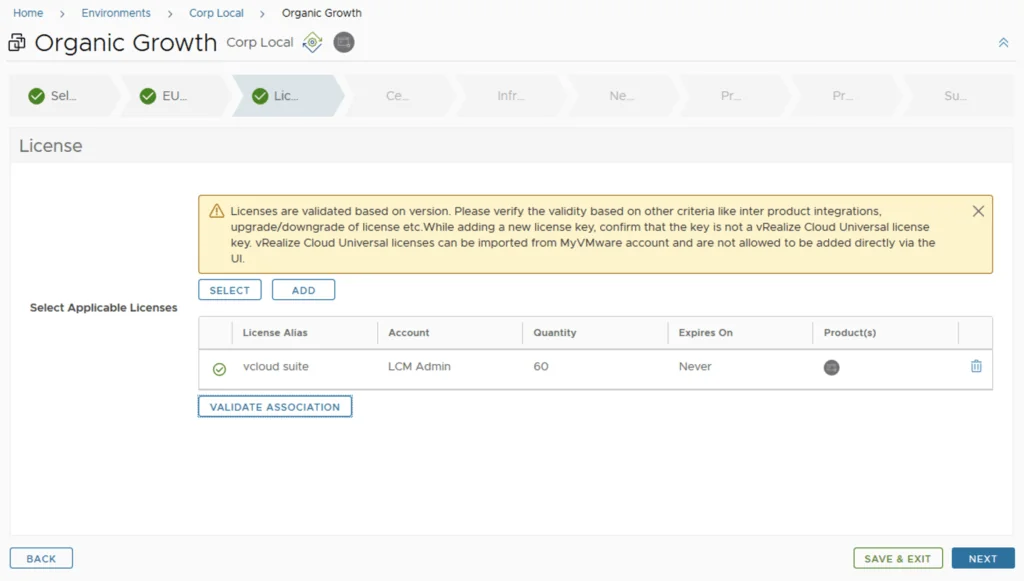
Click on Select and select a vrealize or vra advanced\enterprise. Clieck on the validate button and click next
Certificate Configuration
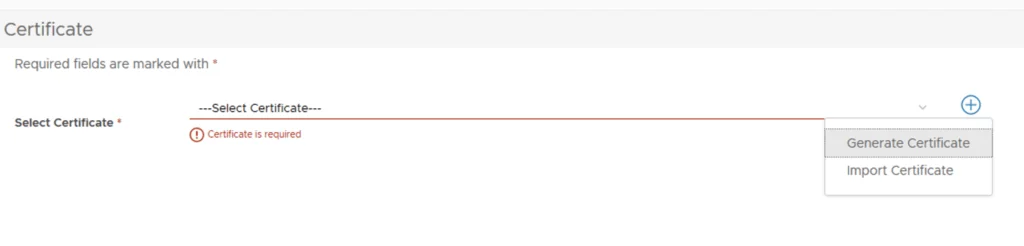
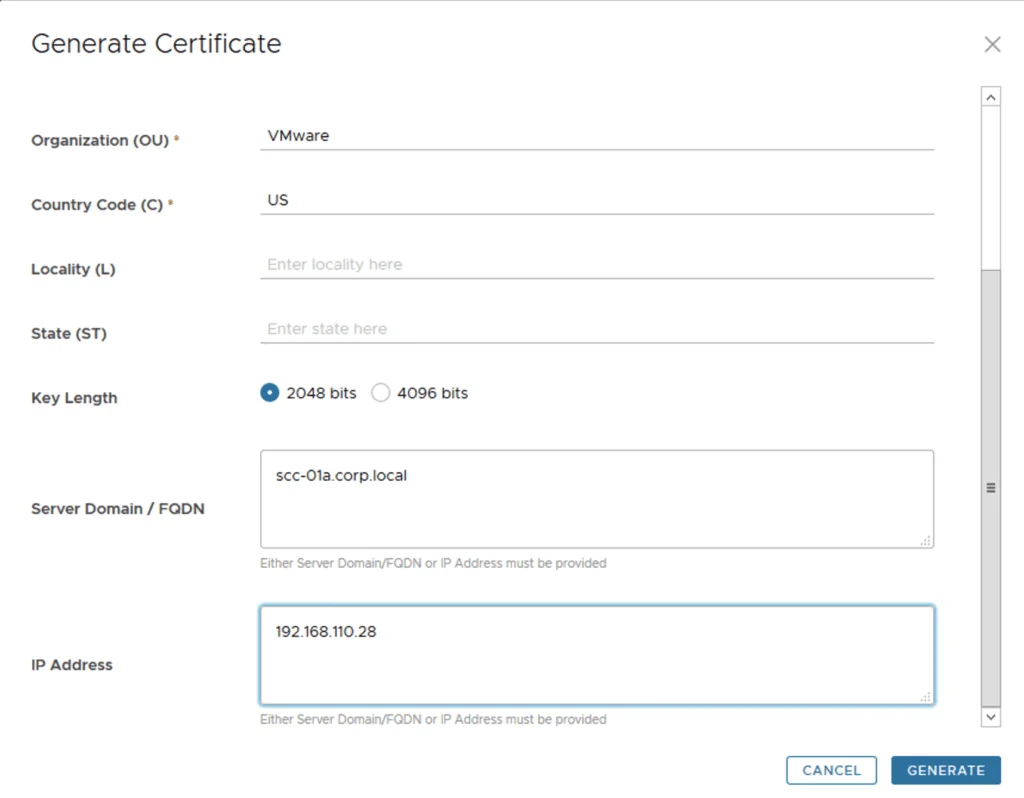
Select an existing certificate or click on the + sign and generate a new certificate. In my case I didn’t have a certificate created so im going to create a new one. If you already have a certificate this step can be skipped.
Complete the fields and click on generate
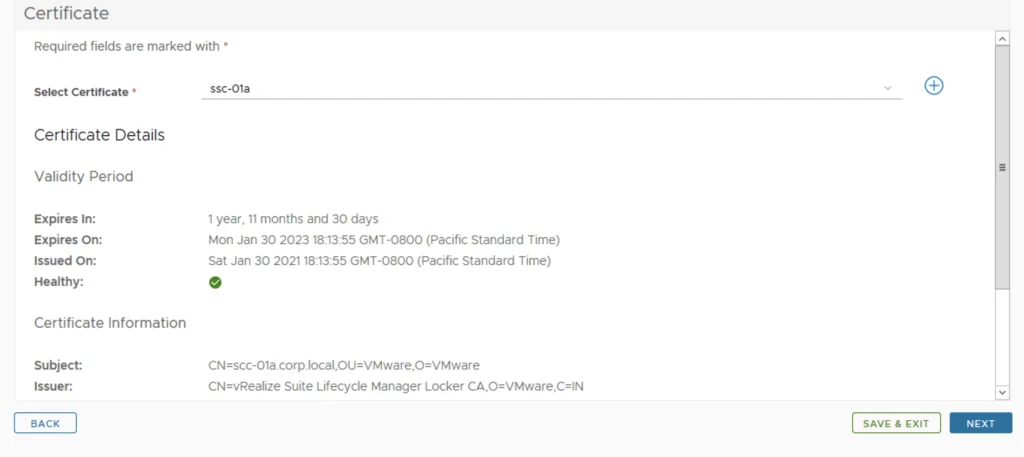
Now the list is populated with the certificate we just created. Click Next
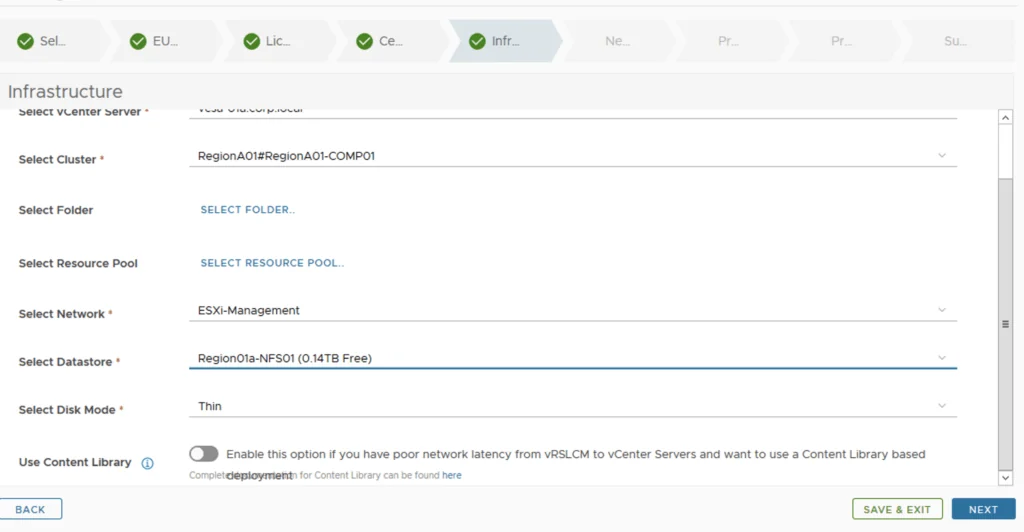
Infrastructure and Network Details
Select the infrastructure details and click on Next
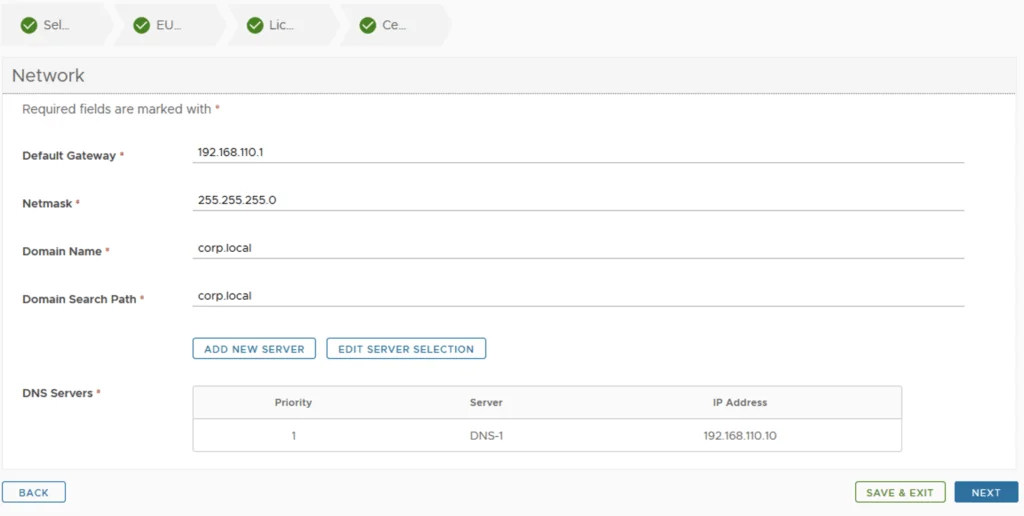
Verify the network details and click next
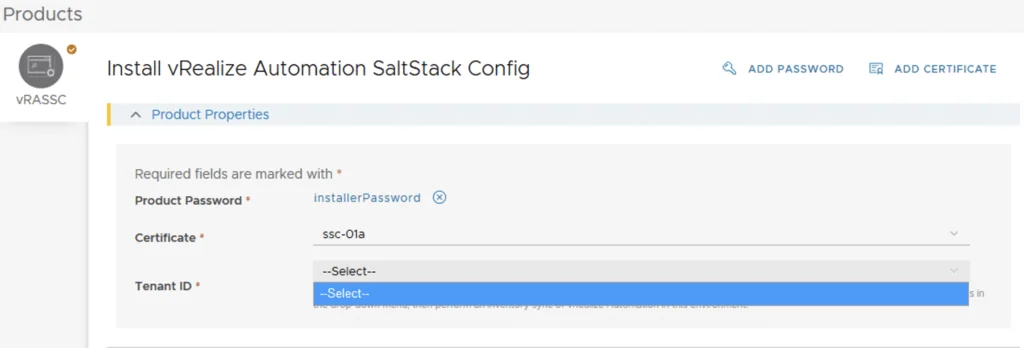
Syncing the vRA Inventory for Tenants
If the tenant list is empty a sync of vra is required
To do this we can go to Environments. Dont worry the progress will be saved
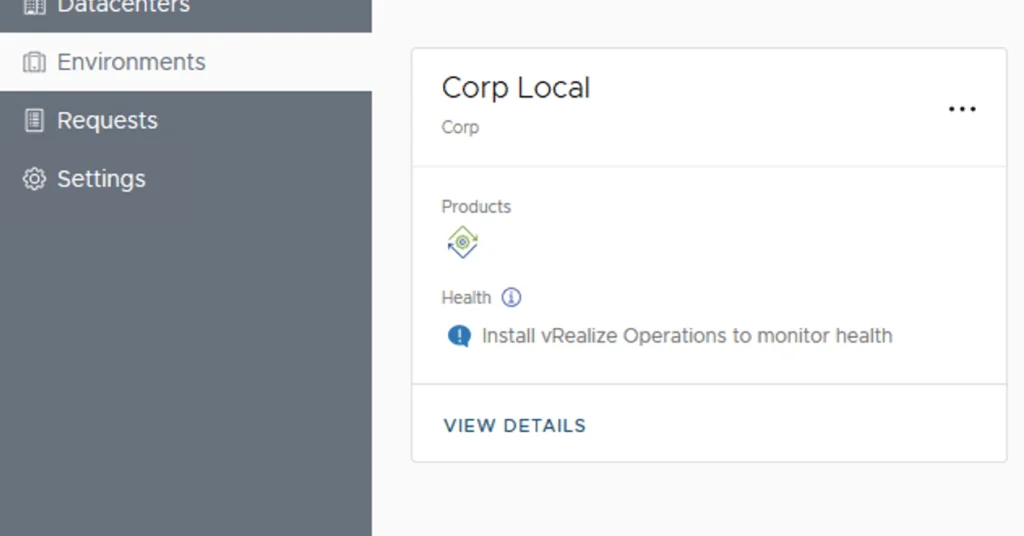
View details

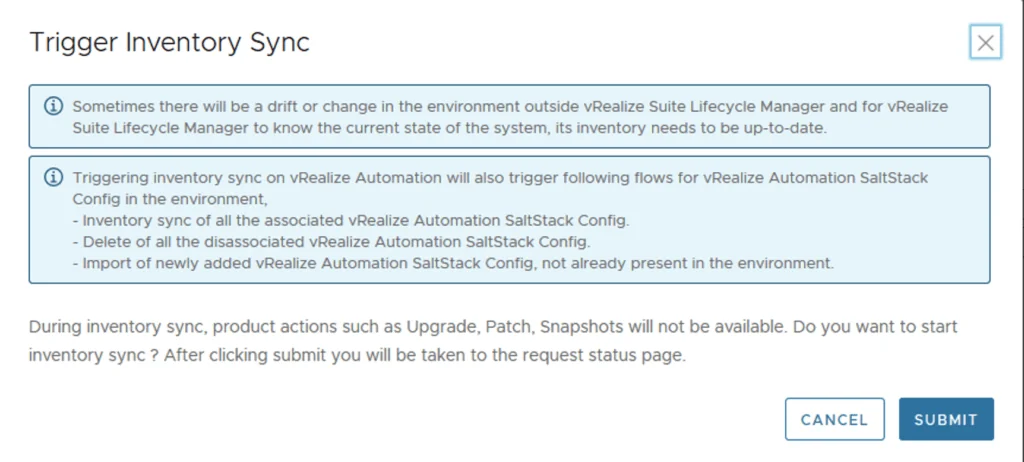
Click on submit
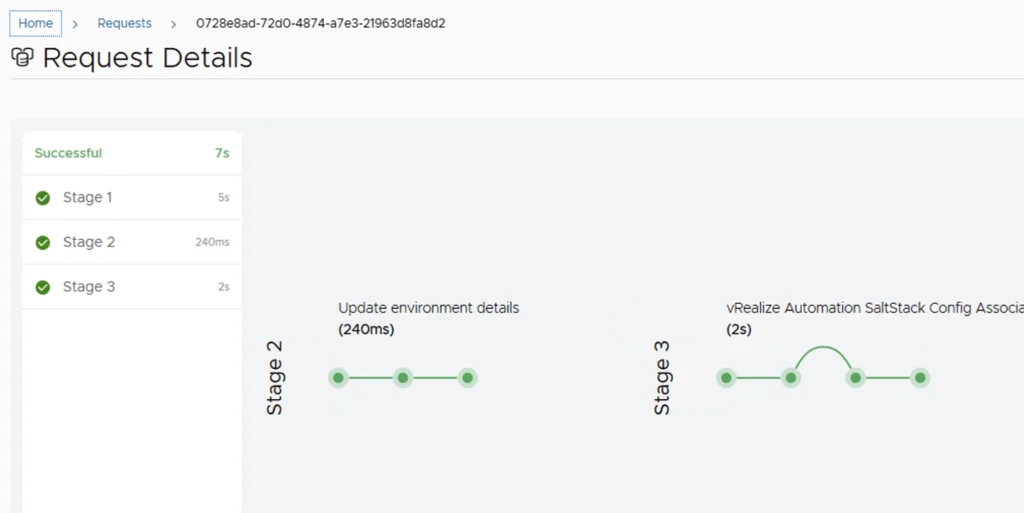
Once the sync is complete we can go back to requests
Completing the Deployment Wizard
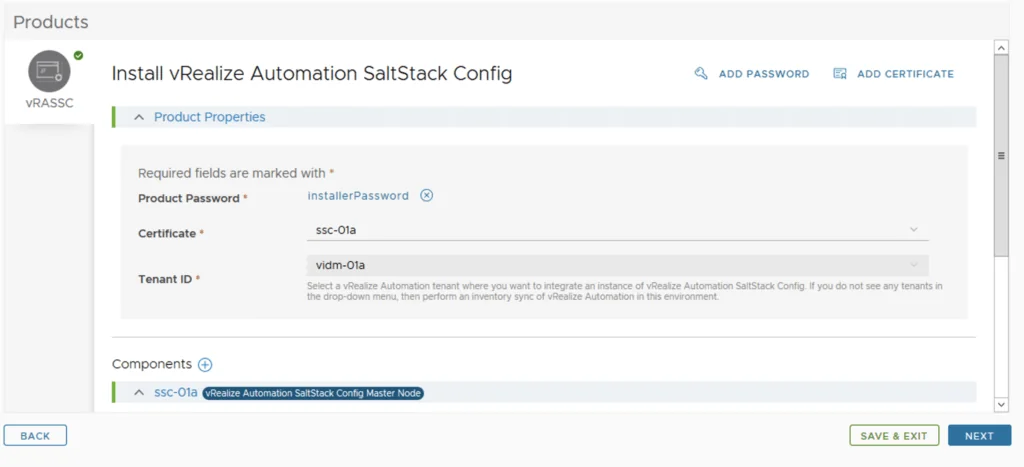
Under requests click on Pending Action

Complete the details and click next
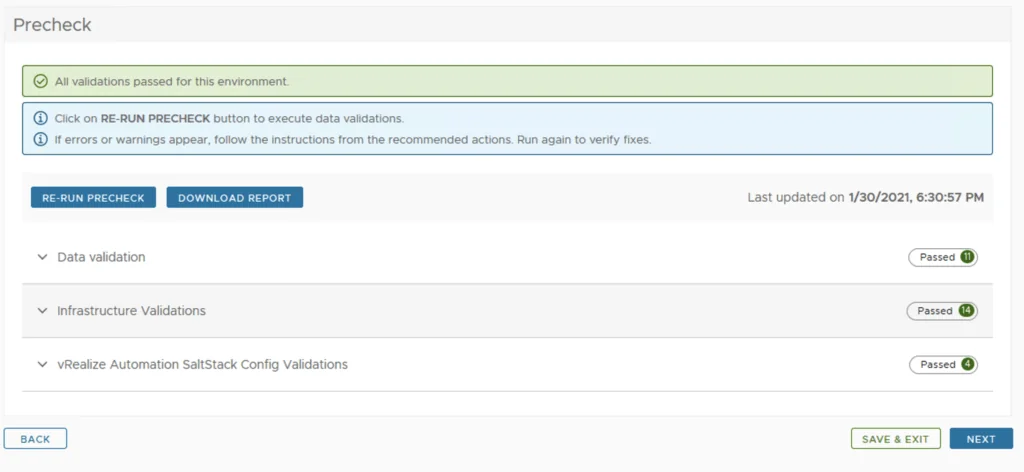
Click on Run precheck in order to make sure everything is in a working order

If everything looks good click on Next
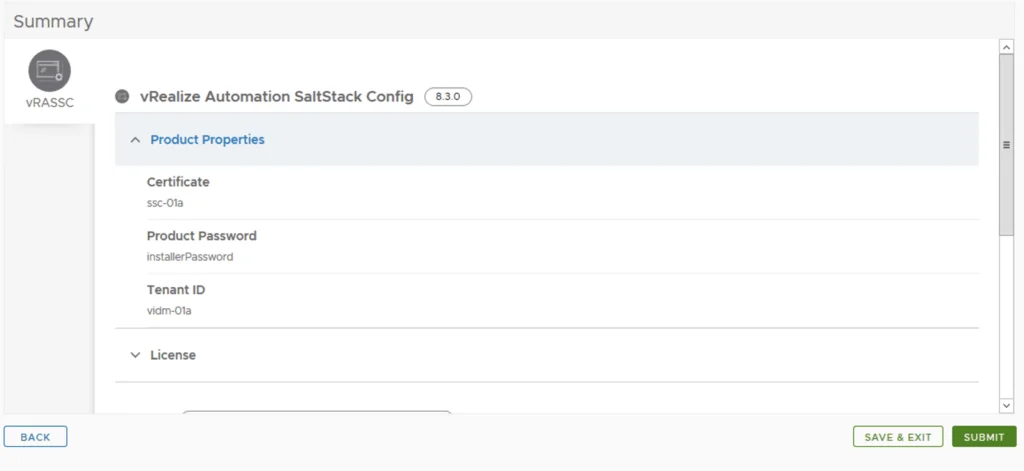
Verify the summary and click on Submit
Deployment Progress
LCM will go through everything needed to. As we can see there’s a lot of steps that otherwise would need to perform manually
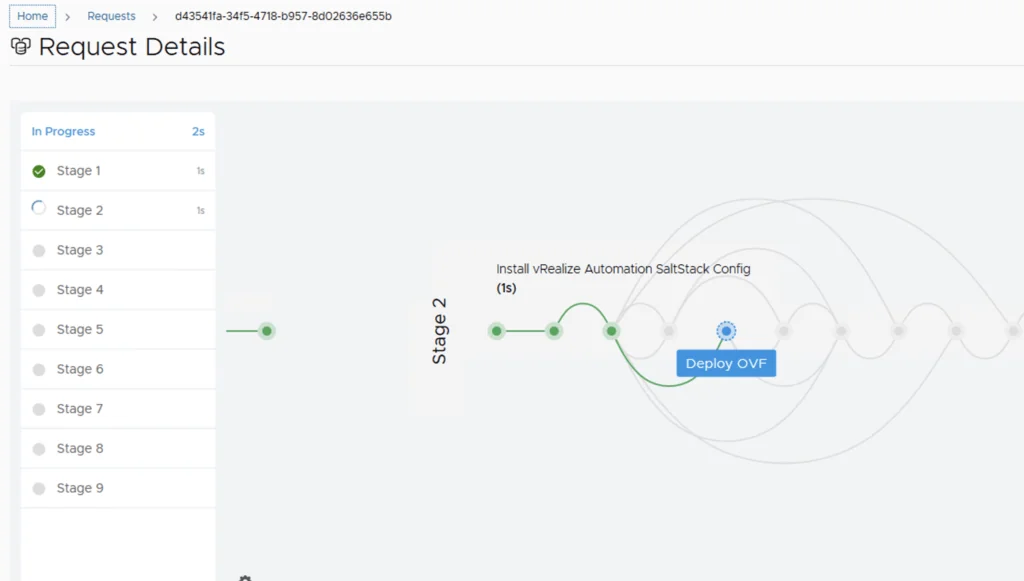
Get a cup of coffee and wait. In my case it took about 13 minutes for the installation to finish