In this guide I will go over the deployment of Aria Automation 8.16 using the Easy Installer. The reason I like the Easy Installer is because it deploys everything that I need: Identity Manager, Aria Suite Lifecycle as well as Aria Automation.
Downloading and Mounting the Installer
To get started we need to download the installer from here.
Once downloaded mount the iso as a drive using your favorite tool or extract it as a archive using something like 7-zip
Once mounted go to the CDROM in the vrlcm-ui-installer\Mac directory if on mac or vrlcm-ui-installer\win32 if you are on windows. In here run the installer file
Starting the Installation Wizard
We will be presented with the following window:
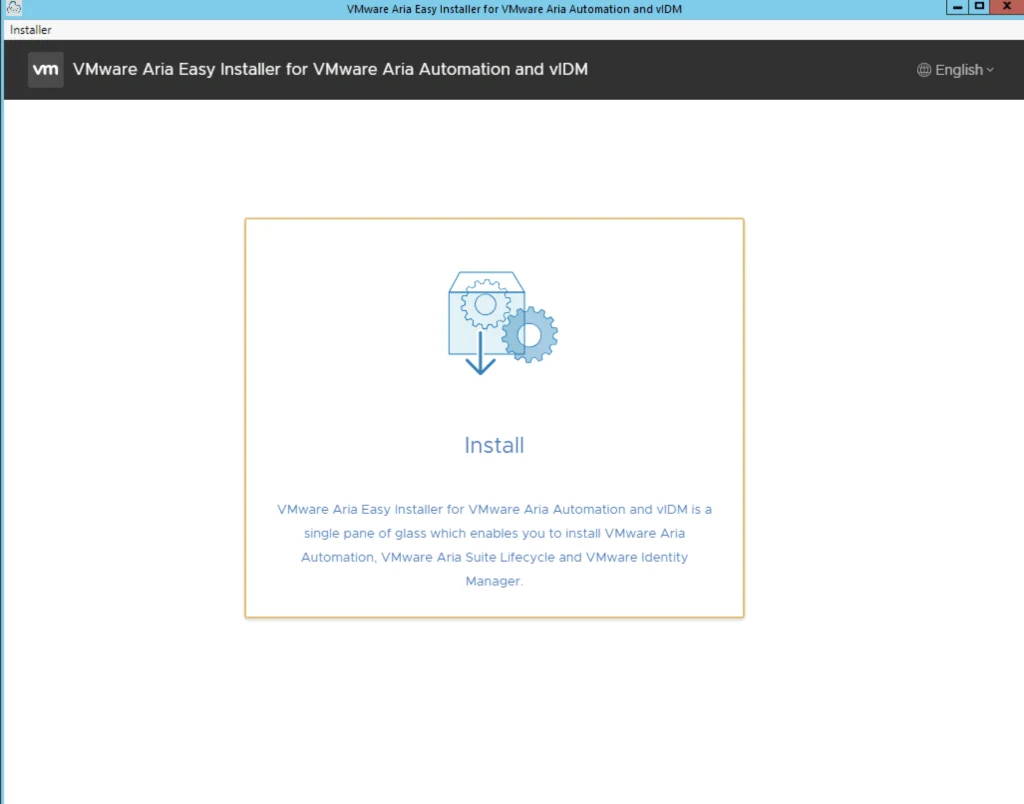
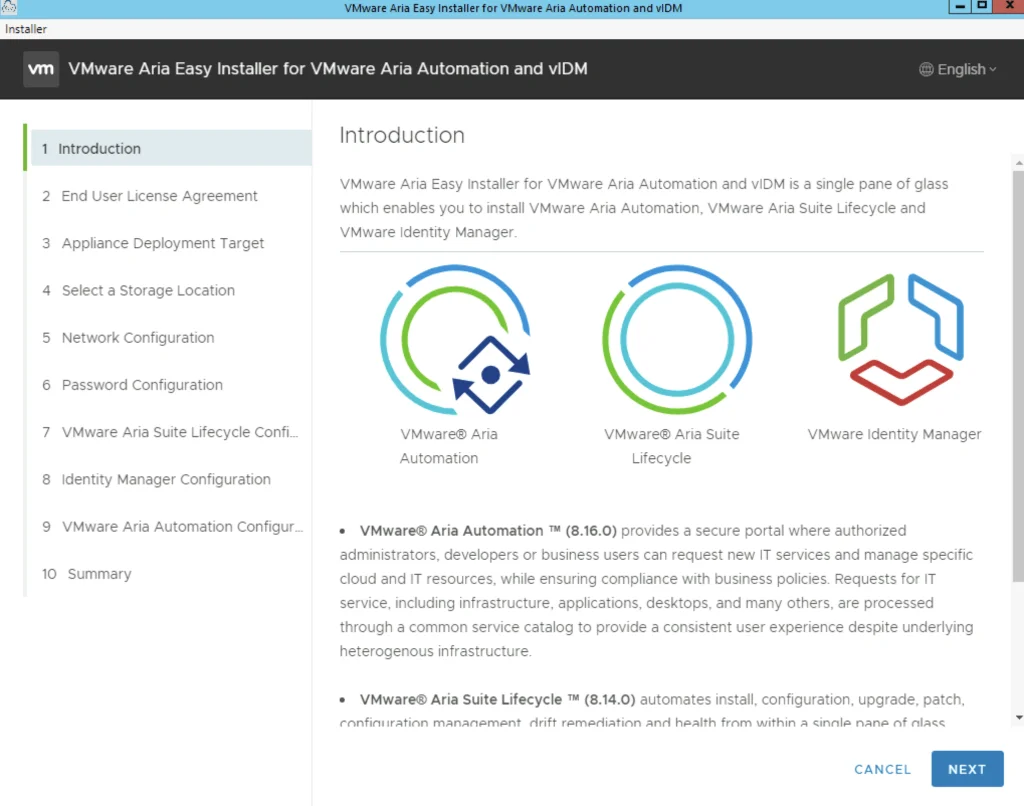
Once we click Install we will be presented with an Introduction of what components will be included part on the installation. In my case I can see Aria Automation 8.16, Aria Suite Lifecycle 8.14, Identity Manager 3.3.7.
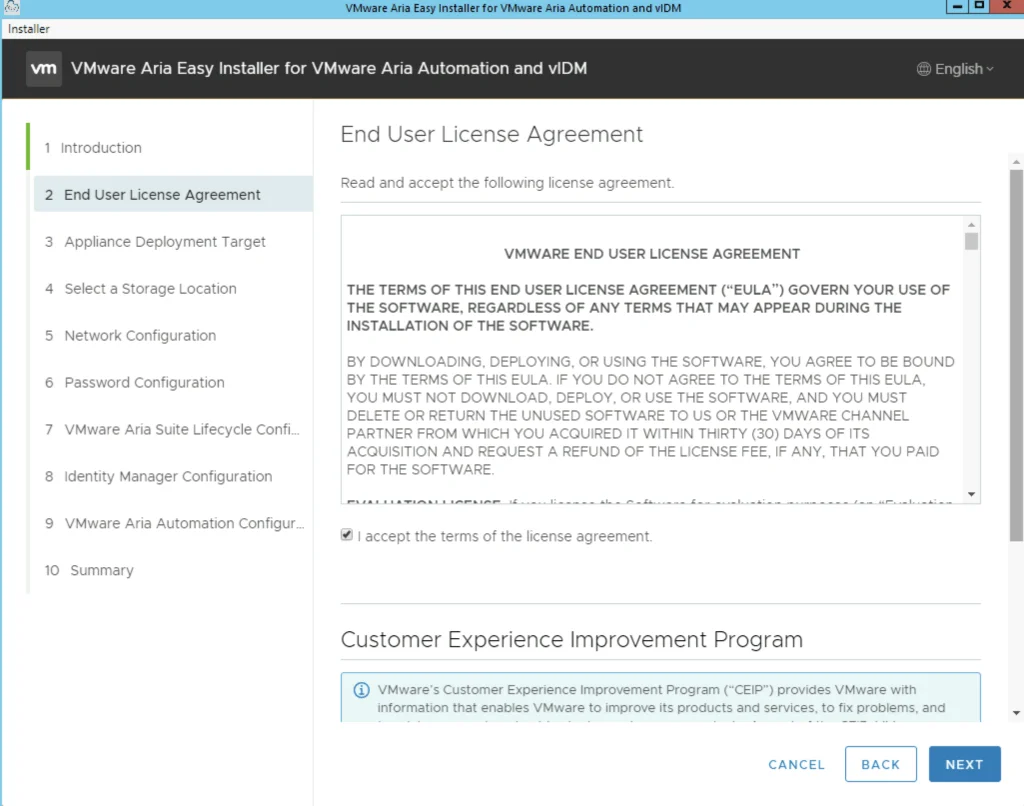
Click Next, Review, accept the agreement and click next
vCenter and Deployment Location Details
Provide the vCenter details and click next. In my case I used the administrator account. A detailed list of permissions needed for deployment can be found here
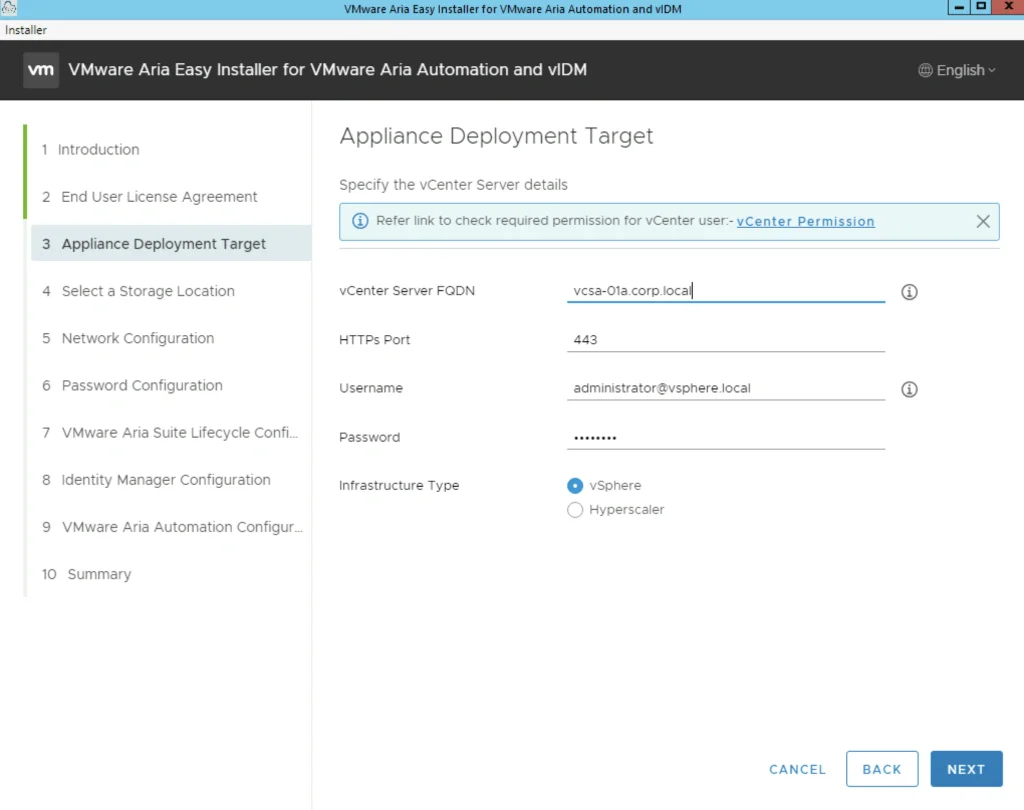
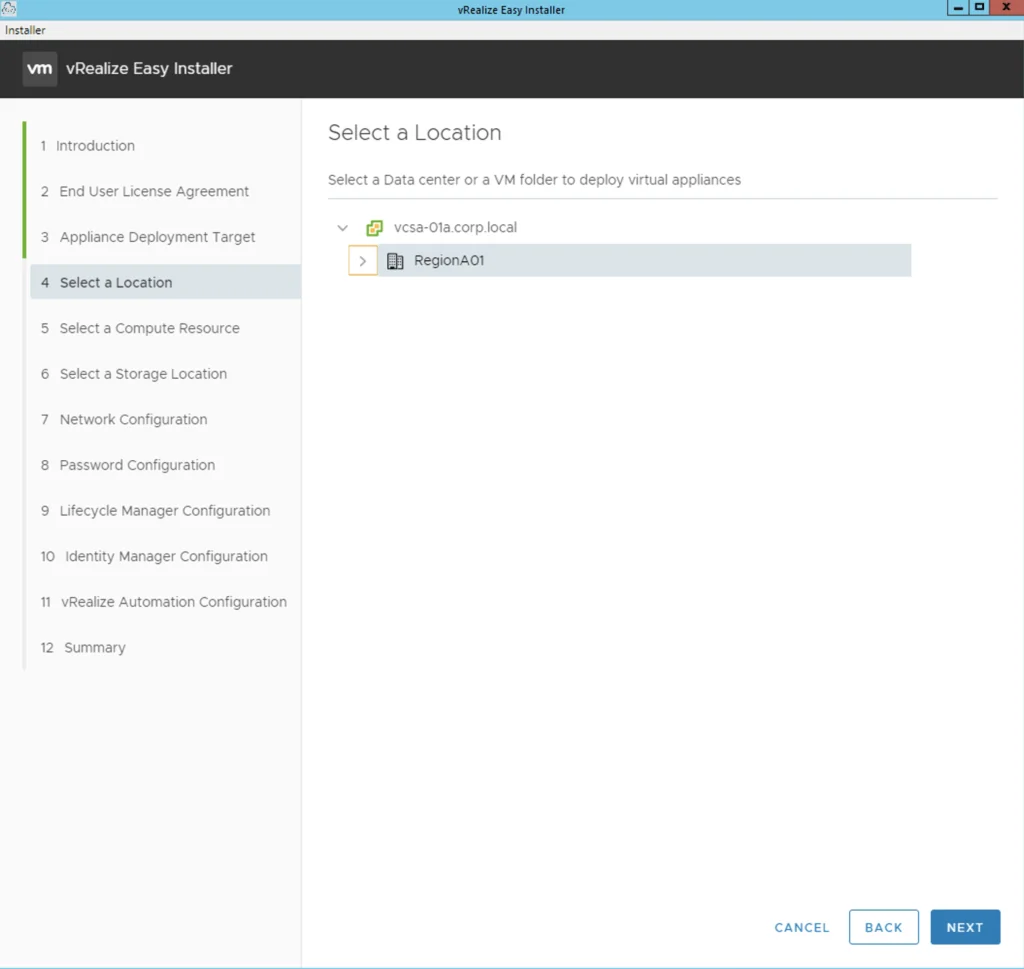
Sections 4, 5, 6 and 7 are straight forward so I will skip them

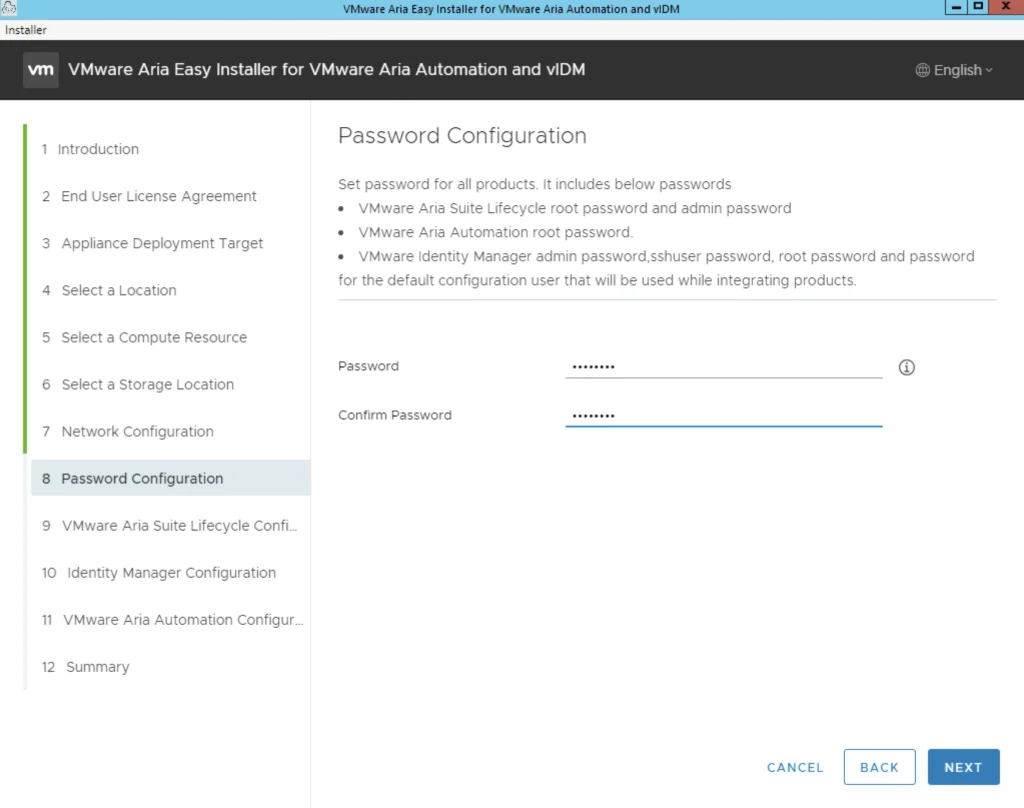
In section 8 select a password that will be used across all products for the local usernames. ex for LCM root and local admin, vIDM admin, sshuser, root etc
Aria Suite Lifecycle Configuration
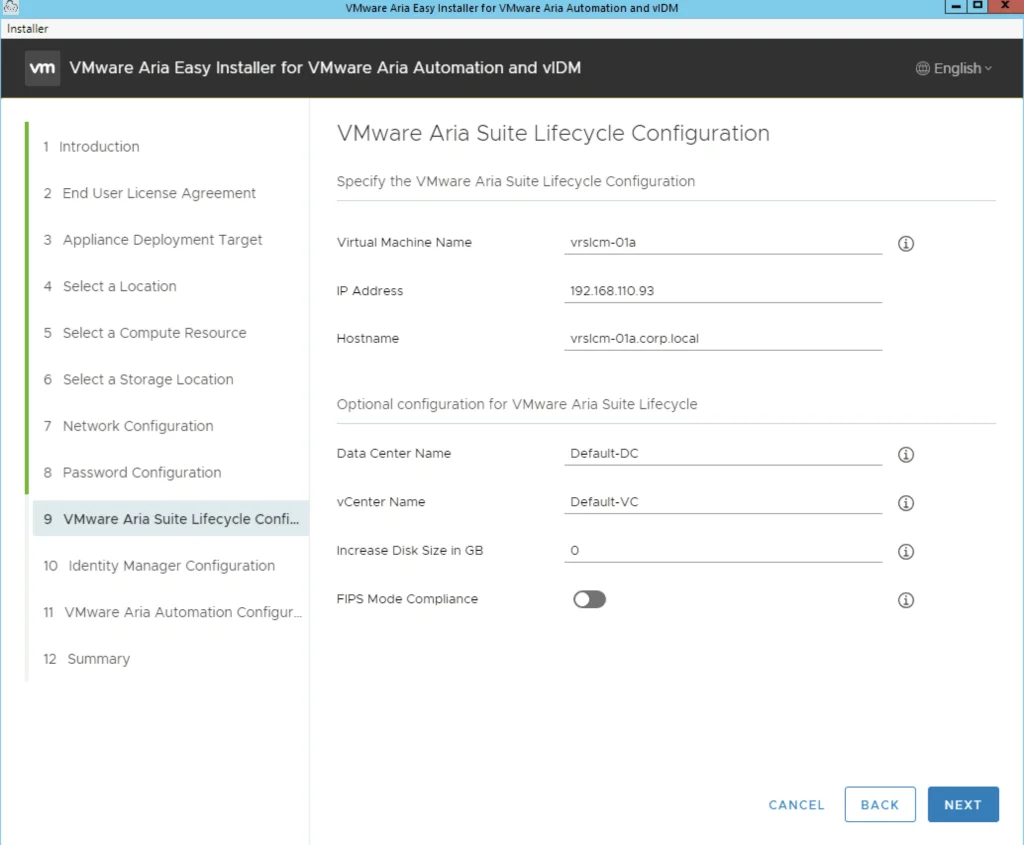
Select a VM name for the Lifecycle Manager appliance and its ip. If you are expecting a large repository in lifecycle manager we can add additional disk under the Increase Disk Size in GB section.
The FIPS Mode compliance option enforces FIPS compliance, however keep in mind that with the FIPS mode enabled there are limitation on what the product can do. This can be disabled later and re enabled as needed.
Complete the fields and click next
Identity Manager Configuration
The next portion is vIDM. In case there is an existing vIDM appliance in the environment we can also import and existing vIDM appliance. In my case I will deploy a new one.
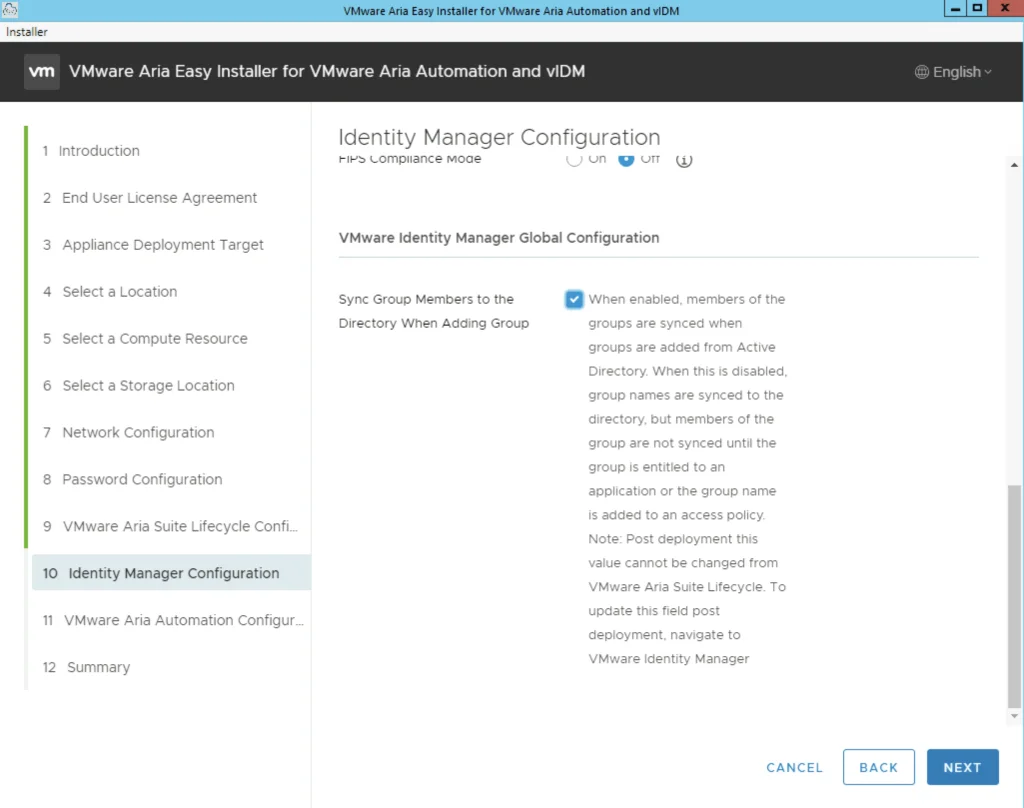
One important option under vIDM is the Sync Group Members to the Directory When Adding Group. When enabled, members of the groups are synced when groups are added from Active Directory. When this is disabled, group names are synced to the directory, but members of the group are not synced until the group is entitled to an application or the group name is added to an access policy. Note: Post deployment this value cannot be changed from vRealize Suite Lifecycle Manager. To update this field post deployment, navigate to VMware Identity Manager
My configuration page looks like this:
Aria Automation Configuration
The next section is the vRA Configuration. In here we have a couple of options. We can perform a standard 1 node deployment or a cluster deployment which includes 3 appliances. The FIPS Compliance mode enables FIPS compliance. Unlike LCM this mode cannot be disabled after the deployment. This disables a number of options in vRA from an LCM perspective. Please make sure that its only enabled if required.
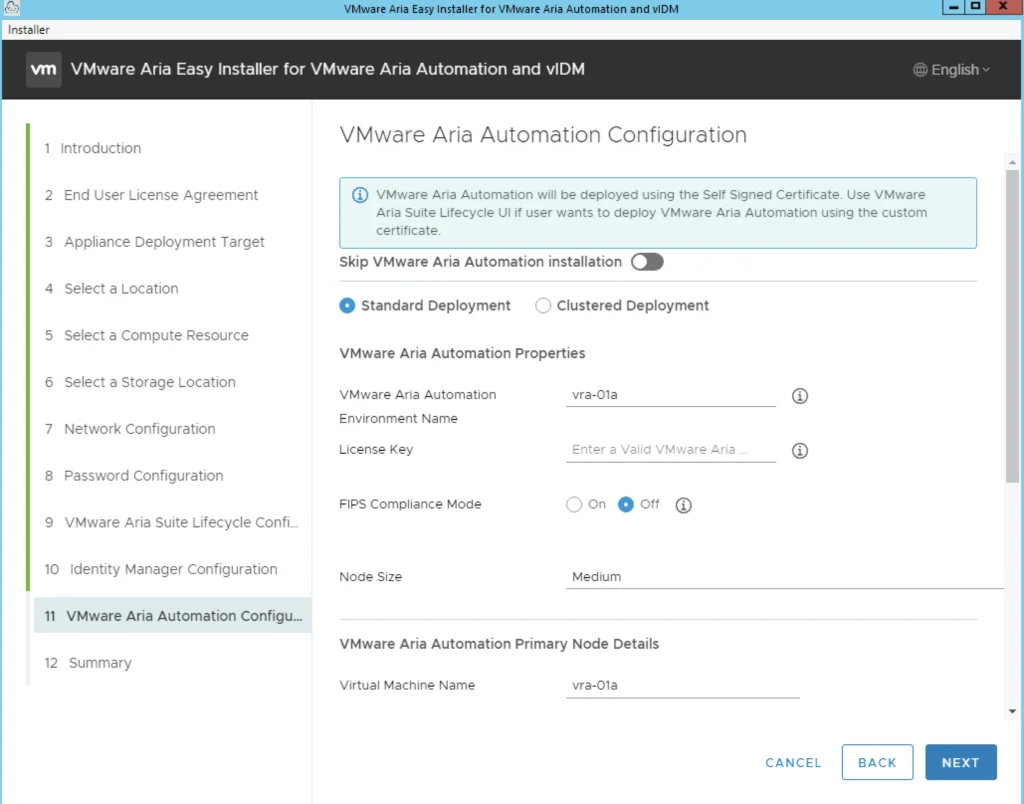
The advanced configuration at the bottom of the page includes the option to change the internal Kubernetes cluster and Service ip range. This is useful if the default range is already in use on the internal network. We want to make sure we pick an ip range thats not used somewhere else in order to avoid routing issues. Once complete click next
Summary and Deployment Progress
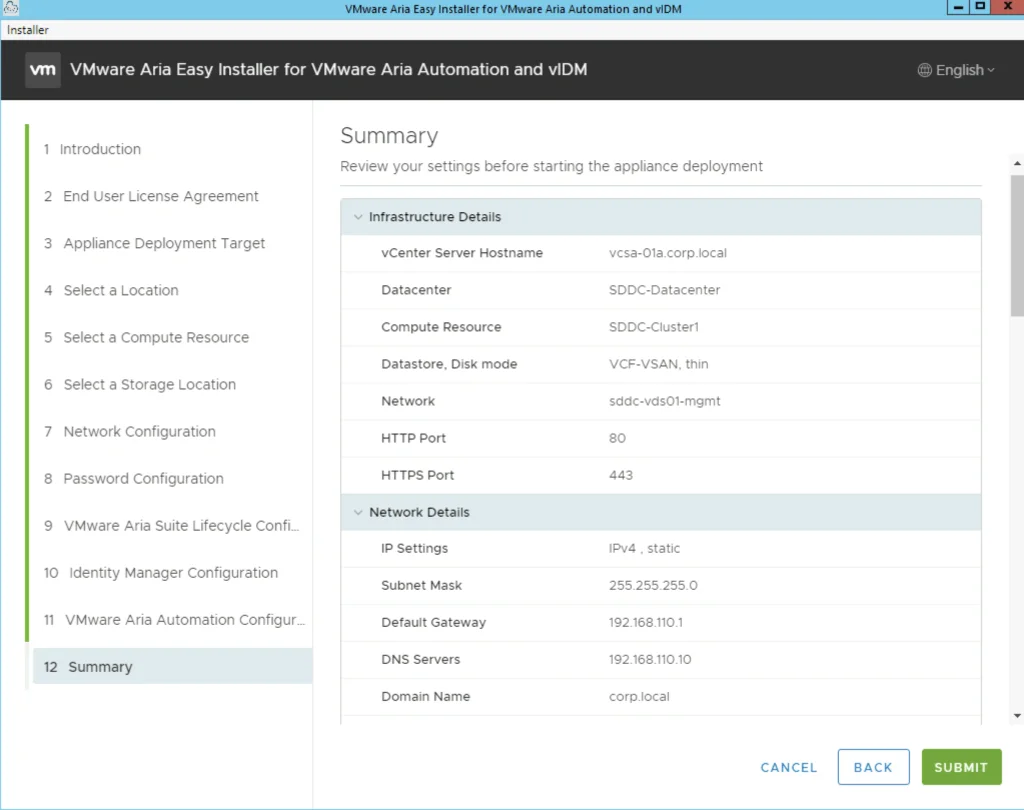
The next page gives us a summary of our deployment and we can click submit to start the deployment.
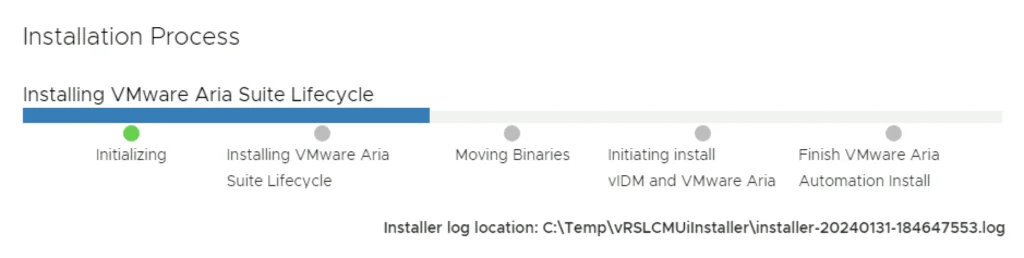
Next we are presented with the installation process. We can follow it along, in my environment the full deployment took about 1.5 hrs
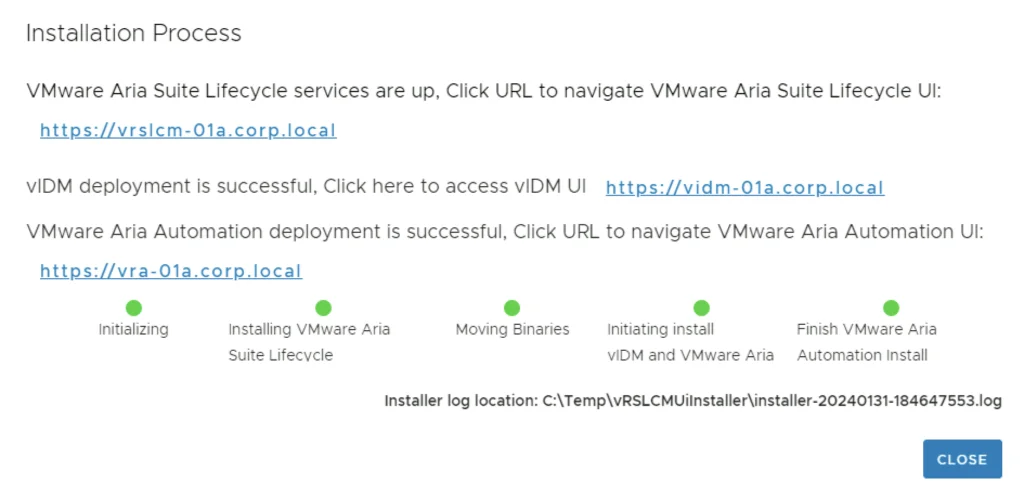
After the install is complete we are presented to links for the different services
Next I would recommend vRSLCM certificate management