In this post we will go over the steps for deploying an AVS cluster on Azure.
Finding Azure VMware Solution in the Azure Portal
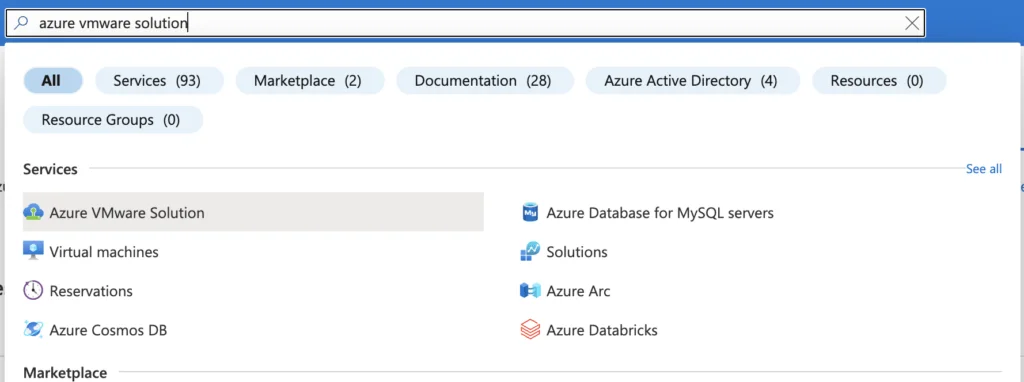
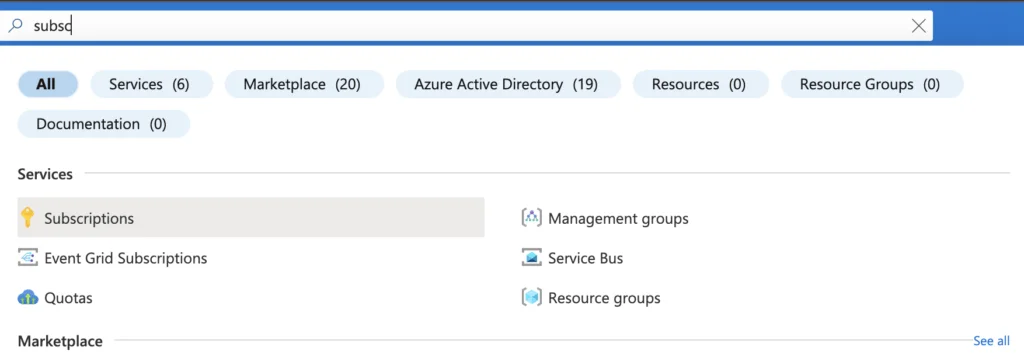
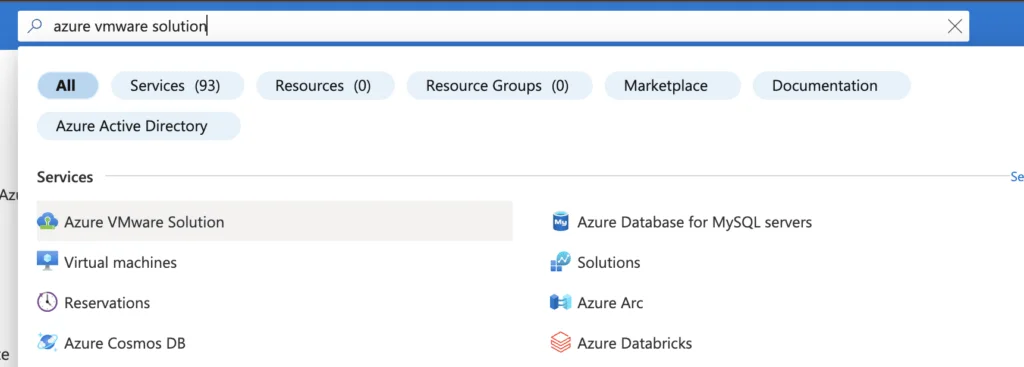
The first step was to log in to the azure portal at portal.azure.com. Once logged on we can search for “azure vmware solution”

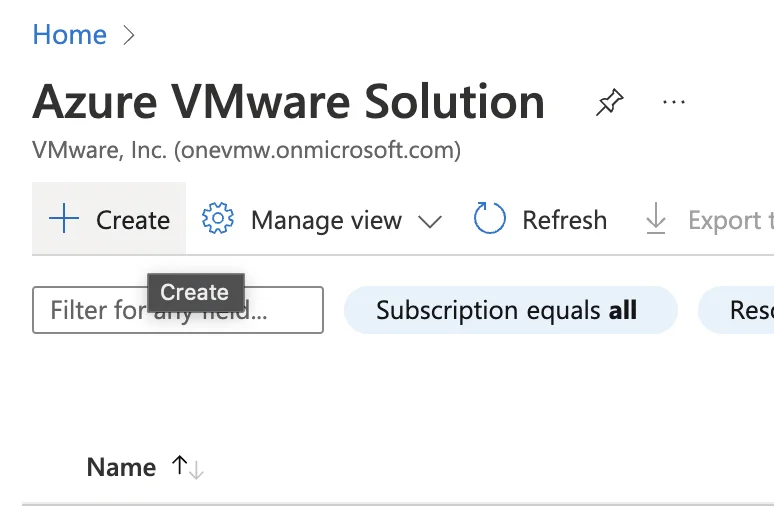
Then I tried to create a cluster by clicking on the Create button on the top left
Requesting Host Quota via a Support Ticket
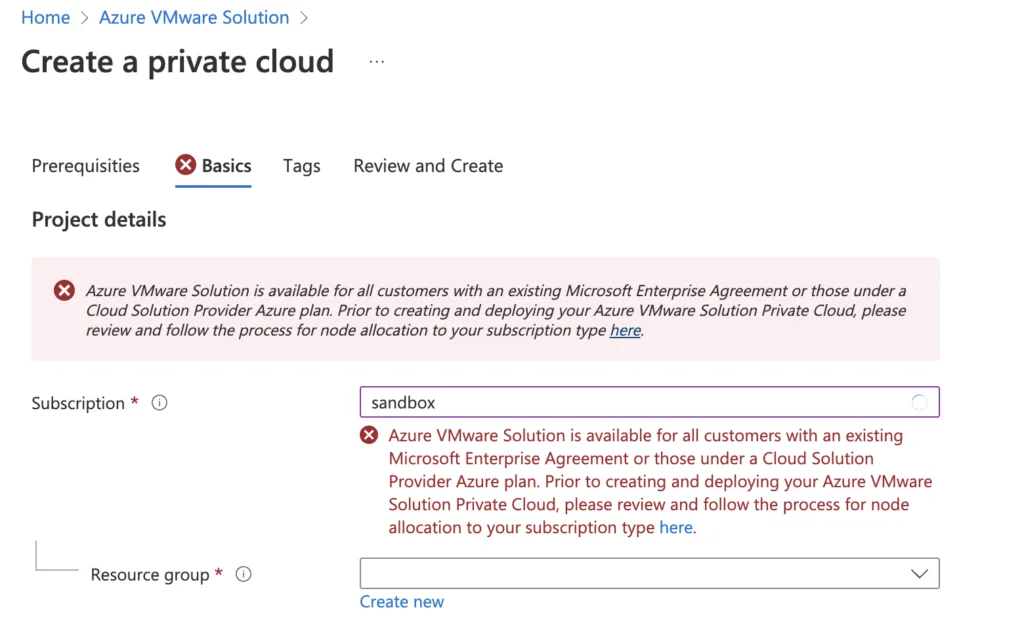
This opened a wizard for me with the Requirements. Trying to go forward without opening a ticket gave me this error:
Azure VMware Solution is available for all customers with an existing Microsoft Enterprise Agreement or those under a Cloud Solution Provider Azure plan. Prior to creating and deploying your Azure VMware Solution Private Cloud, please review and follow the process for node allocation to your subscription type here.
The instructions send me to the documentation on the steps required and I had to open a ticket to request a quota increase. Here is the direct link to open a ticket
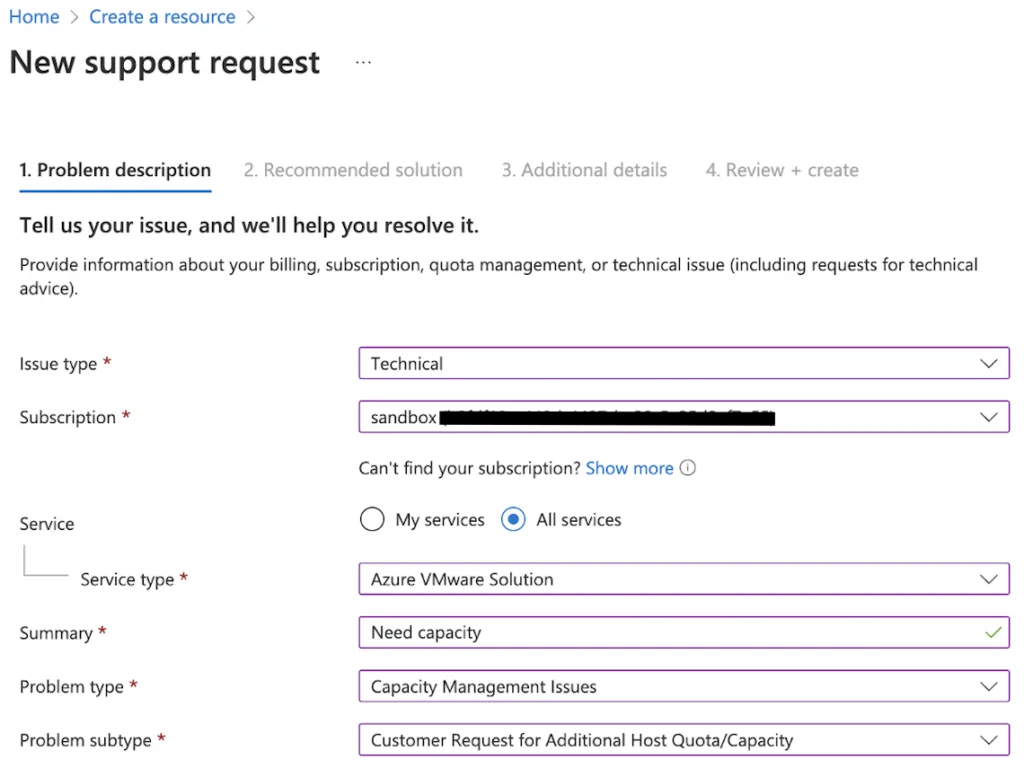
- In your Azure portal, under Help + Support, create a New support request and provide the following information:
- Issue type: Technical
- Subscription: Select your subscription
- Service: All services > Azure VMware Solution
- Resource: General question
- Summary: Need capacity
- Problem type: Capacity Management Issues
- Problem subtype: Customer Request for Additional Host Quota/Capacity
- In the Description of the support ticket, on the Details tab, provide information for:
- Region Name
- Number of hosts
- Any other details NoteAzure VMware Solution requires a minimum of three hosts and recommends redundancy of N+1 hosts.
- Select Review + Create to submit the request.
It would look like this:
The next screens were pretty self explanatory so I won’t go through them. Once the ticket is created a Microsoft engineer will most likely reach out to verify the details and provision the capacity.
Registering the Microsoft.AVS Resource Provider
Once the capacity has been provisioned we have a few more steps to follow.
First is to go to subscriptions -> Select Subscription
-> Resource providers -> Search for ads -> Click on register
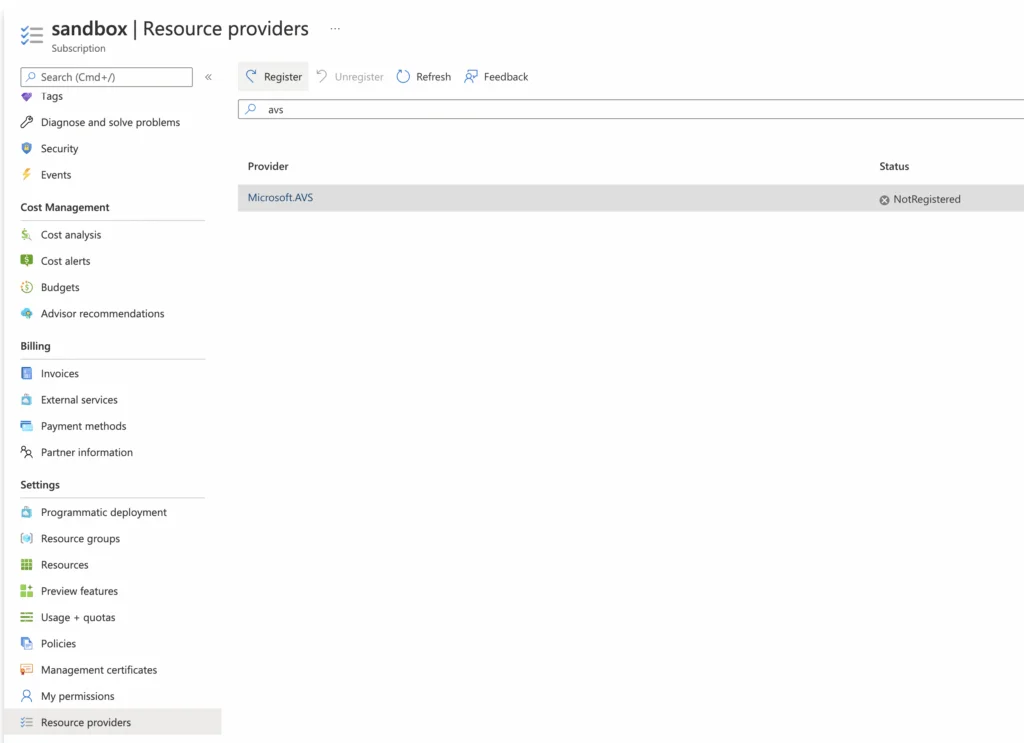
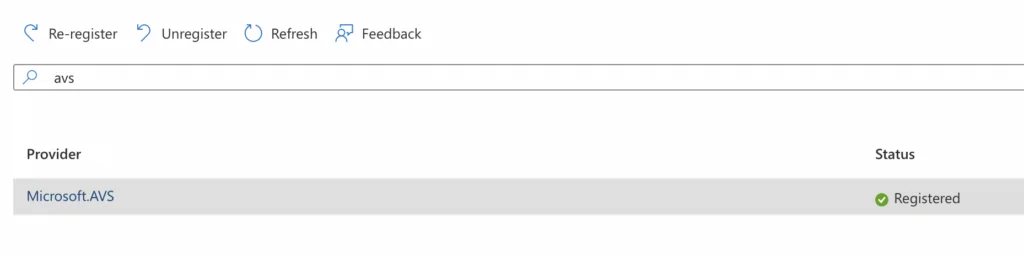
Before navigating away make sure the Resource shows as registered:
Creating the AVS Private Cloud
After completing the above going to the Azure VMware Solution allows me to register the go through the screen without errors. Please note that we can only provision resources where they were allocated in the ticket. For example we can’t use resources in West 2 region if the capacity was added to East 2. The ticket from Microsoft would include these details. Sample setup:
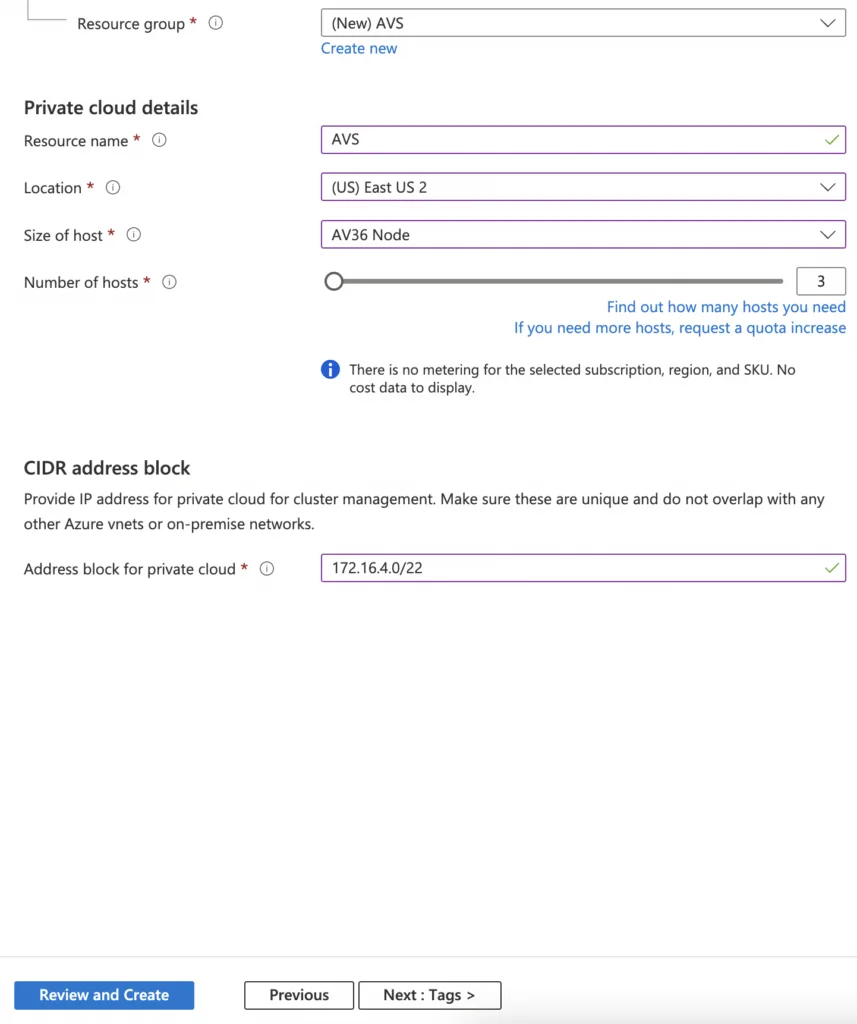
The last screen is the review and create. Once we click create the resources will get provisioned.
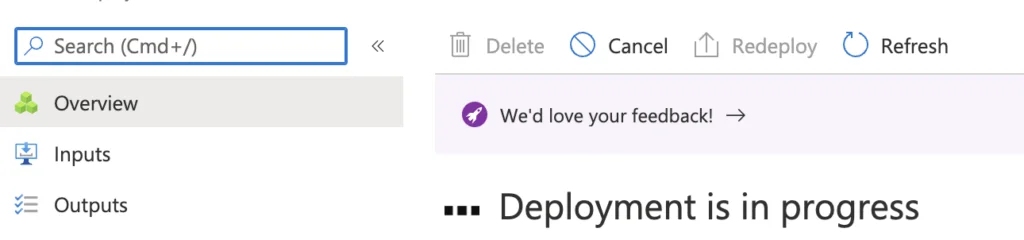
Monitoring the Deployment and Next Steps
The deployment will go on for a while. In my case it was 4 hours. Once the deployment is complete we can go to the Azure VMware Solution
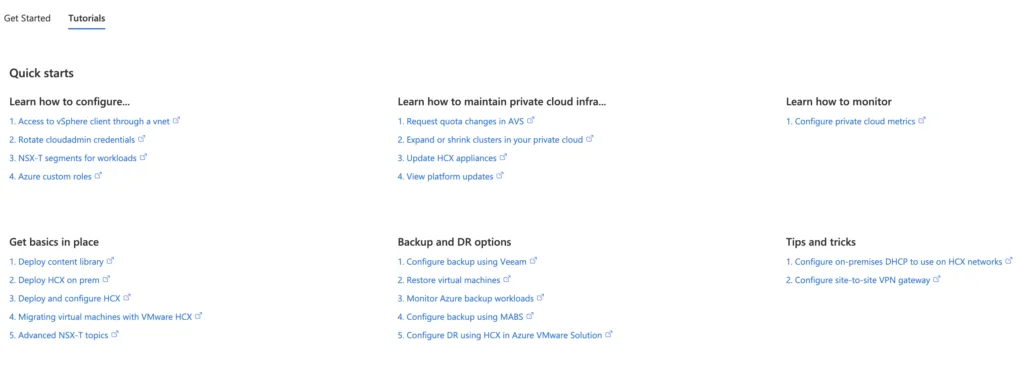
After completing the above I would recommend checking out the tutorials on the overview page. And if you ever need to move workloads the other way, I wrote about converting native cloud virtual machines to on-prem vSphere with VMware Converter.