I needed to create a few additional accounts in NSX-T for outside sources. Instead of creating individual accounts I wanted to use the existing ones from AD.
To get started we need to get the certificate from the vIDM server. Log on to the vIDM server as root and run the following:
openssl1 s_client -connect <FQDN of vIDM host>:443 < /dev/null 2> /dev/null | openssl x509 -sha256 -fingerprint -noout -in /dev/stdin
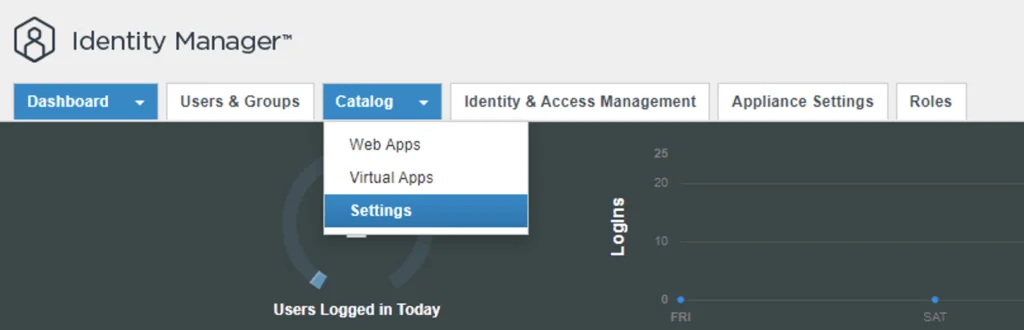
Next we need to create the OAuth client ID in vIDM. Log in to the vIDM UI using the url

Navigate to Remote App Access -> Clients -> Create Client

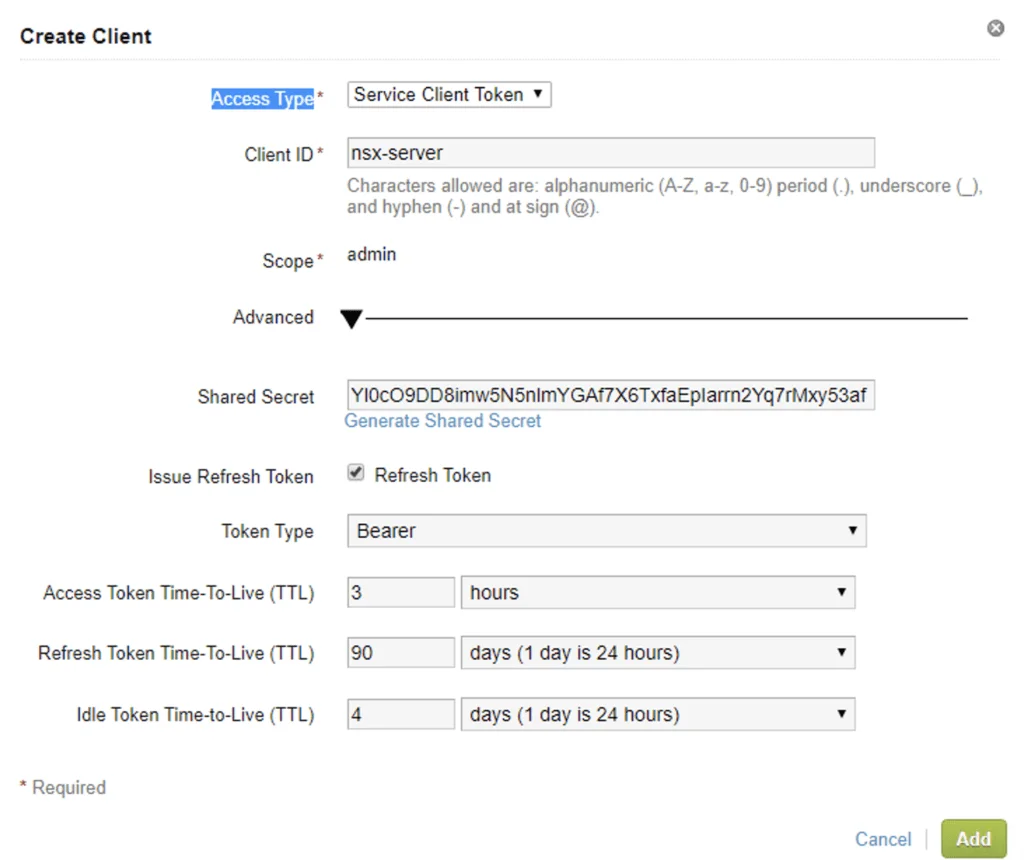
In the Access Type chose Service Client Token, Client ID can be anything. Under Advanced click on Generate Shared Secret (take a note of this because we need it on the NSX side)
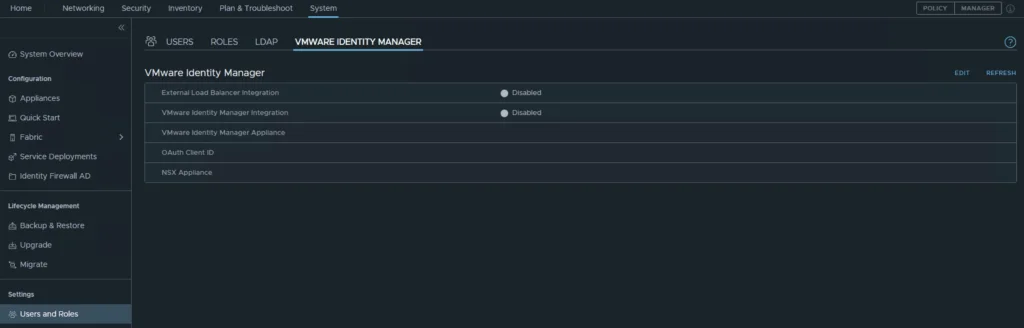
Next, log in to the NSX-T cluster and go to System -> Users and Roles -> VMWARE IDENTITY MANAGER -> Edit
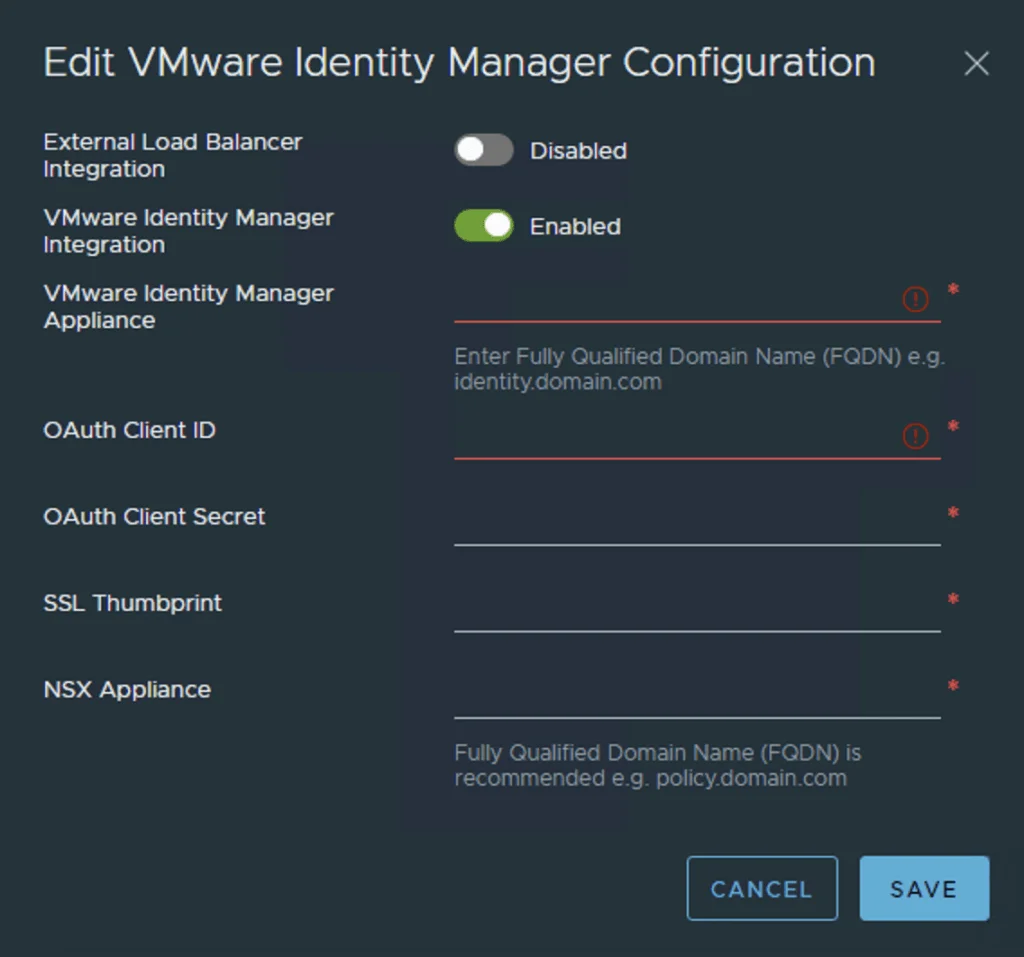
Next fill in all the required fields with the existing data that we generated in the previous steps
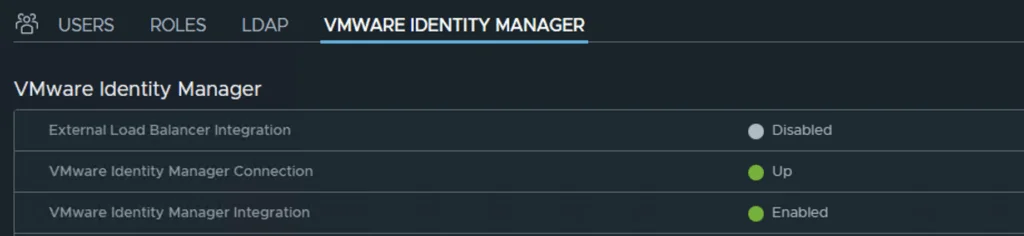
Next we can see the integration as enabled and the connection as up
Next we can go to USERS click on ADD -> Role Assignment for VIDM
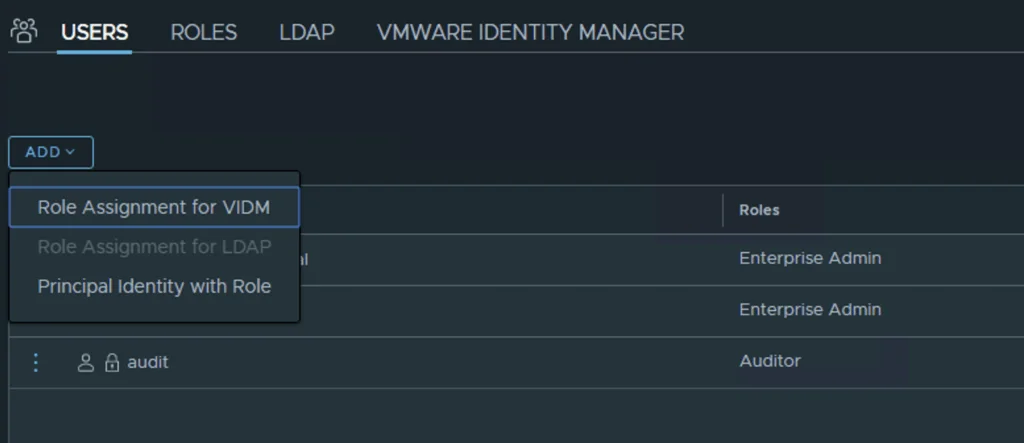
As you type in a user the system will try to auto complete it

Once the users and groups are defined all is left is to test out the authentication and validate that everything works